Integrate Go High Level with CustomerLabs
GoHighLevel (GHL) is an all-in-one sales and marketing platform. It acts as a comprehensive tool for lead generation, nurturing, and conversion by offering a CRM, website/funnel builder, marketing automation, and messaging services all in a single dashboard.
Intro to GHL tracking setup
Section titled “Intro to GHL tracking setup”With GoHighLevel, there are some limitations when it comes to directly updating the JavaScript code to track lead forms. Therefore, we use a workaround to track the lead forms.
- Capture CustomerLabs User ID in GHL: Add a hidden field to your GHL form. Whenever a user fills out the form, assign them a unique user ID. This ID will be passed through the URL query parameter when the form is submitted.
- Using Webhooks for Lead Information: Connect GoHighLevel to CustomerLabs via a webhook. This webhook will directly receive the lead information (like email ID, first name, last name, phone number—basically all the PIIs).
- Unification of the browser and server side lead event: Now, you can merge the server-side webhook data with the browser-side form submission data using the ID assigned in the hidden field.
This approach improves the event match quality on Meta by ensuring that all customer information parameters are sent accurately. This way, you’ll have a more efficient and streamlined process for tracking leads with GoHighLevel, even with its limitations!
Prerequisites
Section titled “Prerequisites”- Admin Access to Go High Level Account
- Admin Access to Active CustomerLabs Account
Configuring GHL to capture the CustomerLabs User ID
Section titled “Configuring GHL to capture the CustomerLabs User ID”Create a Hidden Field in the form
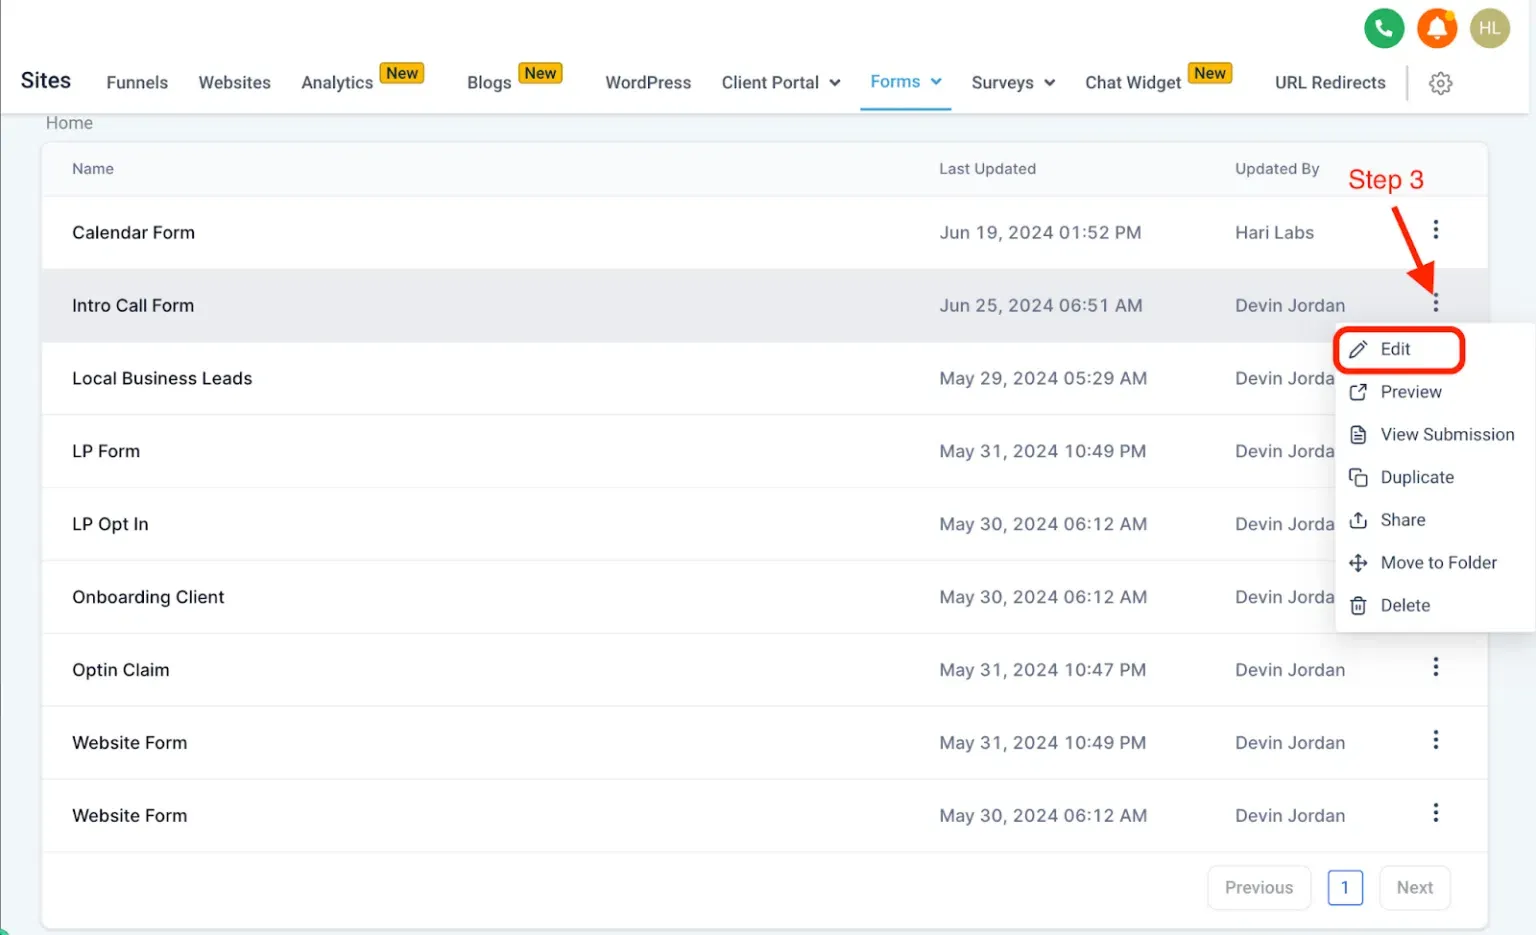
Section titled “Create a Hidden Field in the form”- Log In to the Go High Level CRM → Click “Site” on the menu → Click “Forms” on the page as shown below.

- Click on the three dots in the form you wish to add the hidden field and click “Edit”.
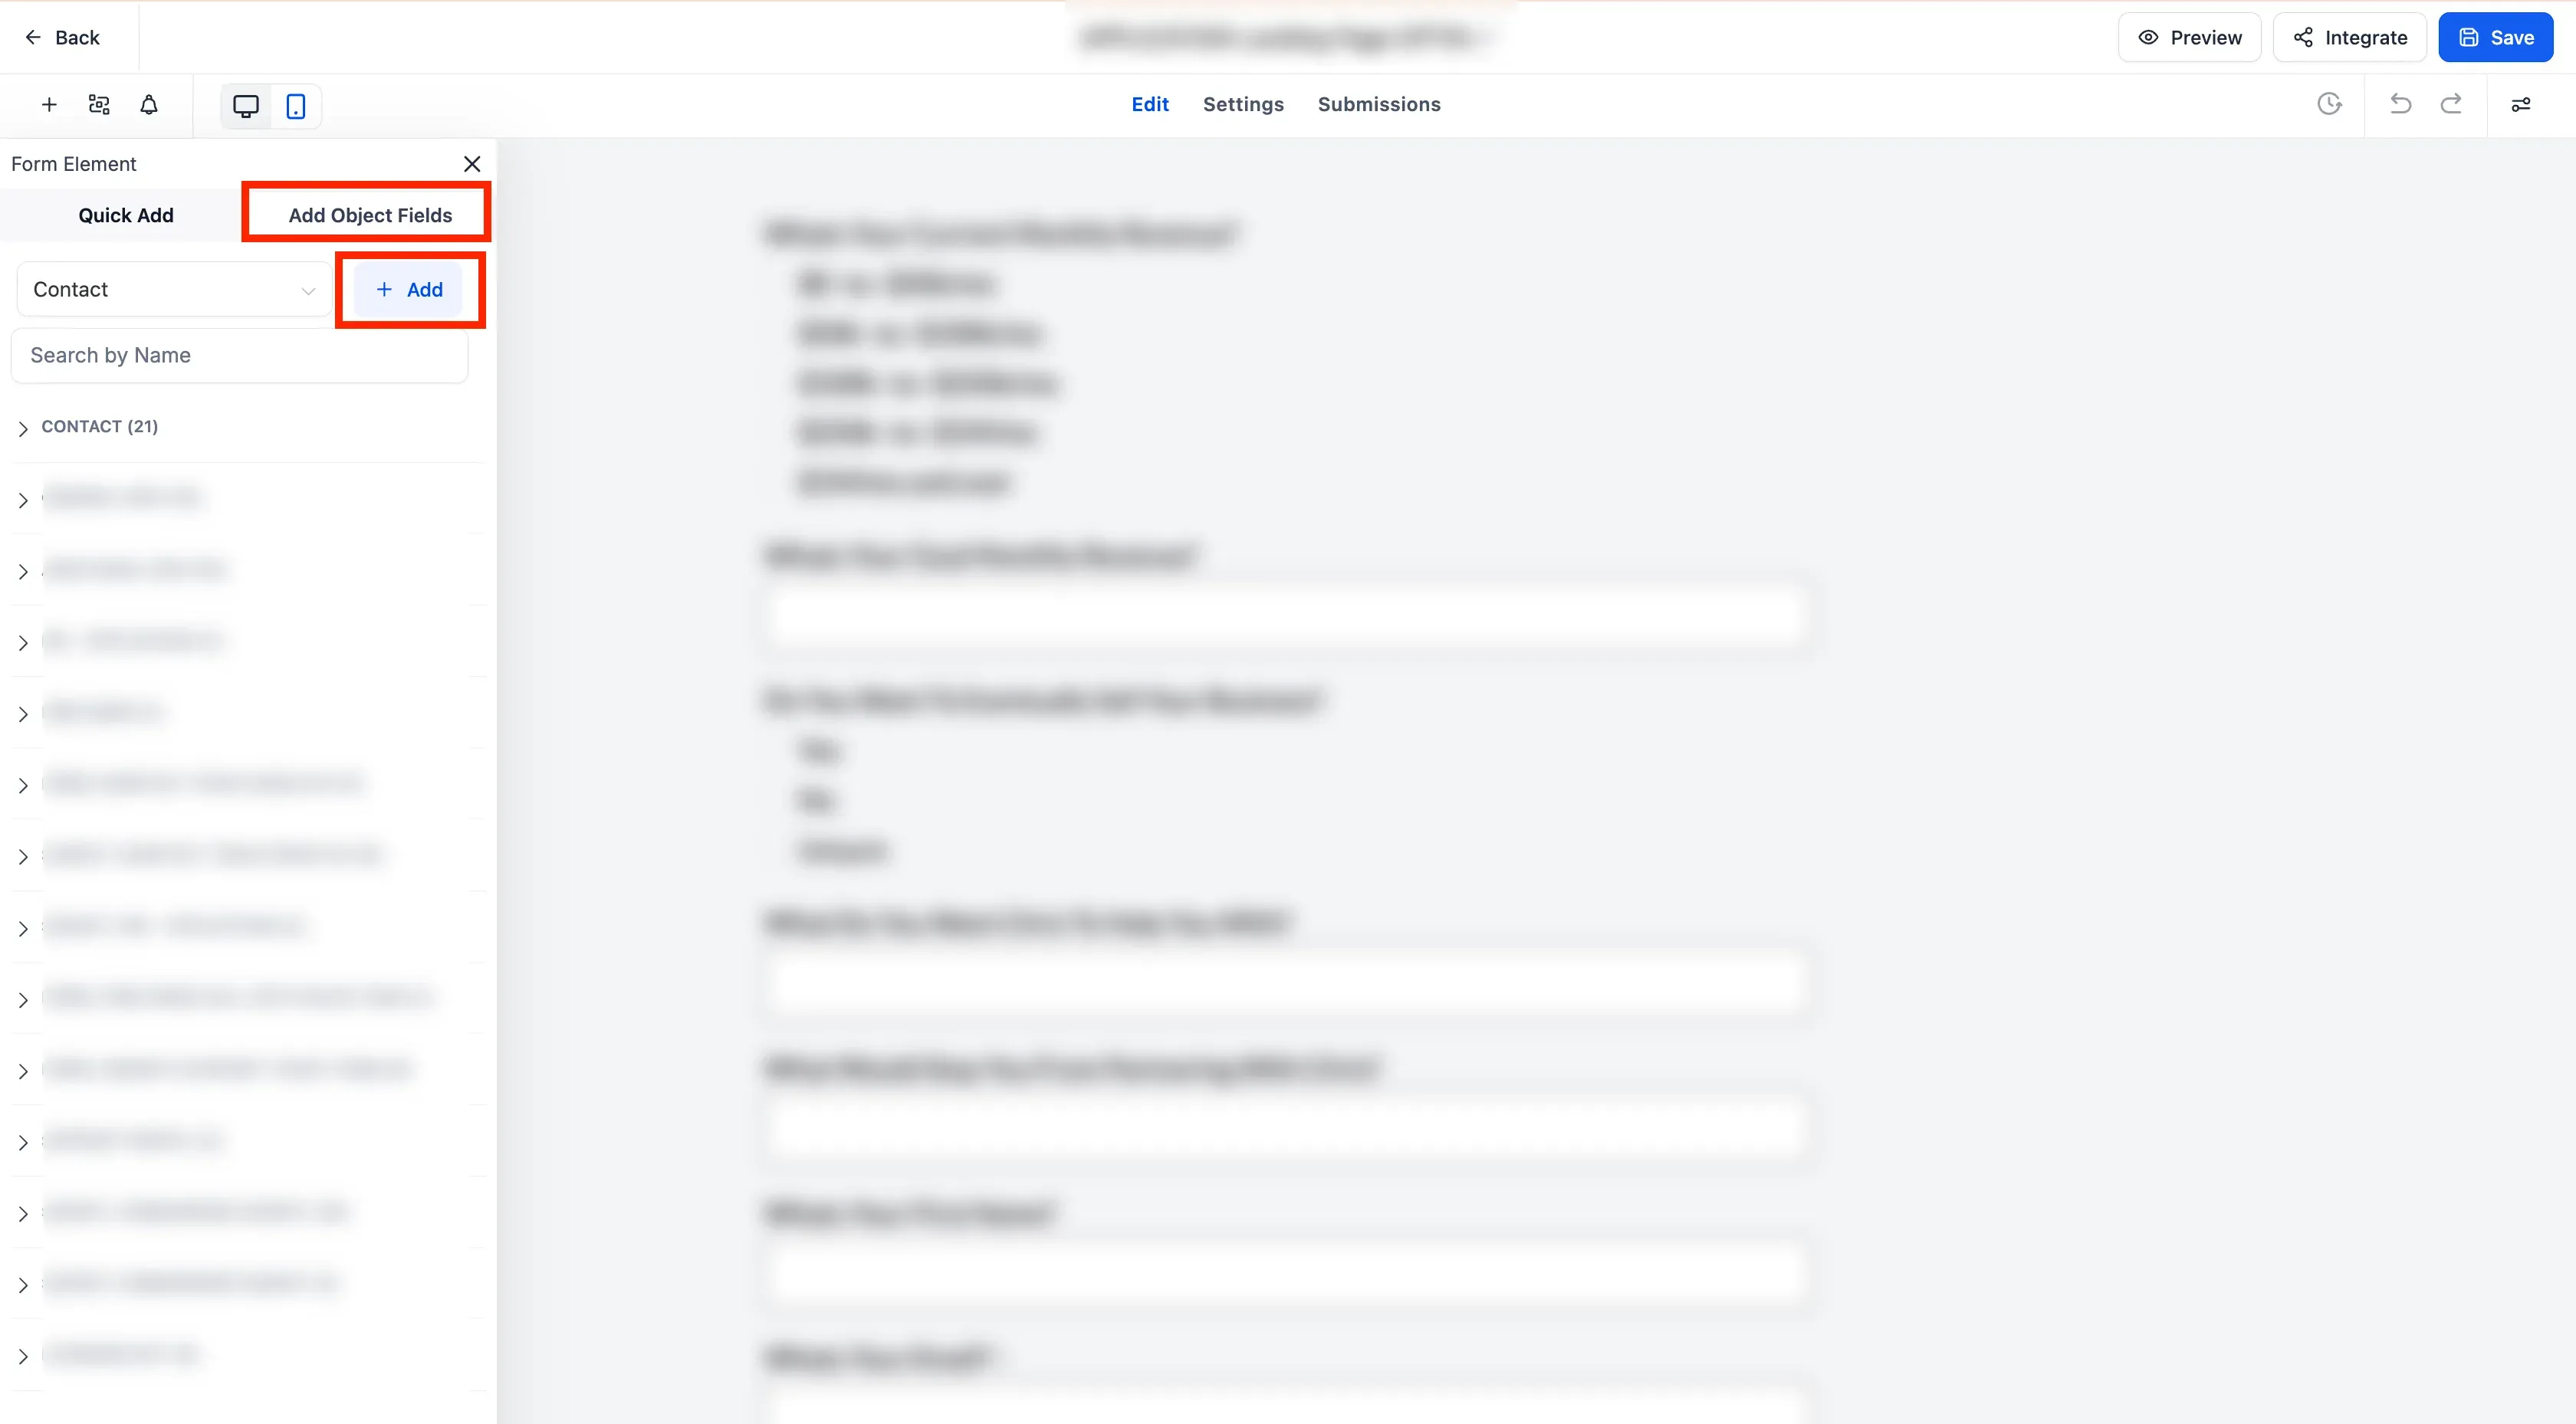
- Once you click edit, the editor page opens. Click on the ”+” icon as shown in the screenshot below.

- Click on the Add Object Fields tab and click on “Add” button.
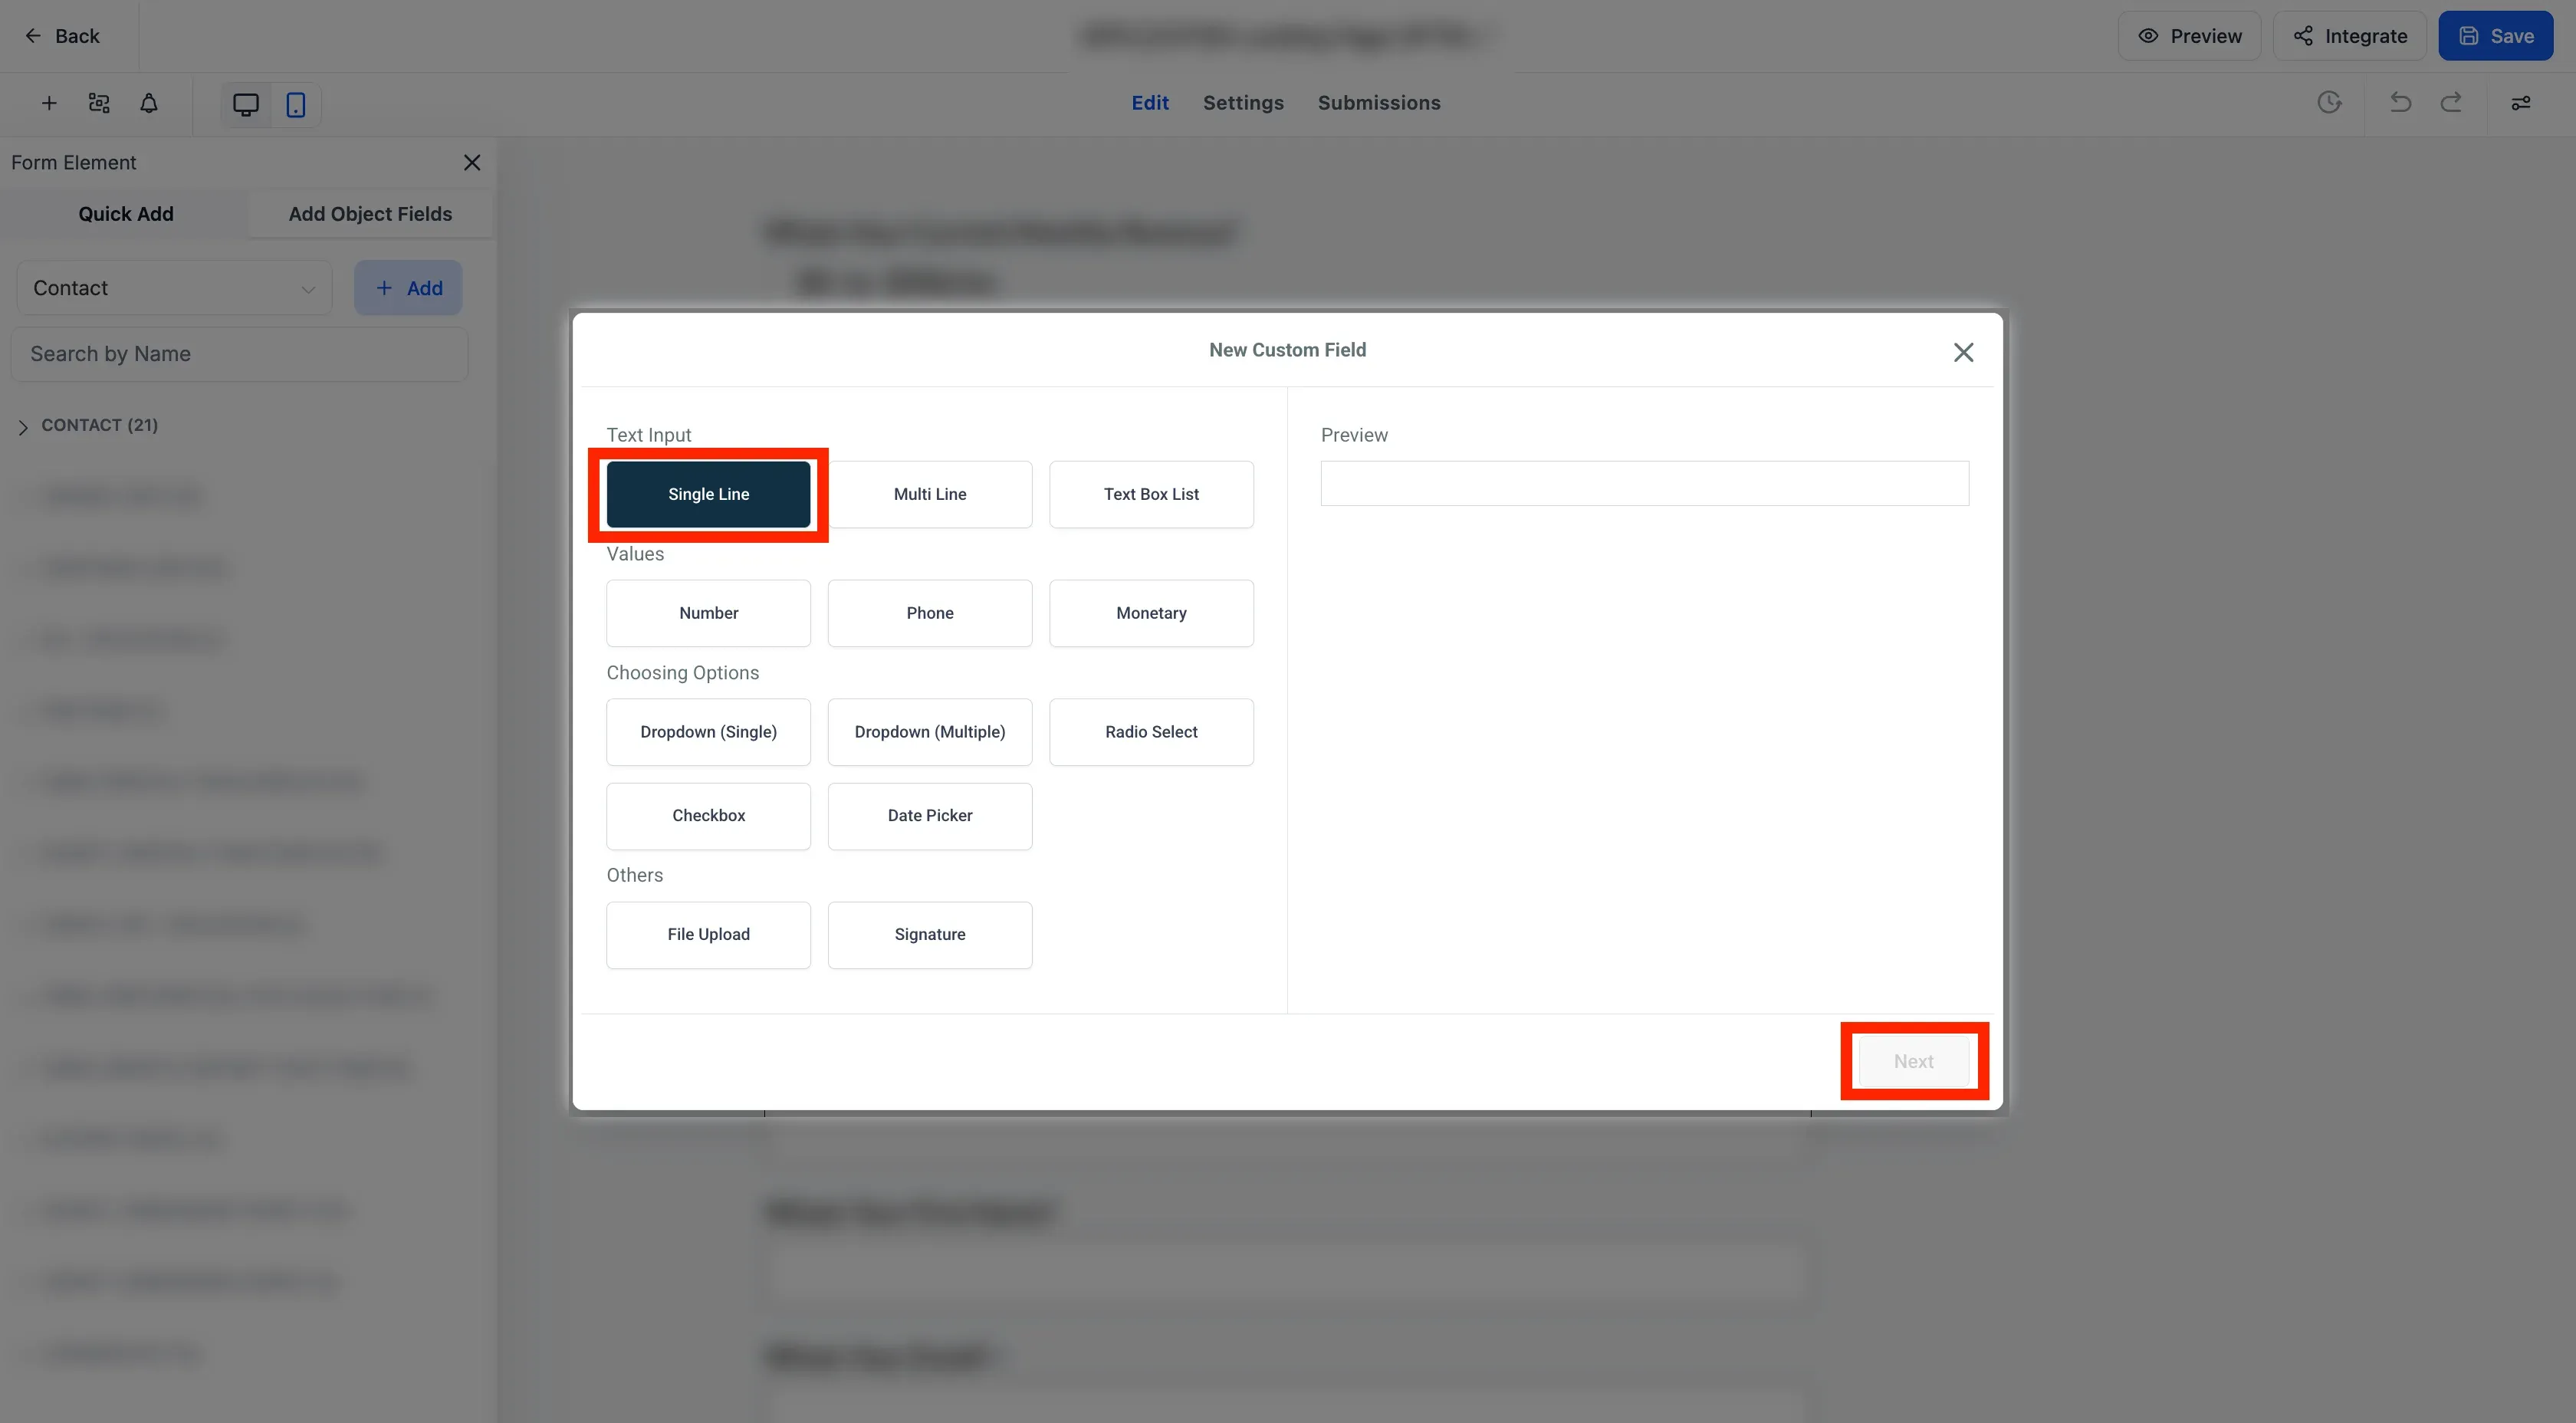
- Under text input, choose Single line input and click Next.
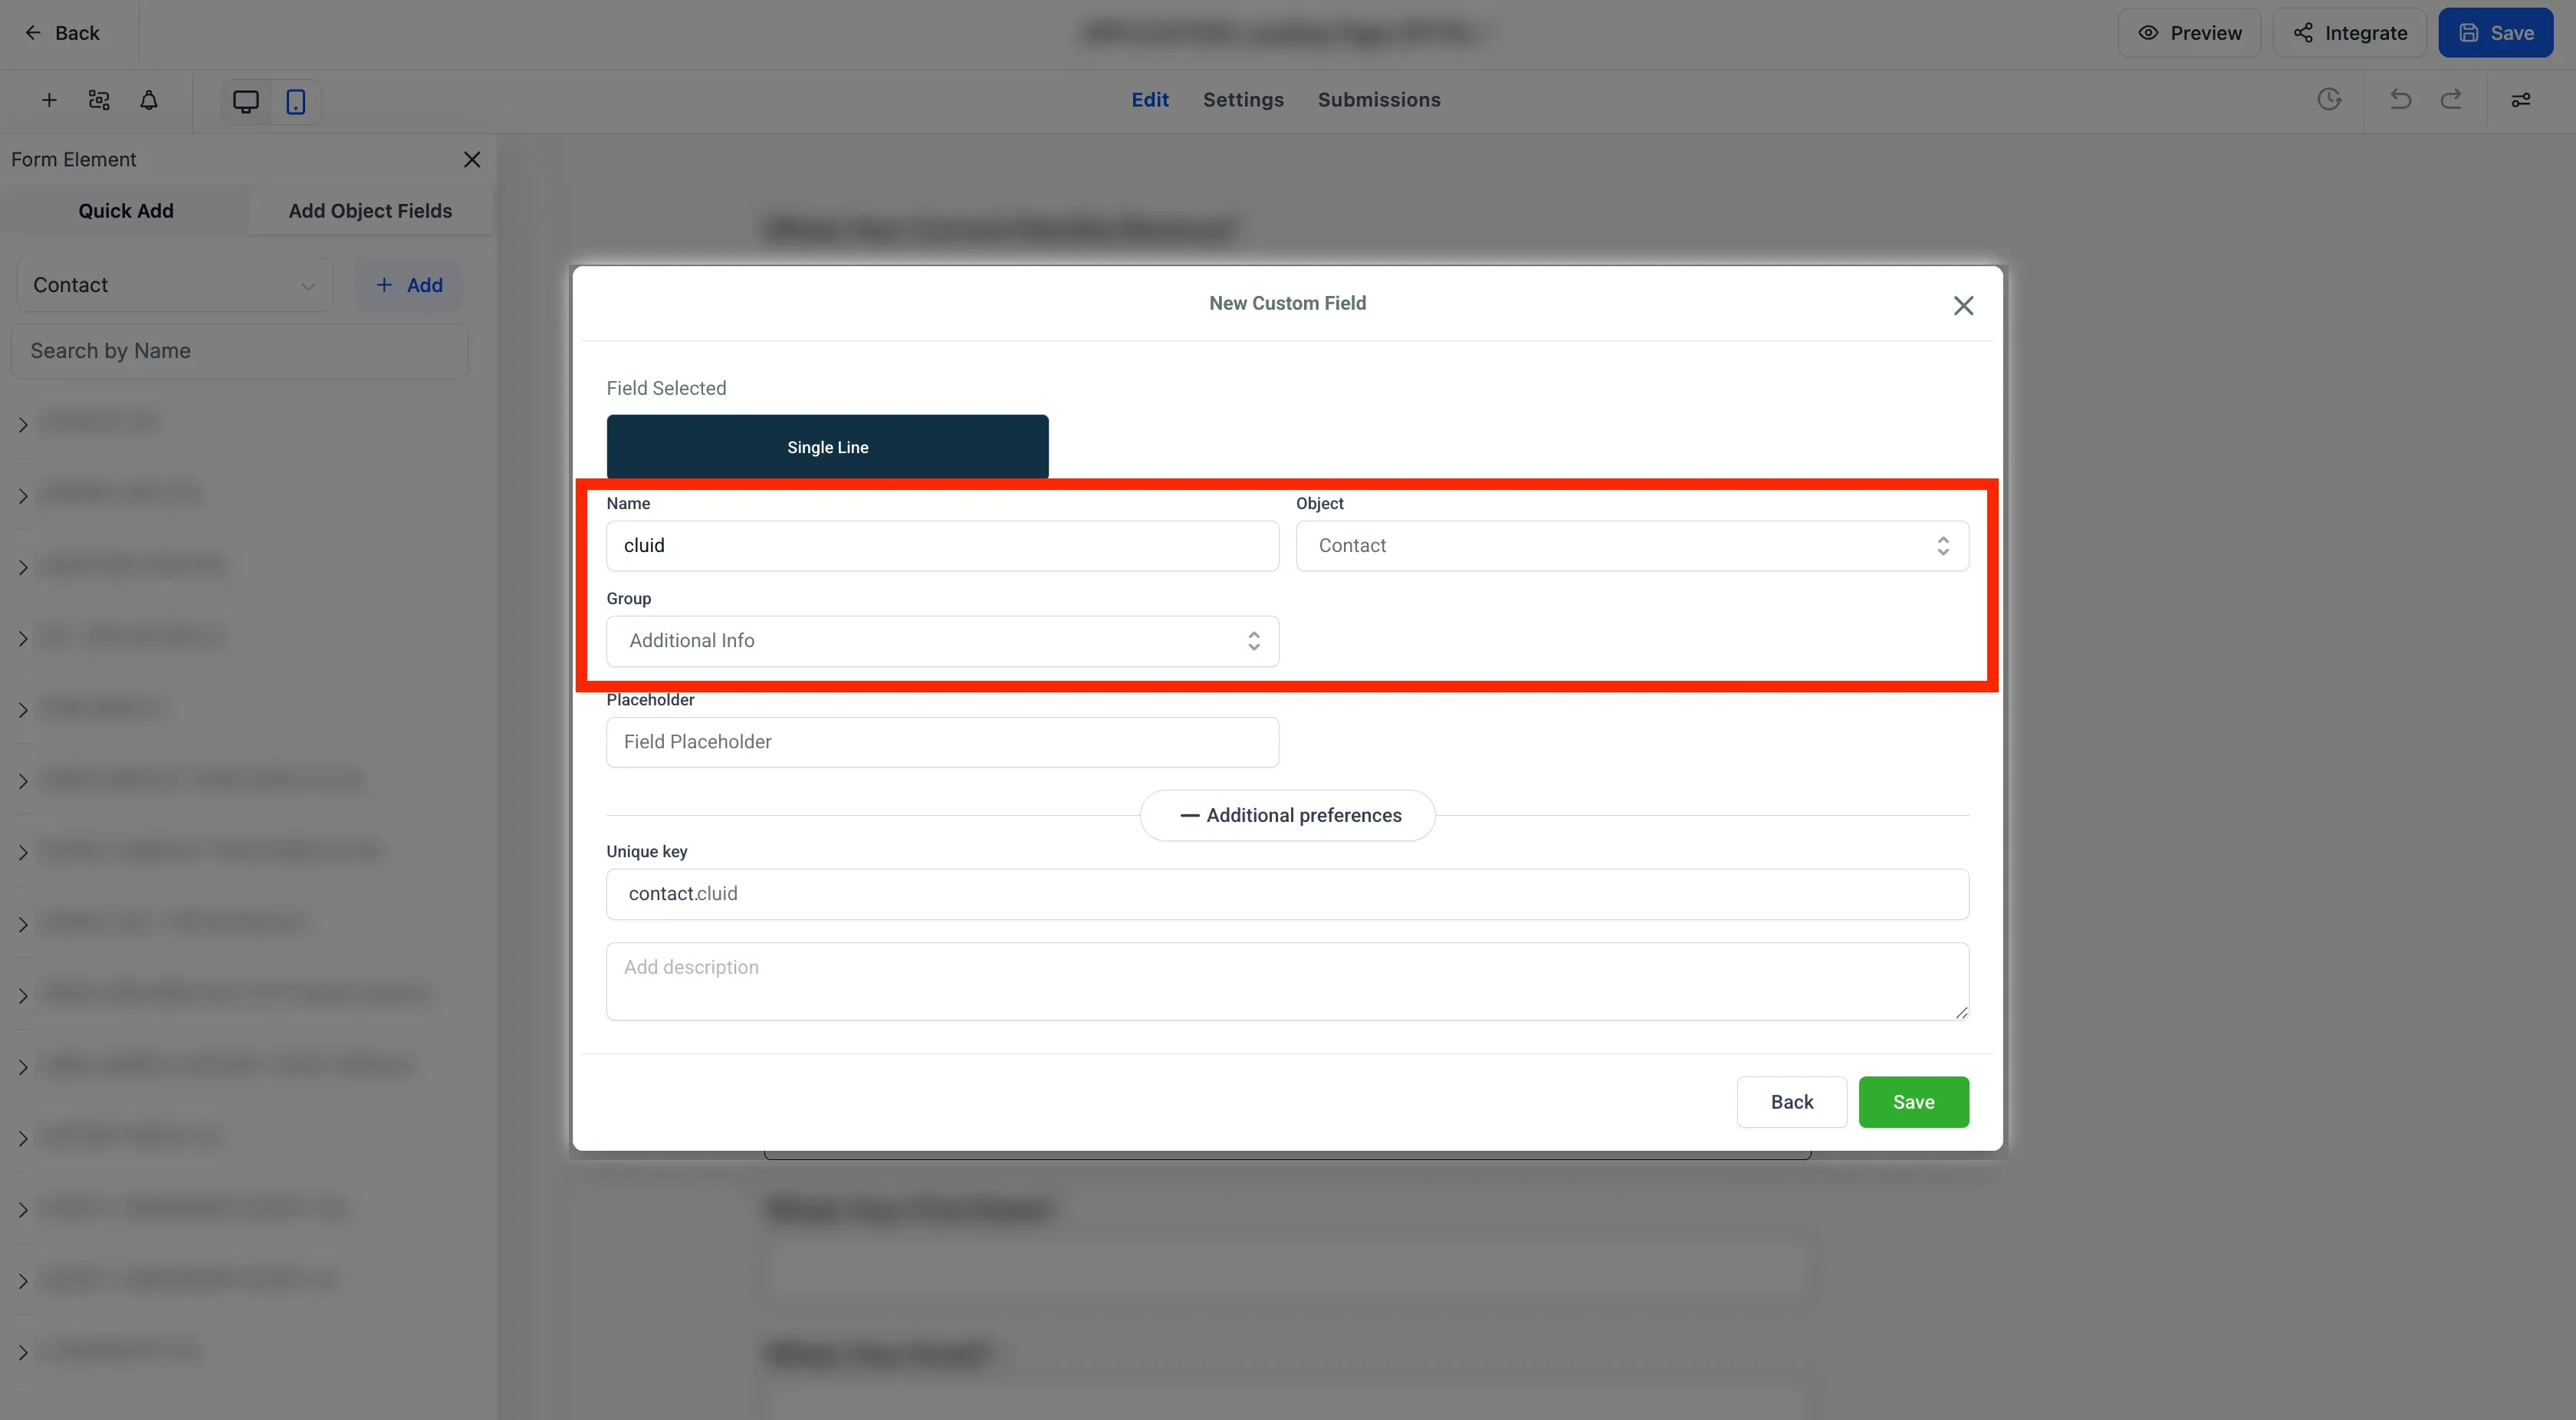
- Name the Field as
cluidand choose the object asContact. Now choose the group asAdditional Infoand click Save.
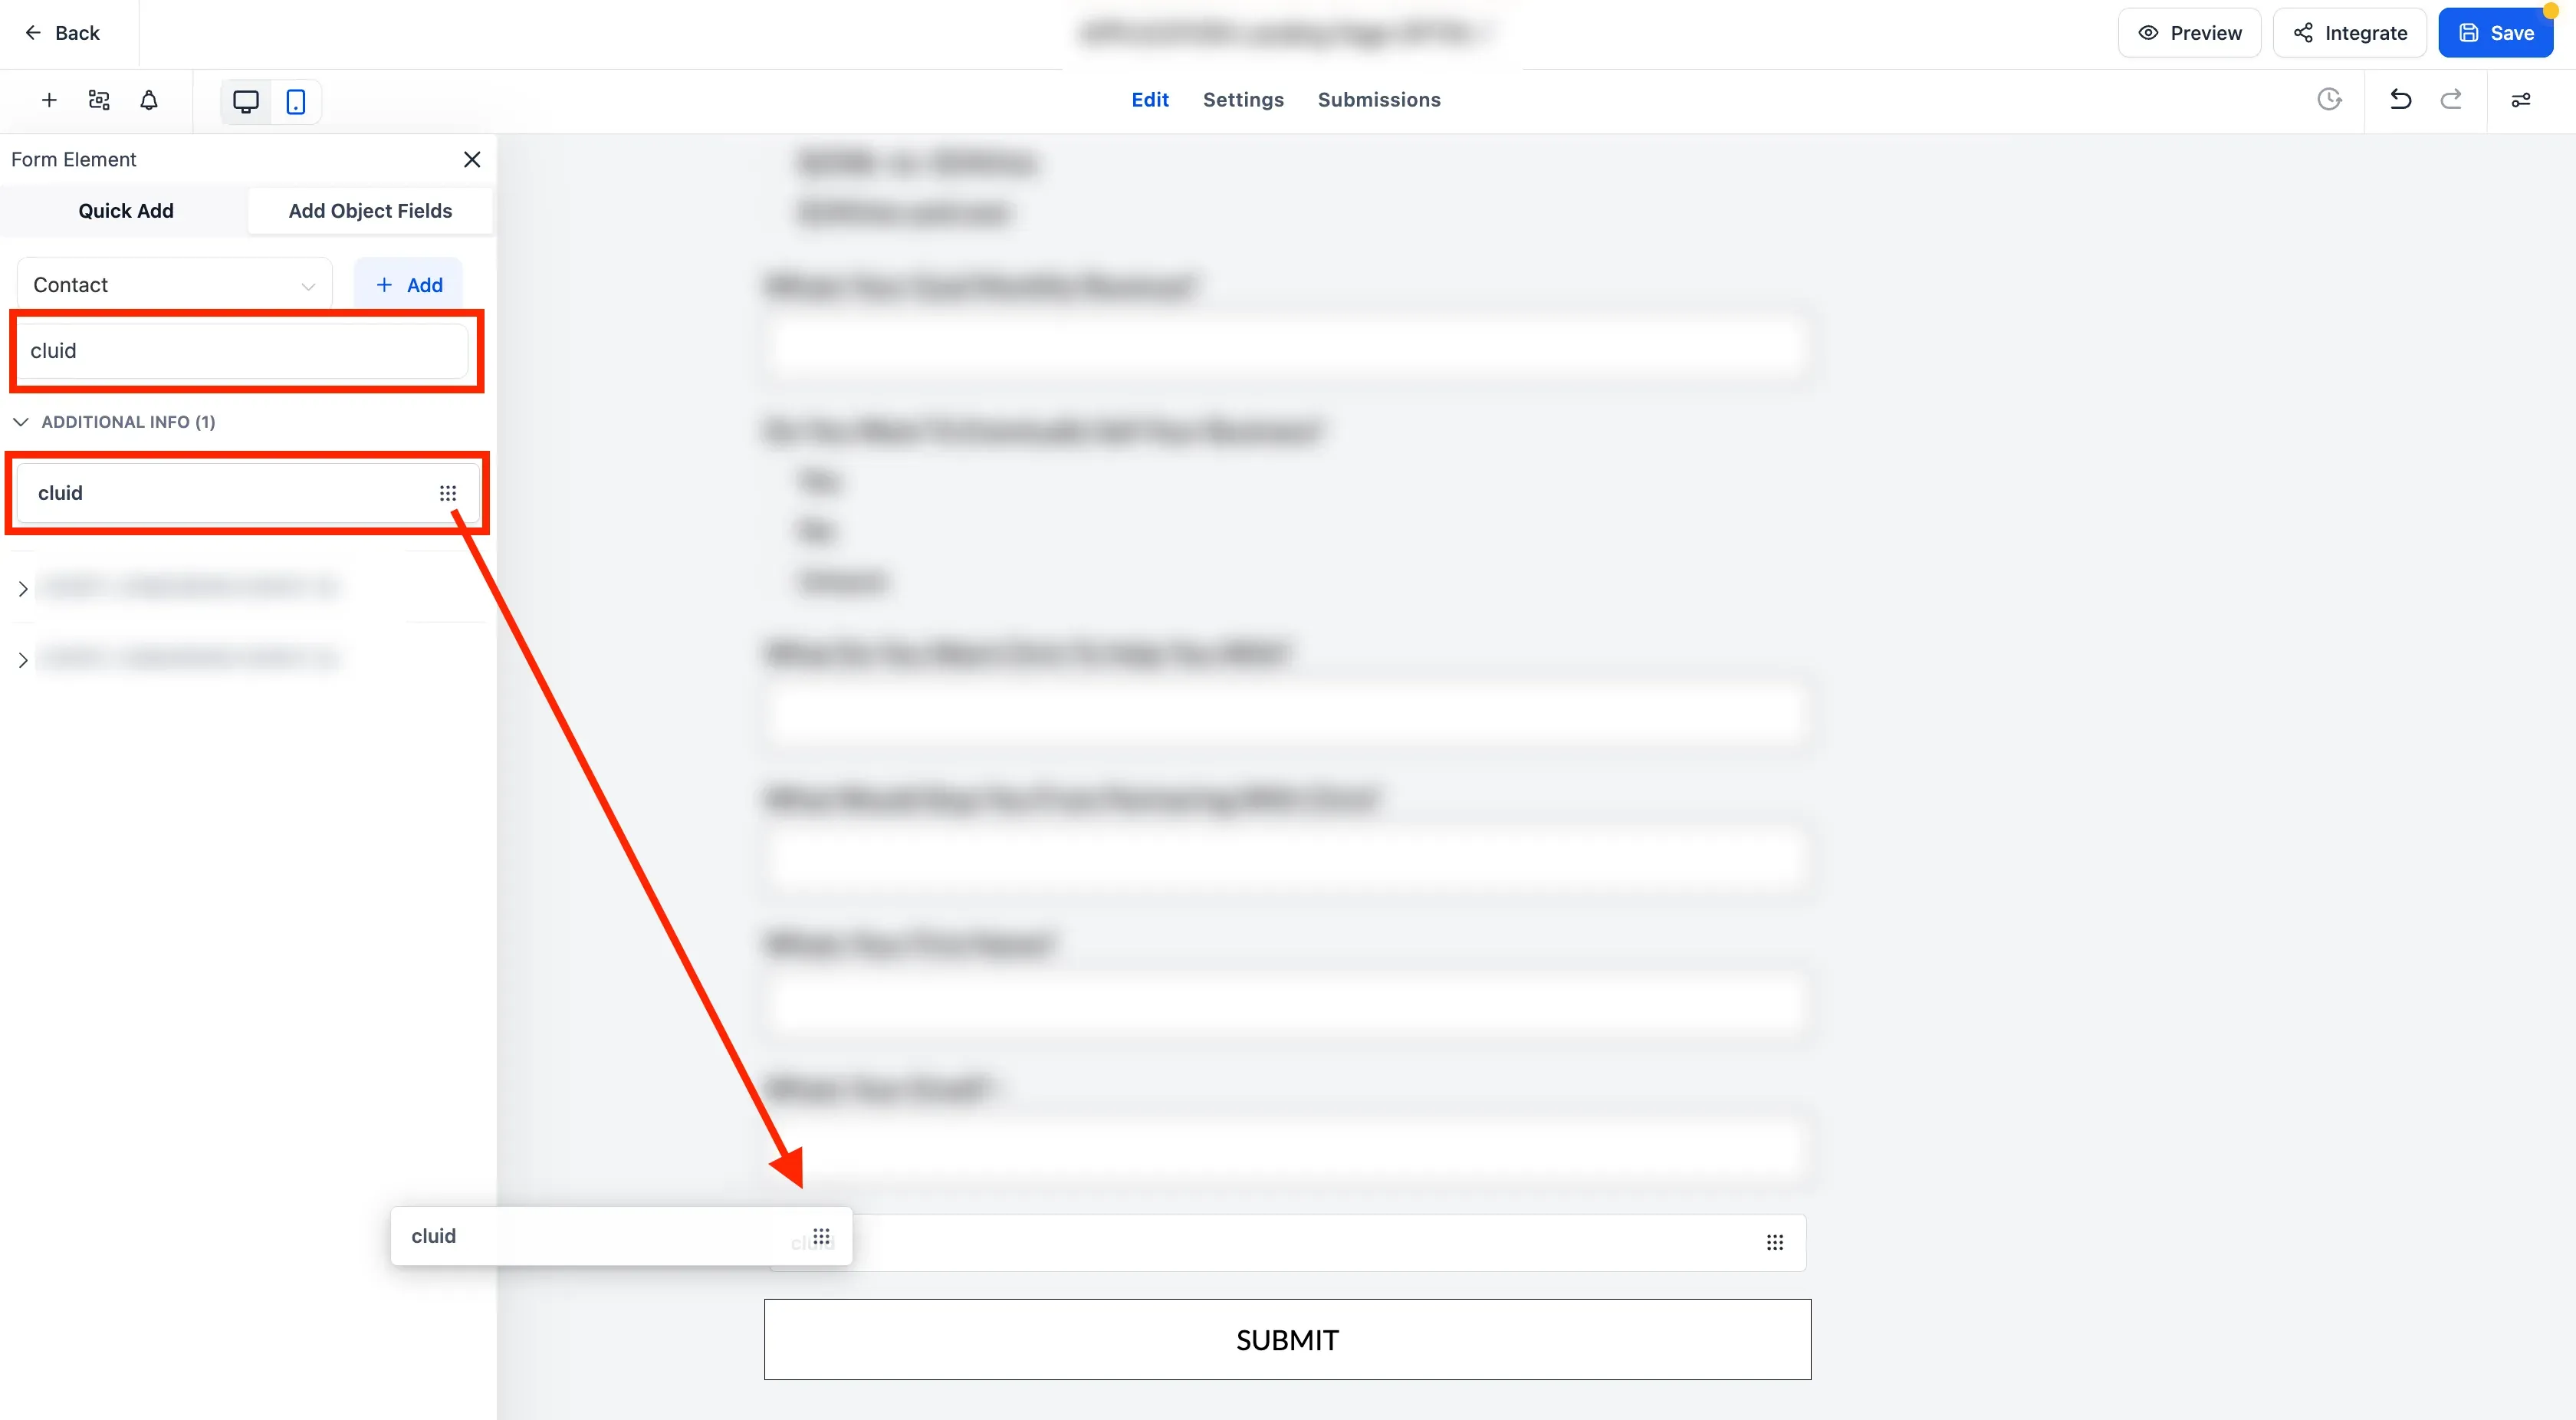
- In the left sidebar, search for the
cluidfield underAdditional Infoand drag and drop it in the form.
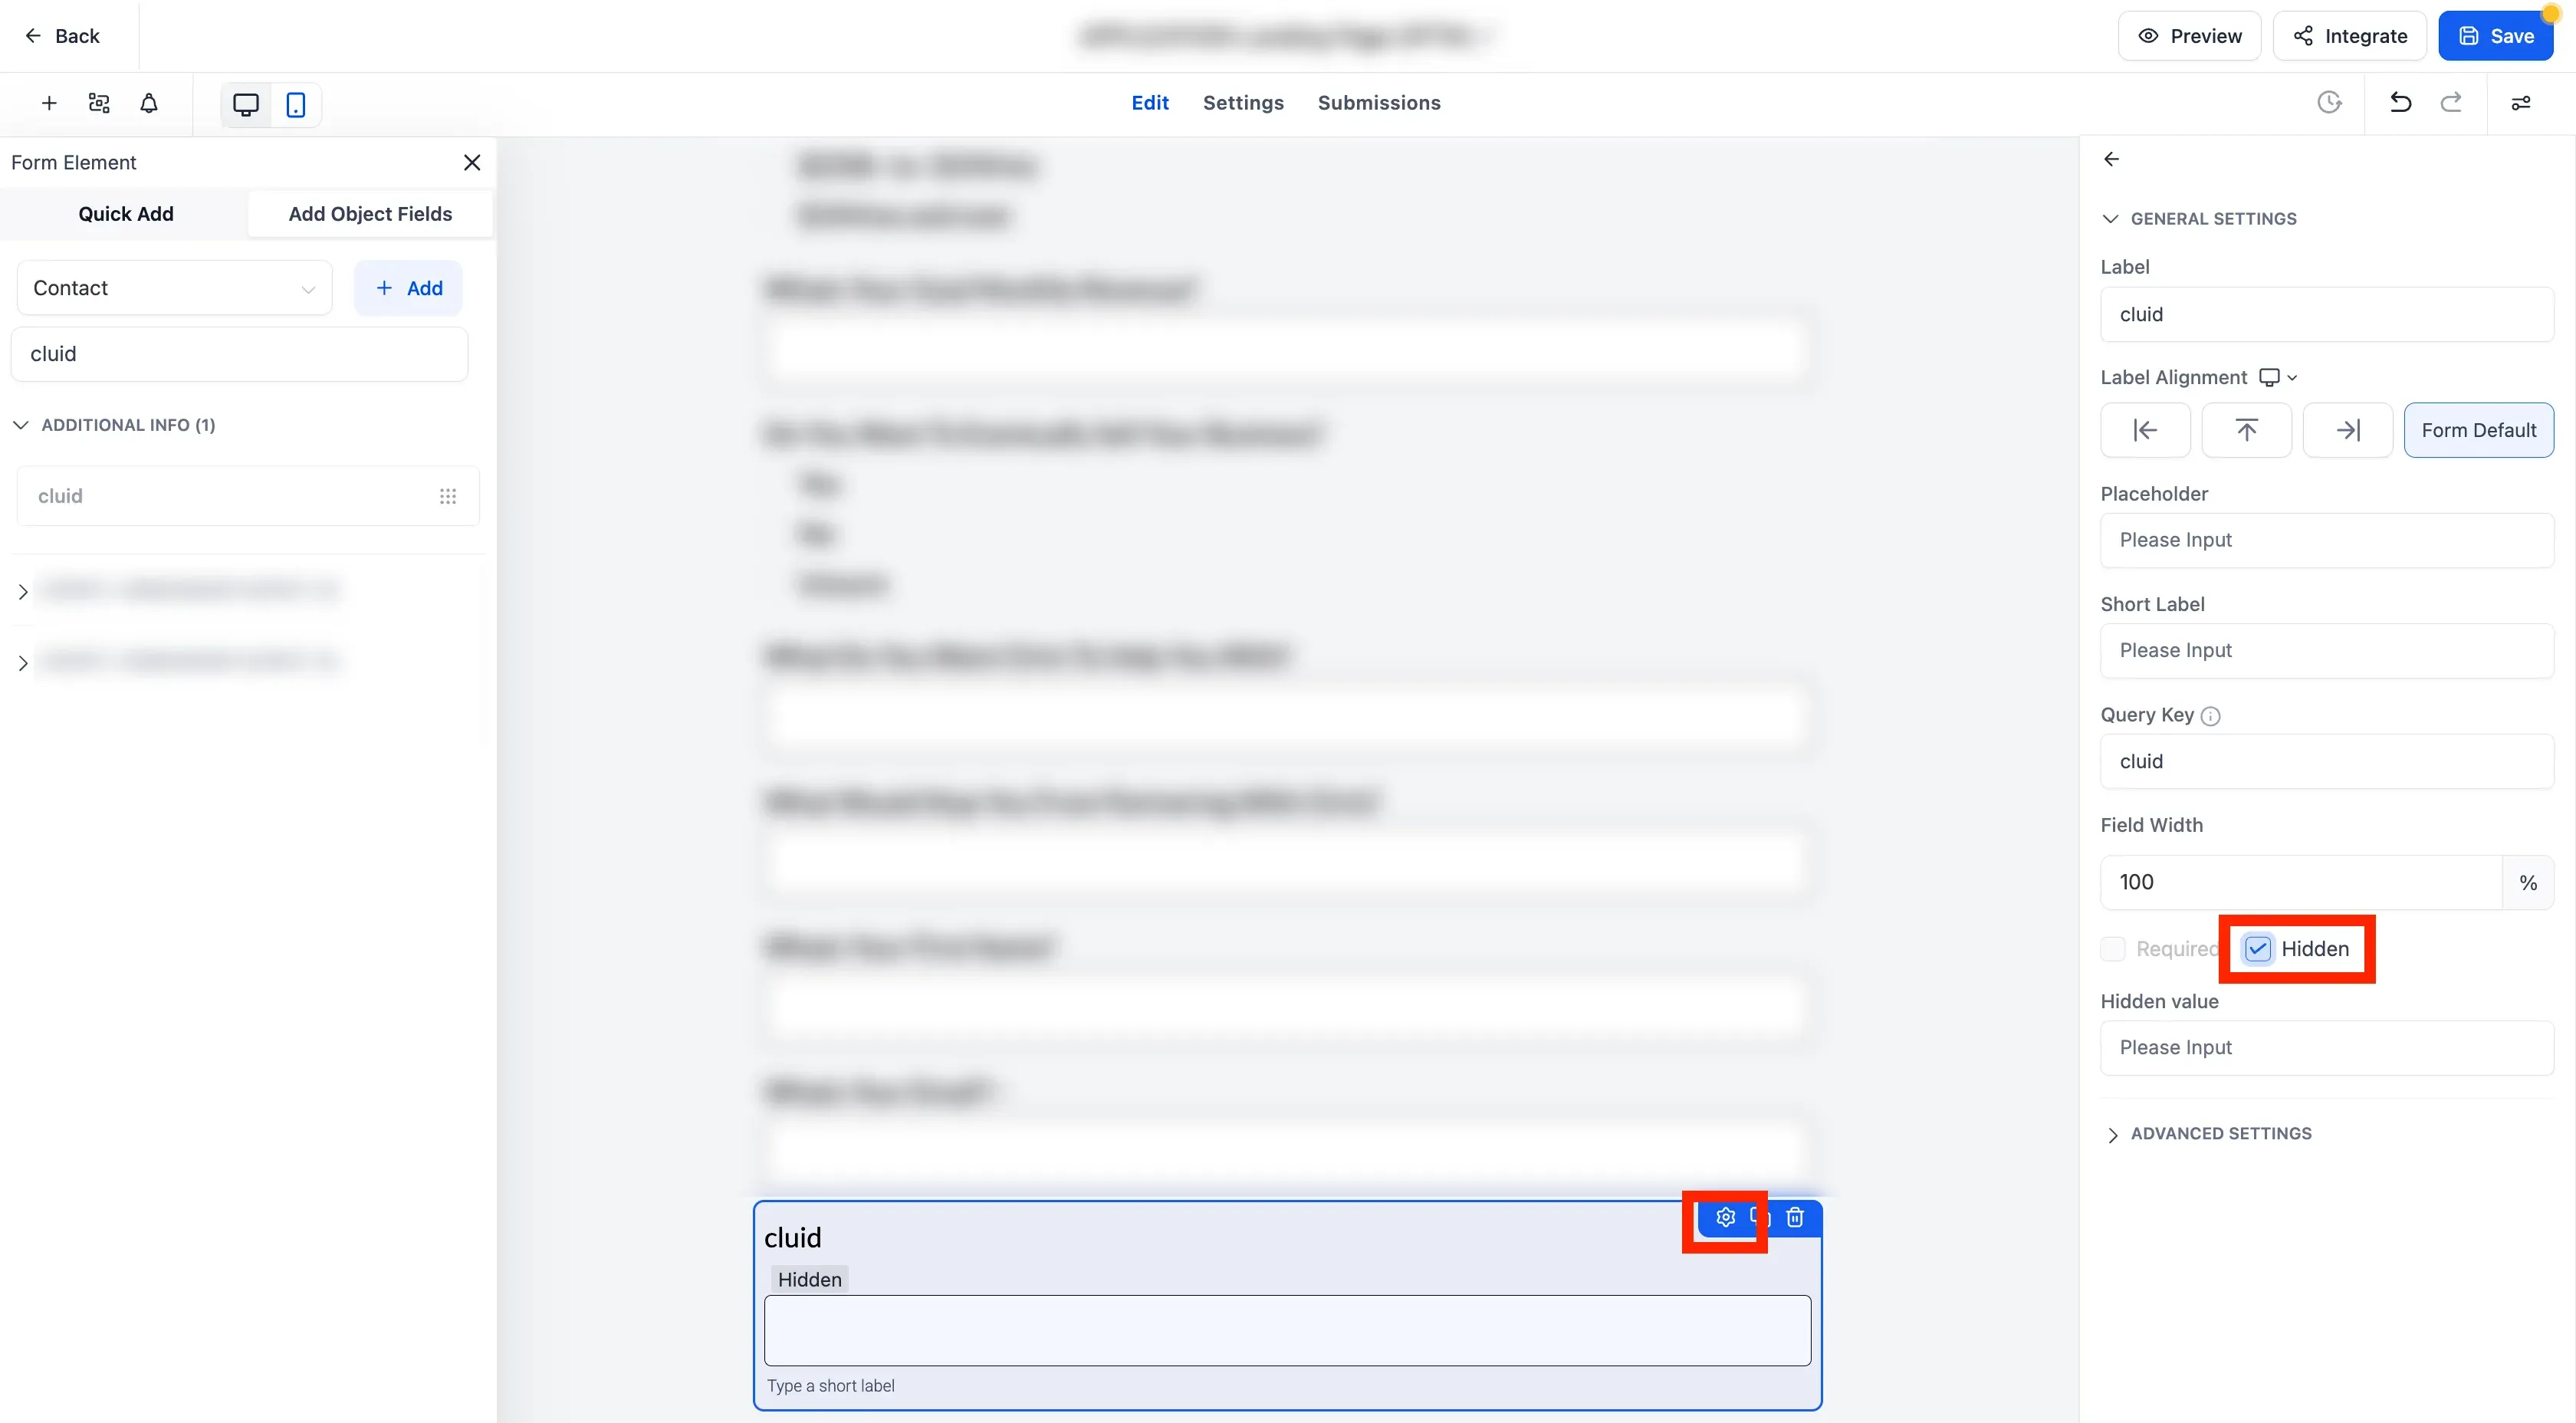
- Once added to the field, click on the settings icon in the field to edit the field in the form and check the
hiddenbox in the right sidebar.
Auto-populate the hidden field with CustomerLabs User ID
Section titled “Auto-populate the hidden field with CustomerLabs User ID”For every user that visits your website, CustomerLabs generates a unique user ID. This has to be passed on as a URL query parameter for GHL to capture and prefill the hidden field.
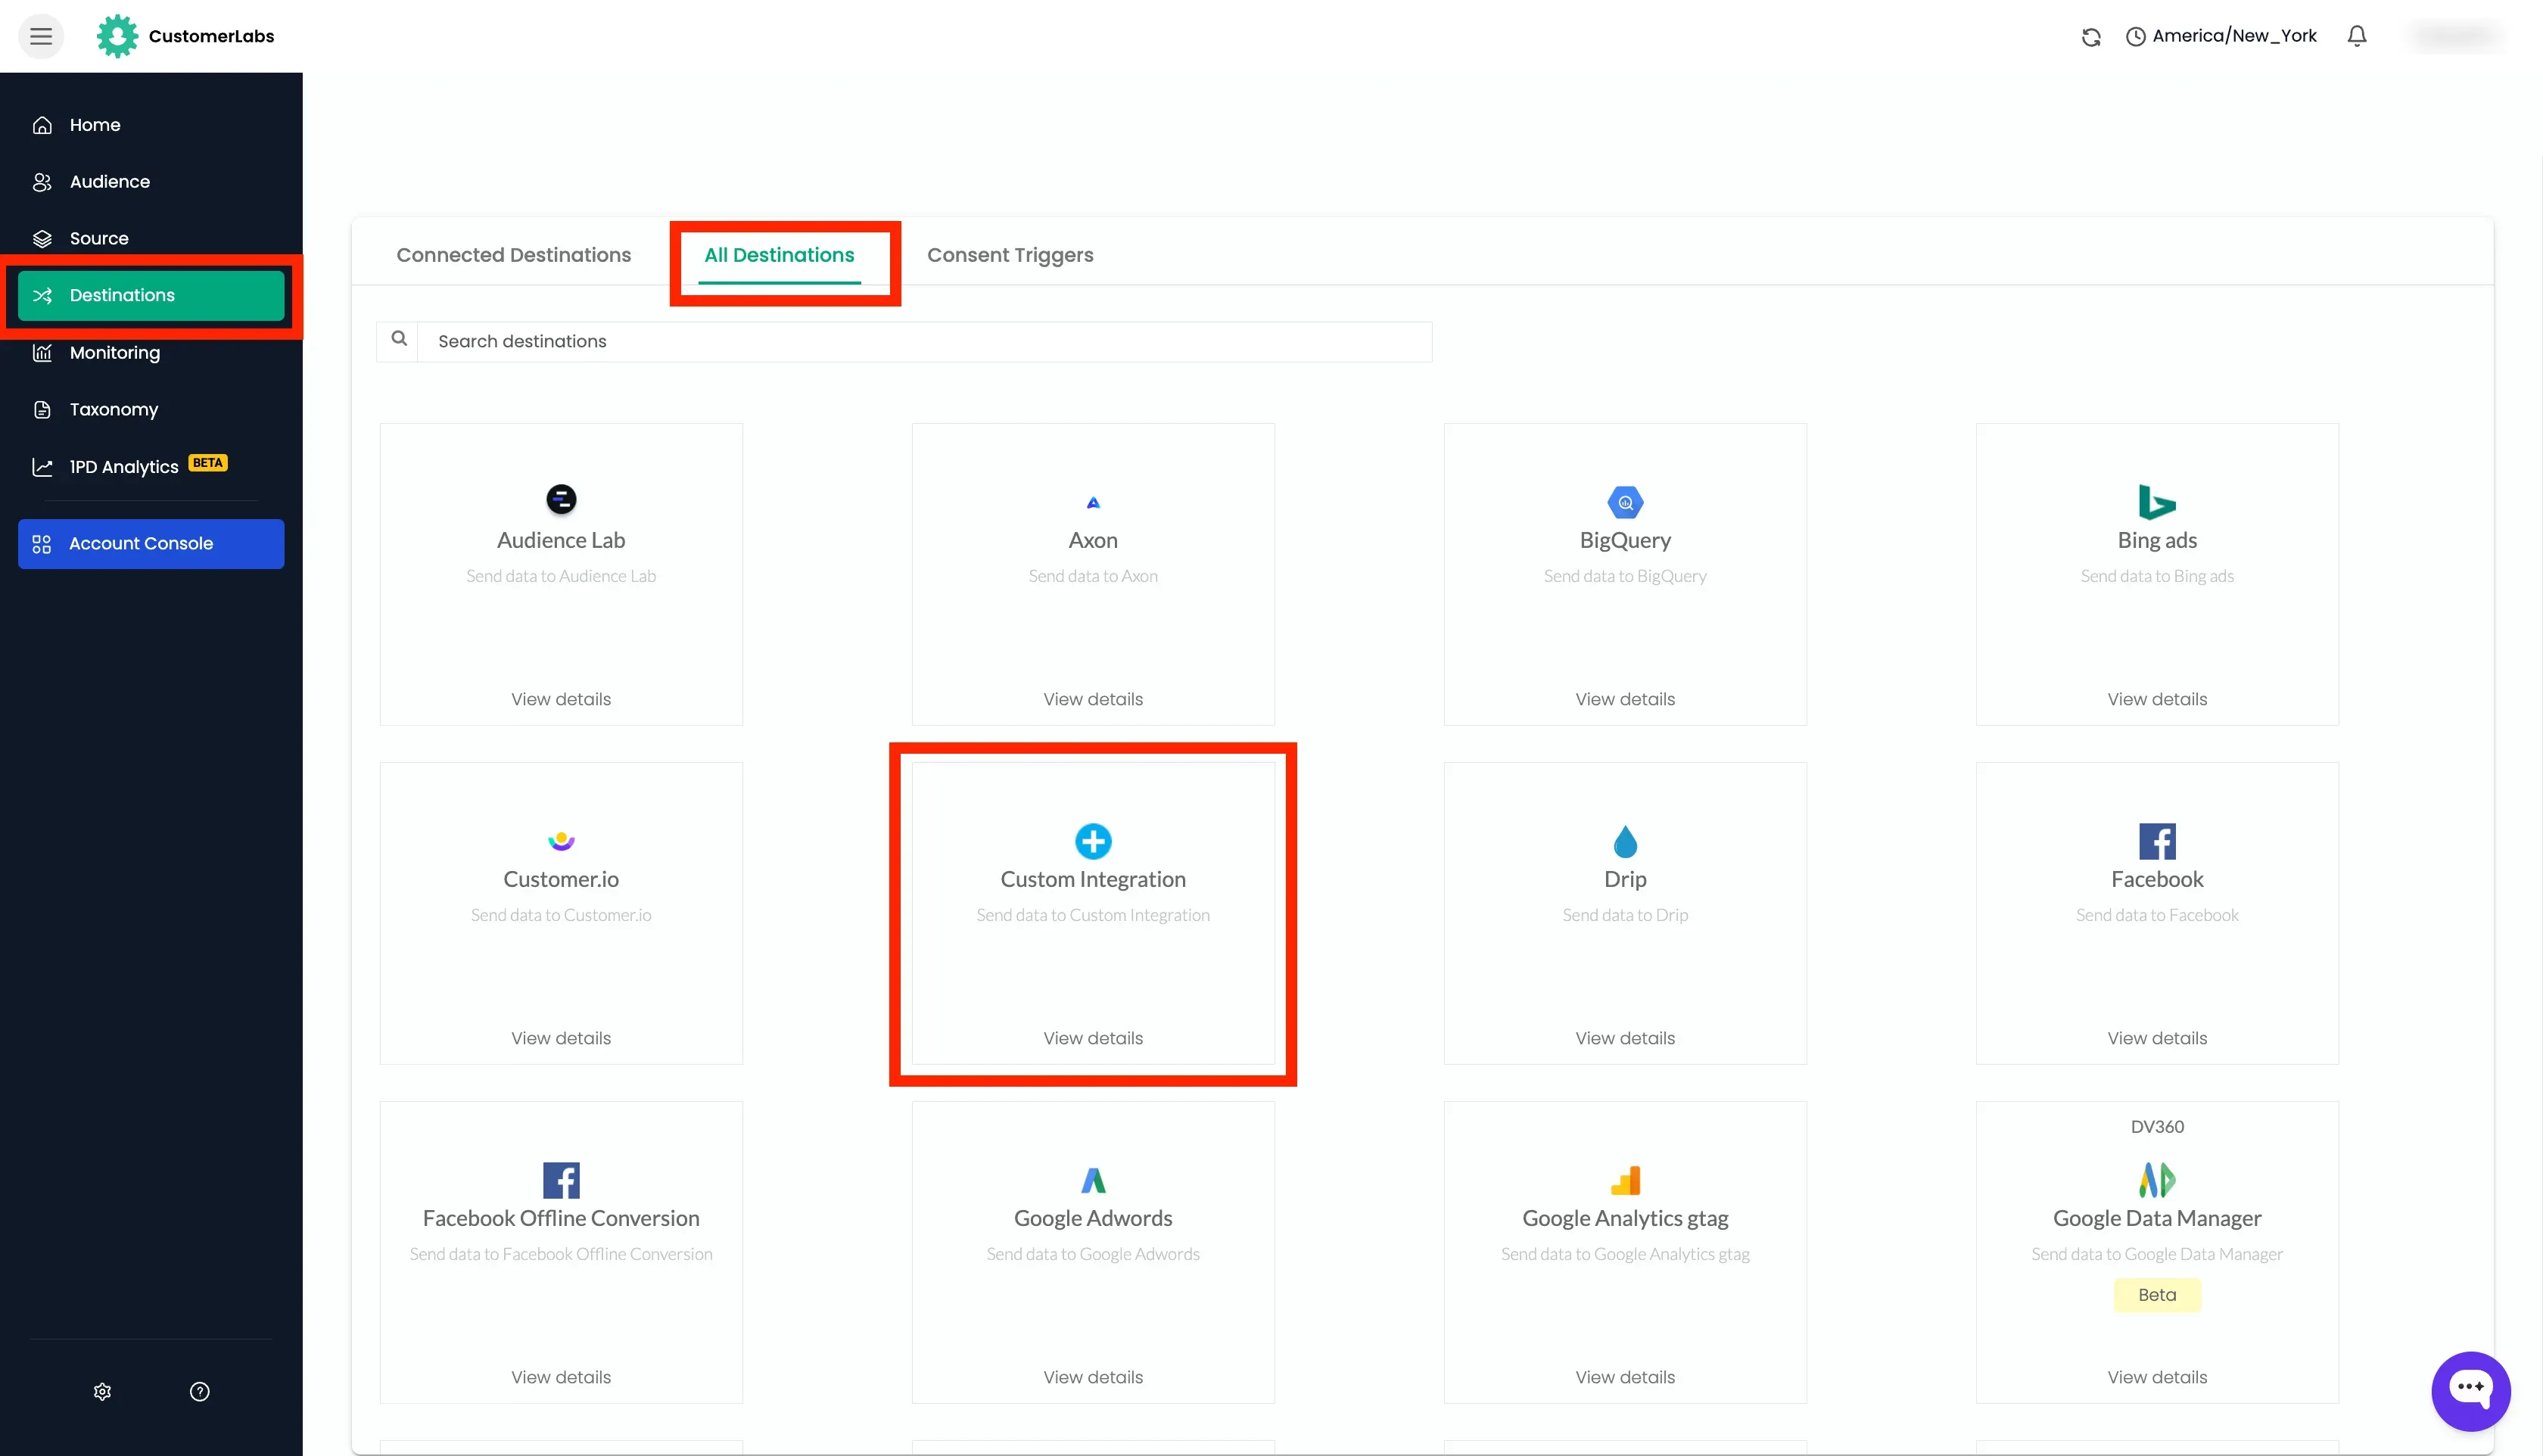
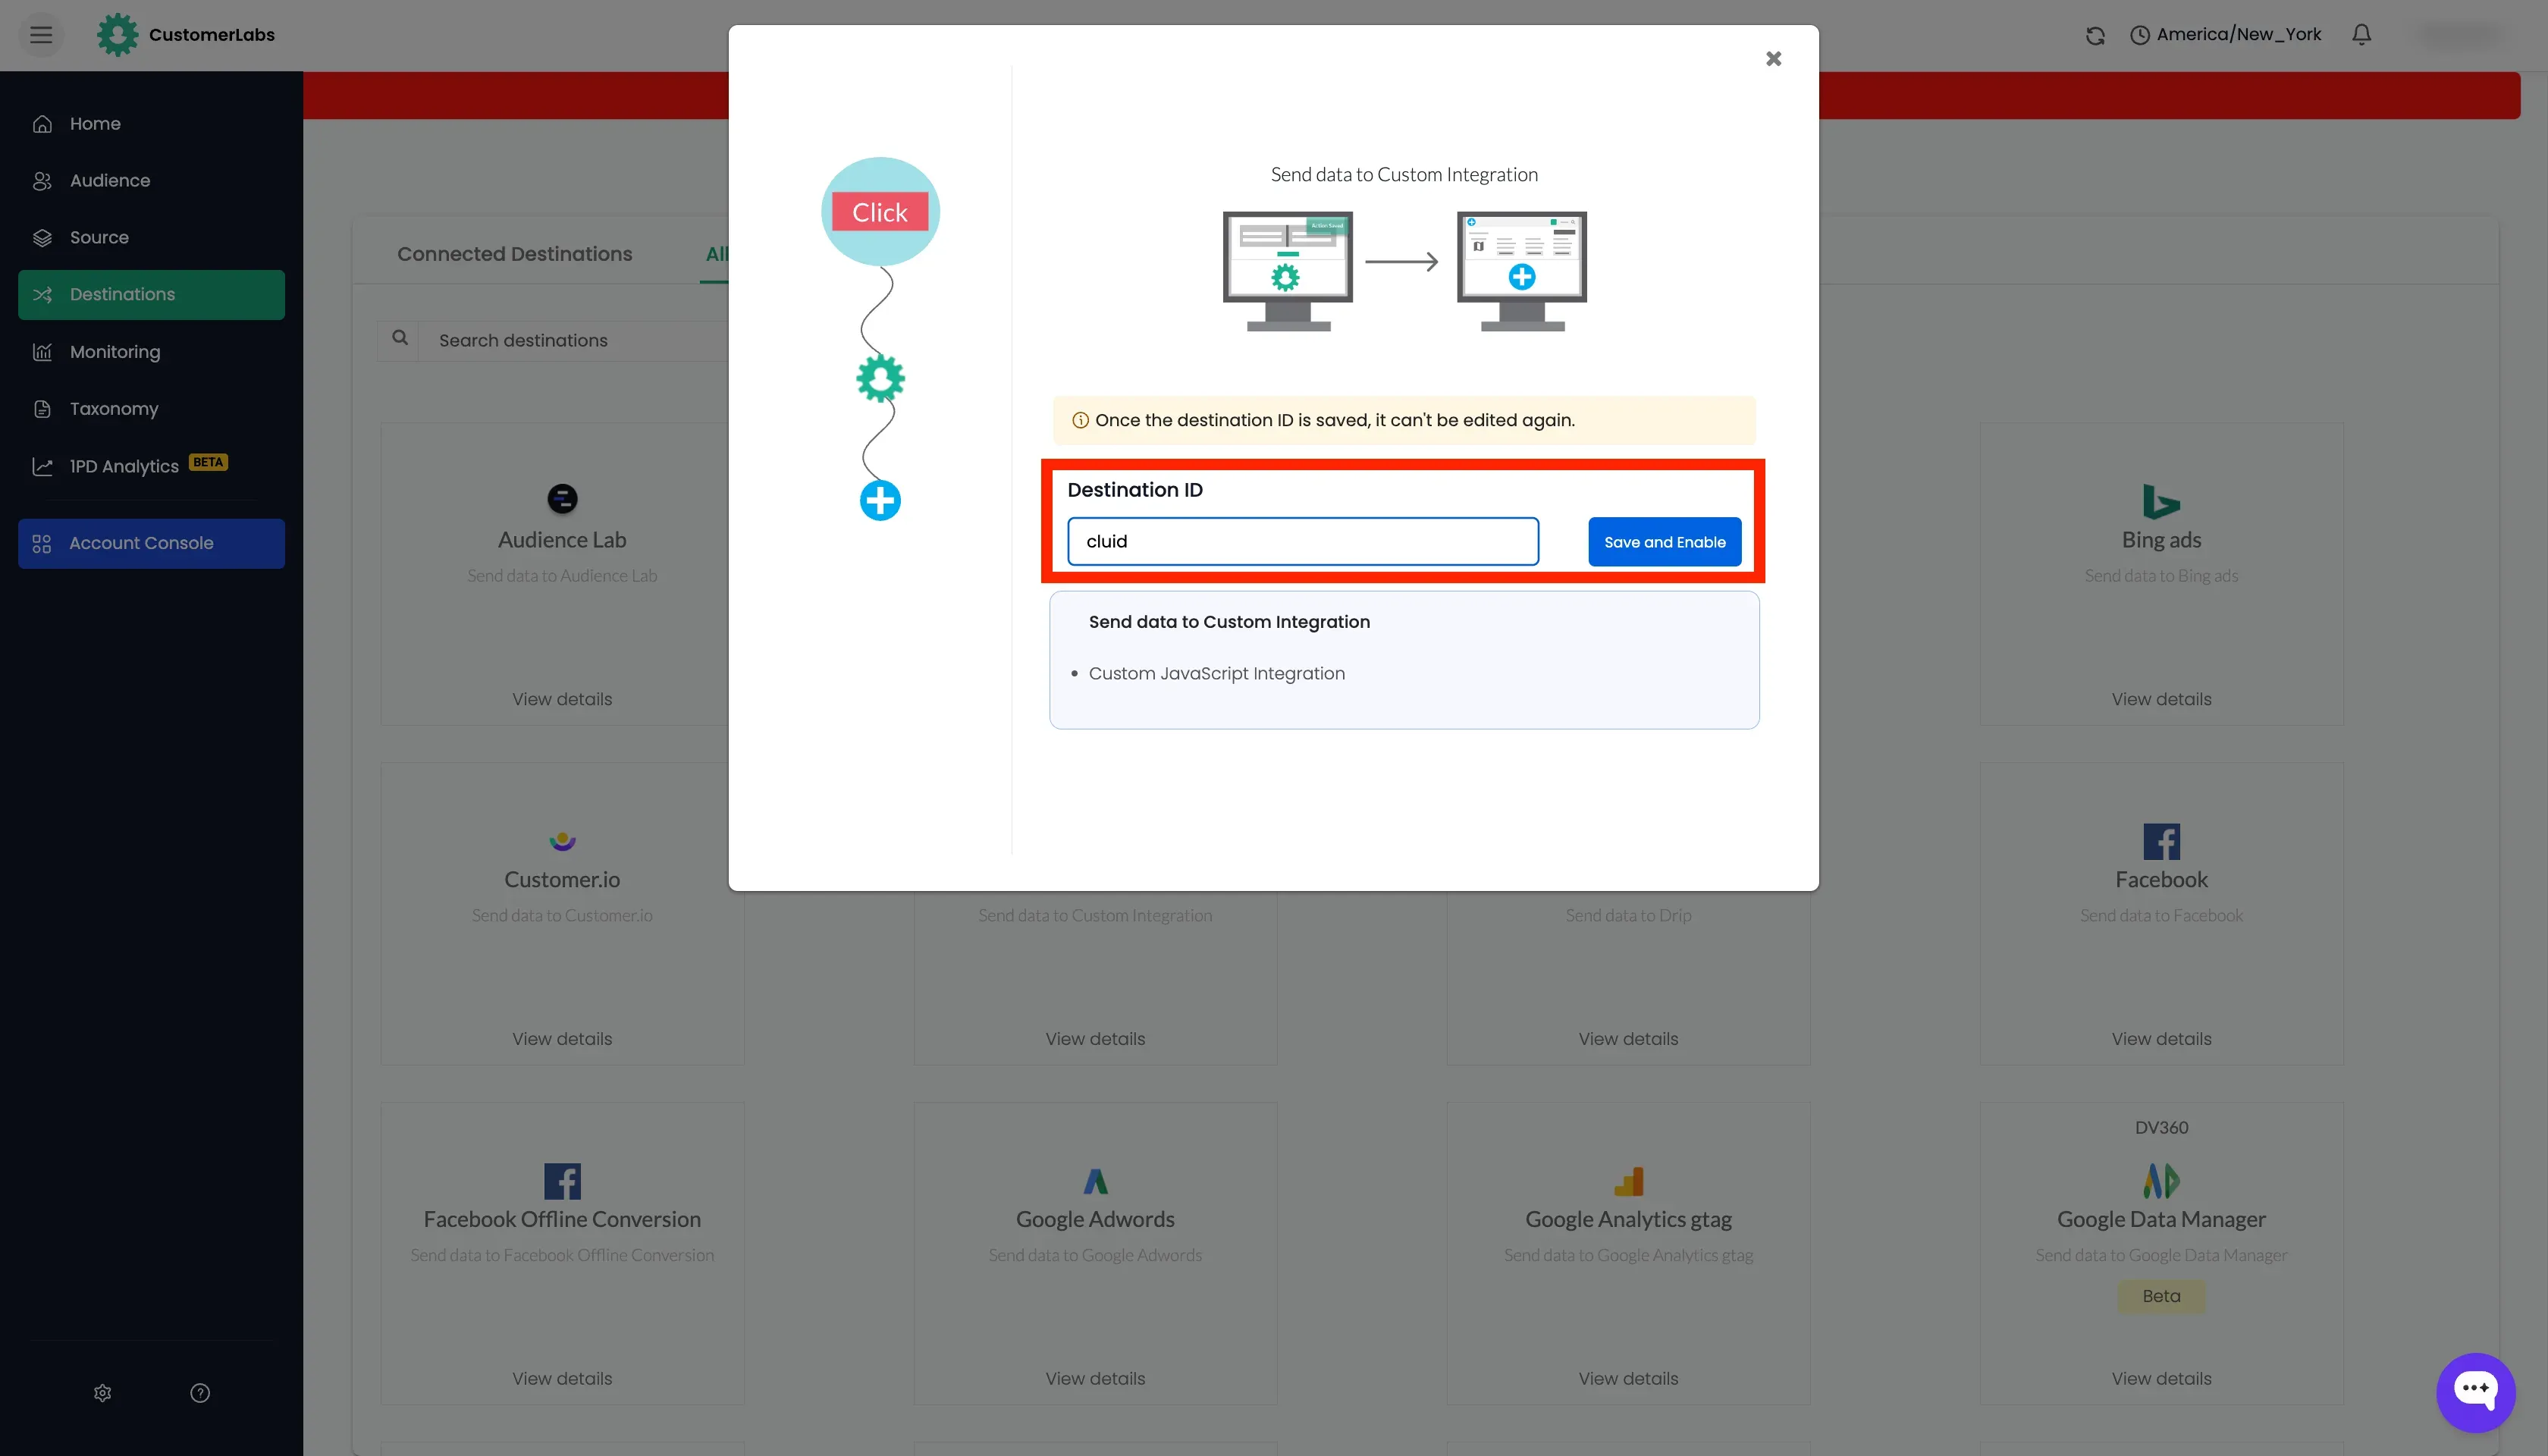
- Log in to the CustomerLabs account → Click Destinations → All Destinations tab → Choose “Custom Integration” → Enter the name as “cluid” → and click on “Save and enable”.
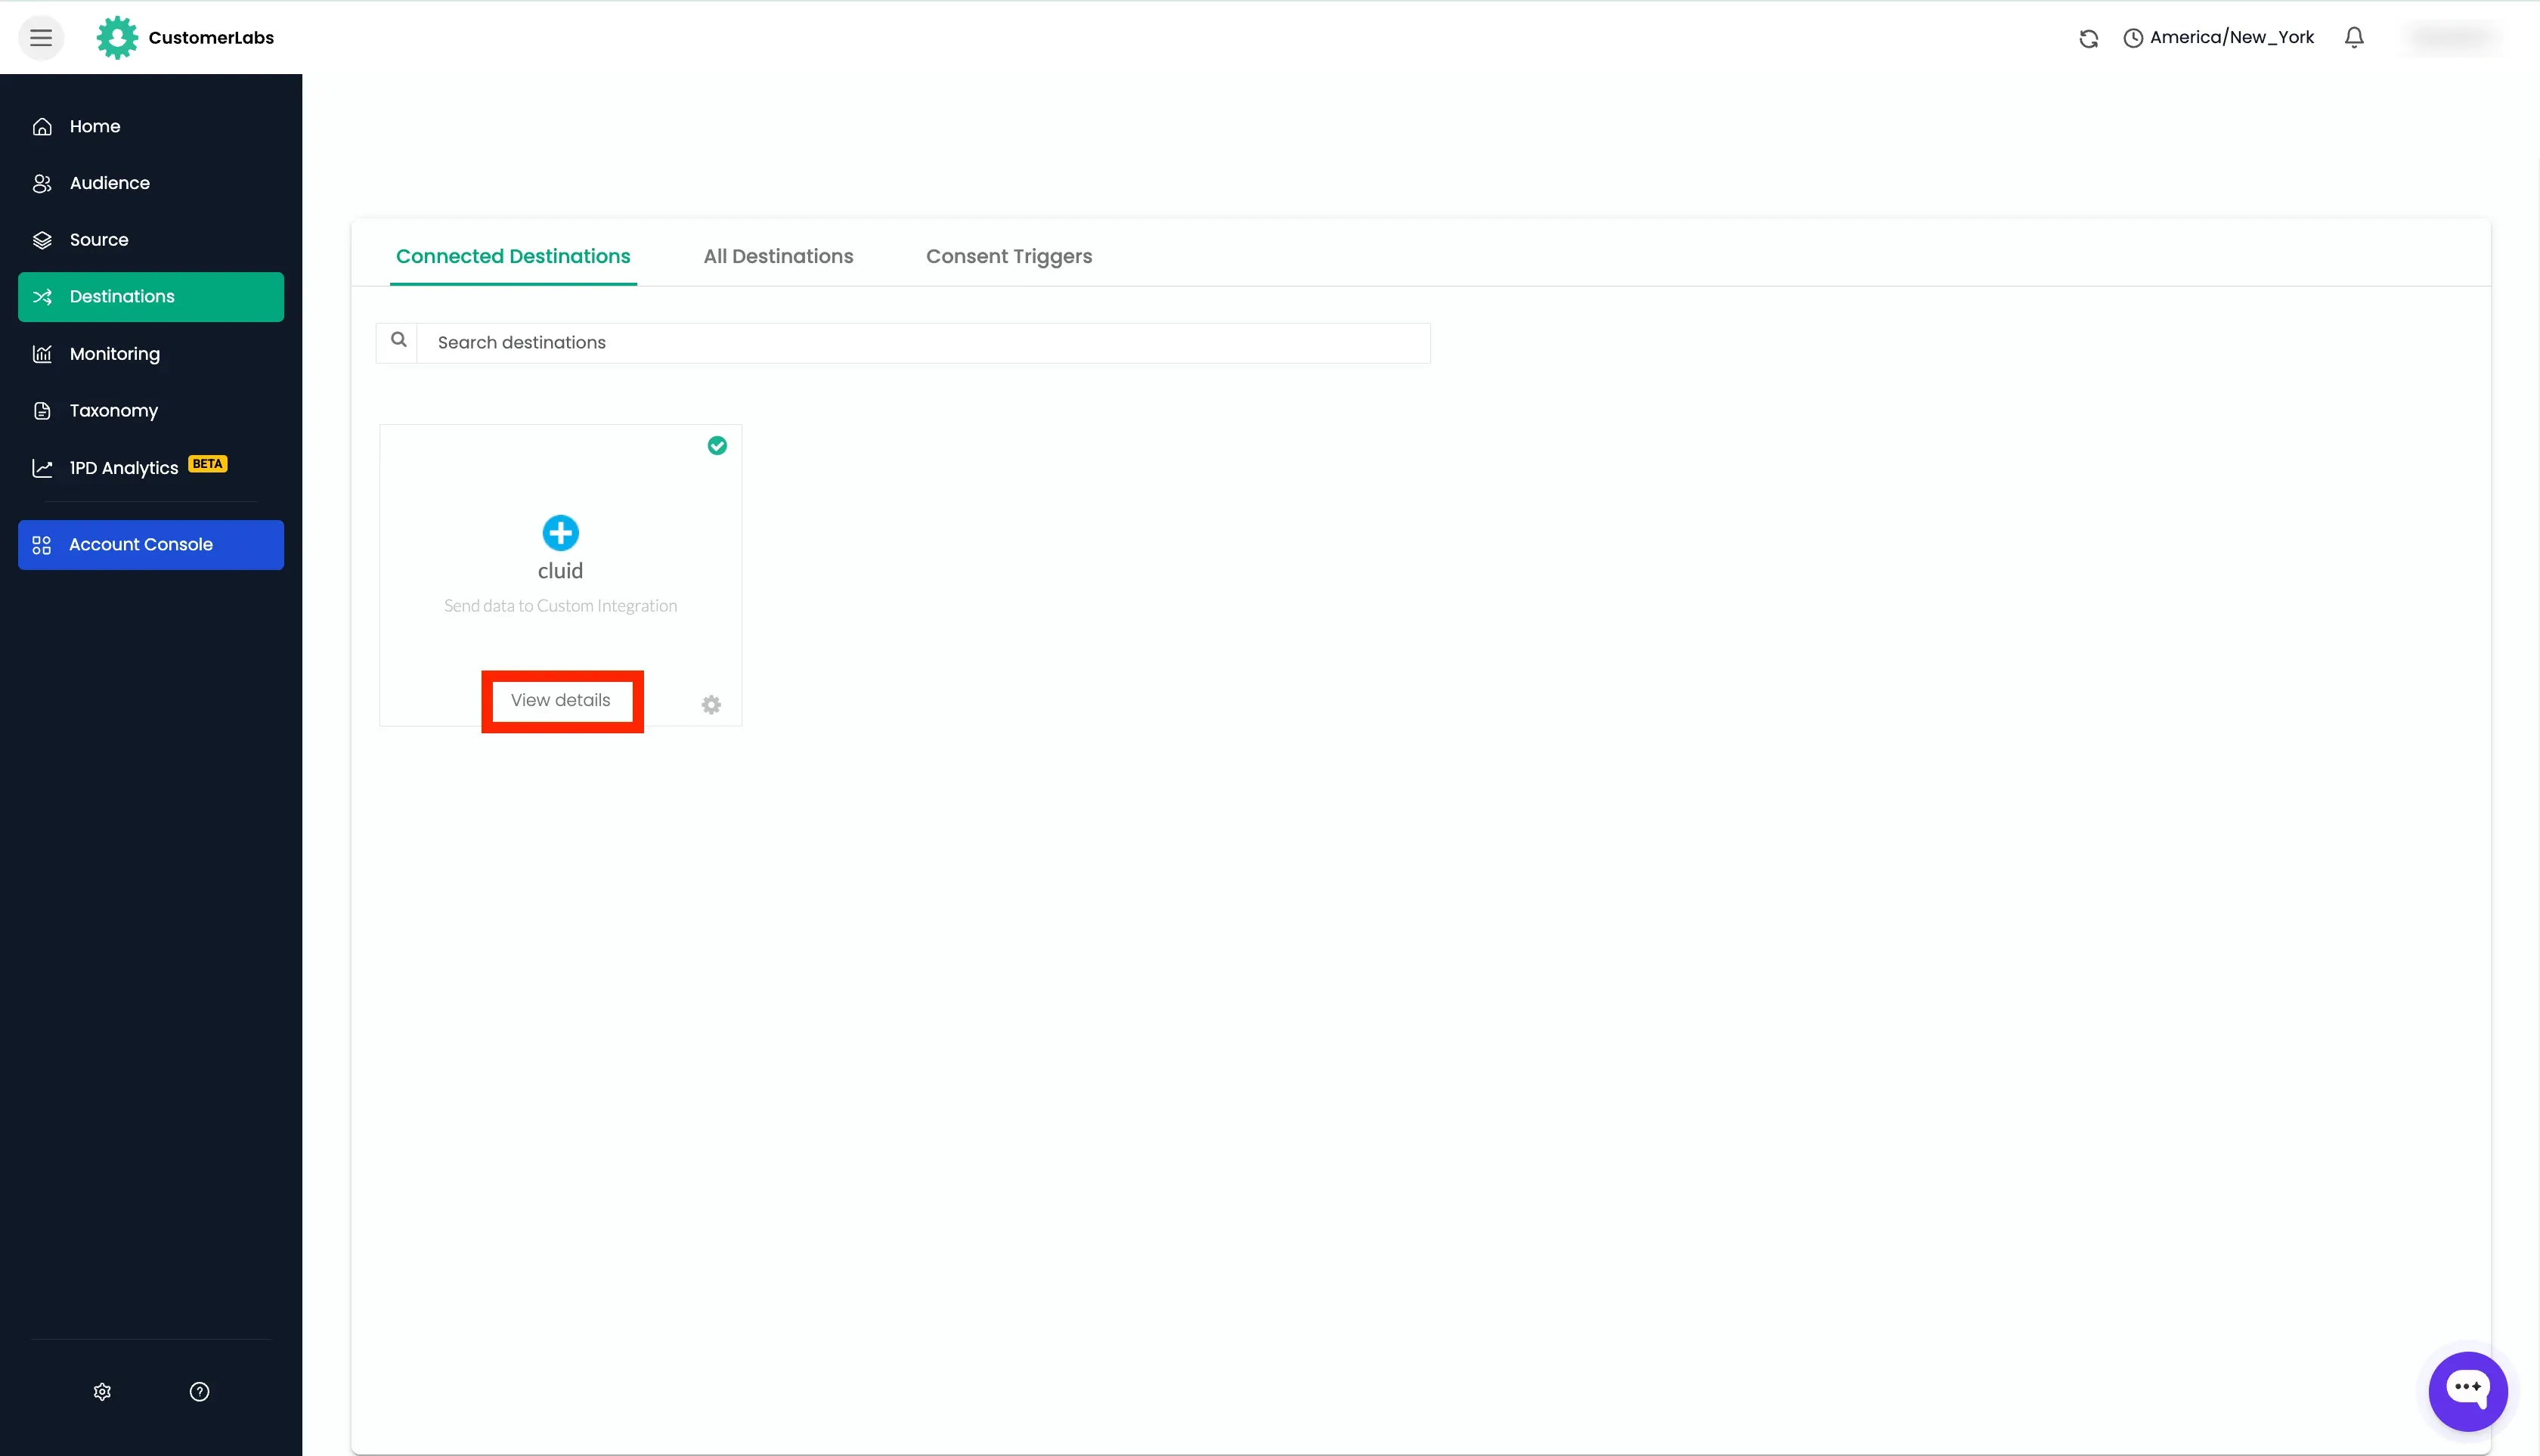
- Now that Custom Integration is added, click on “View details” on the “Custom Integration” card.
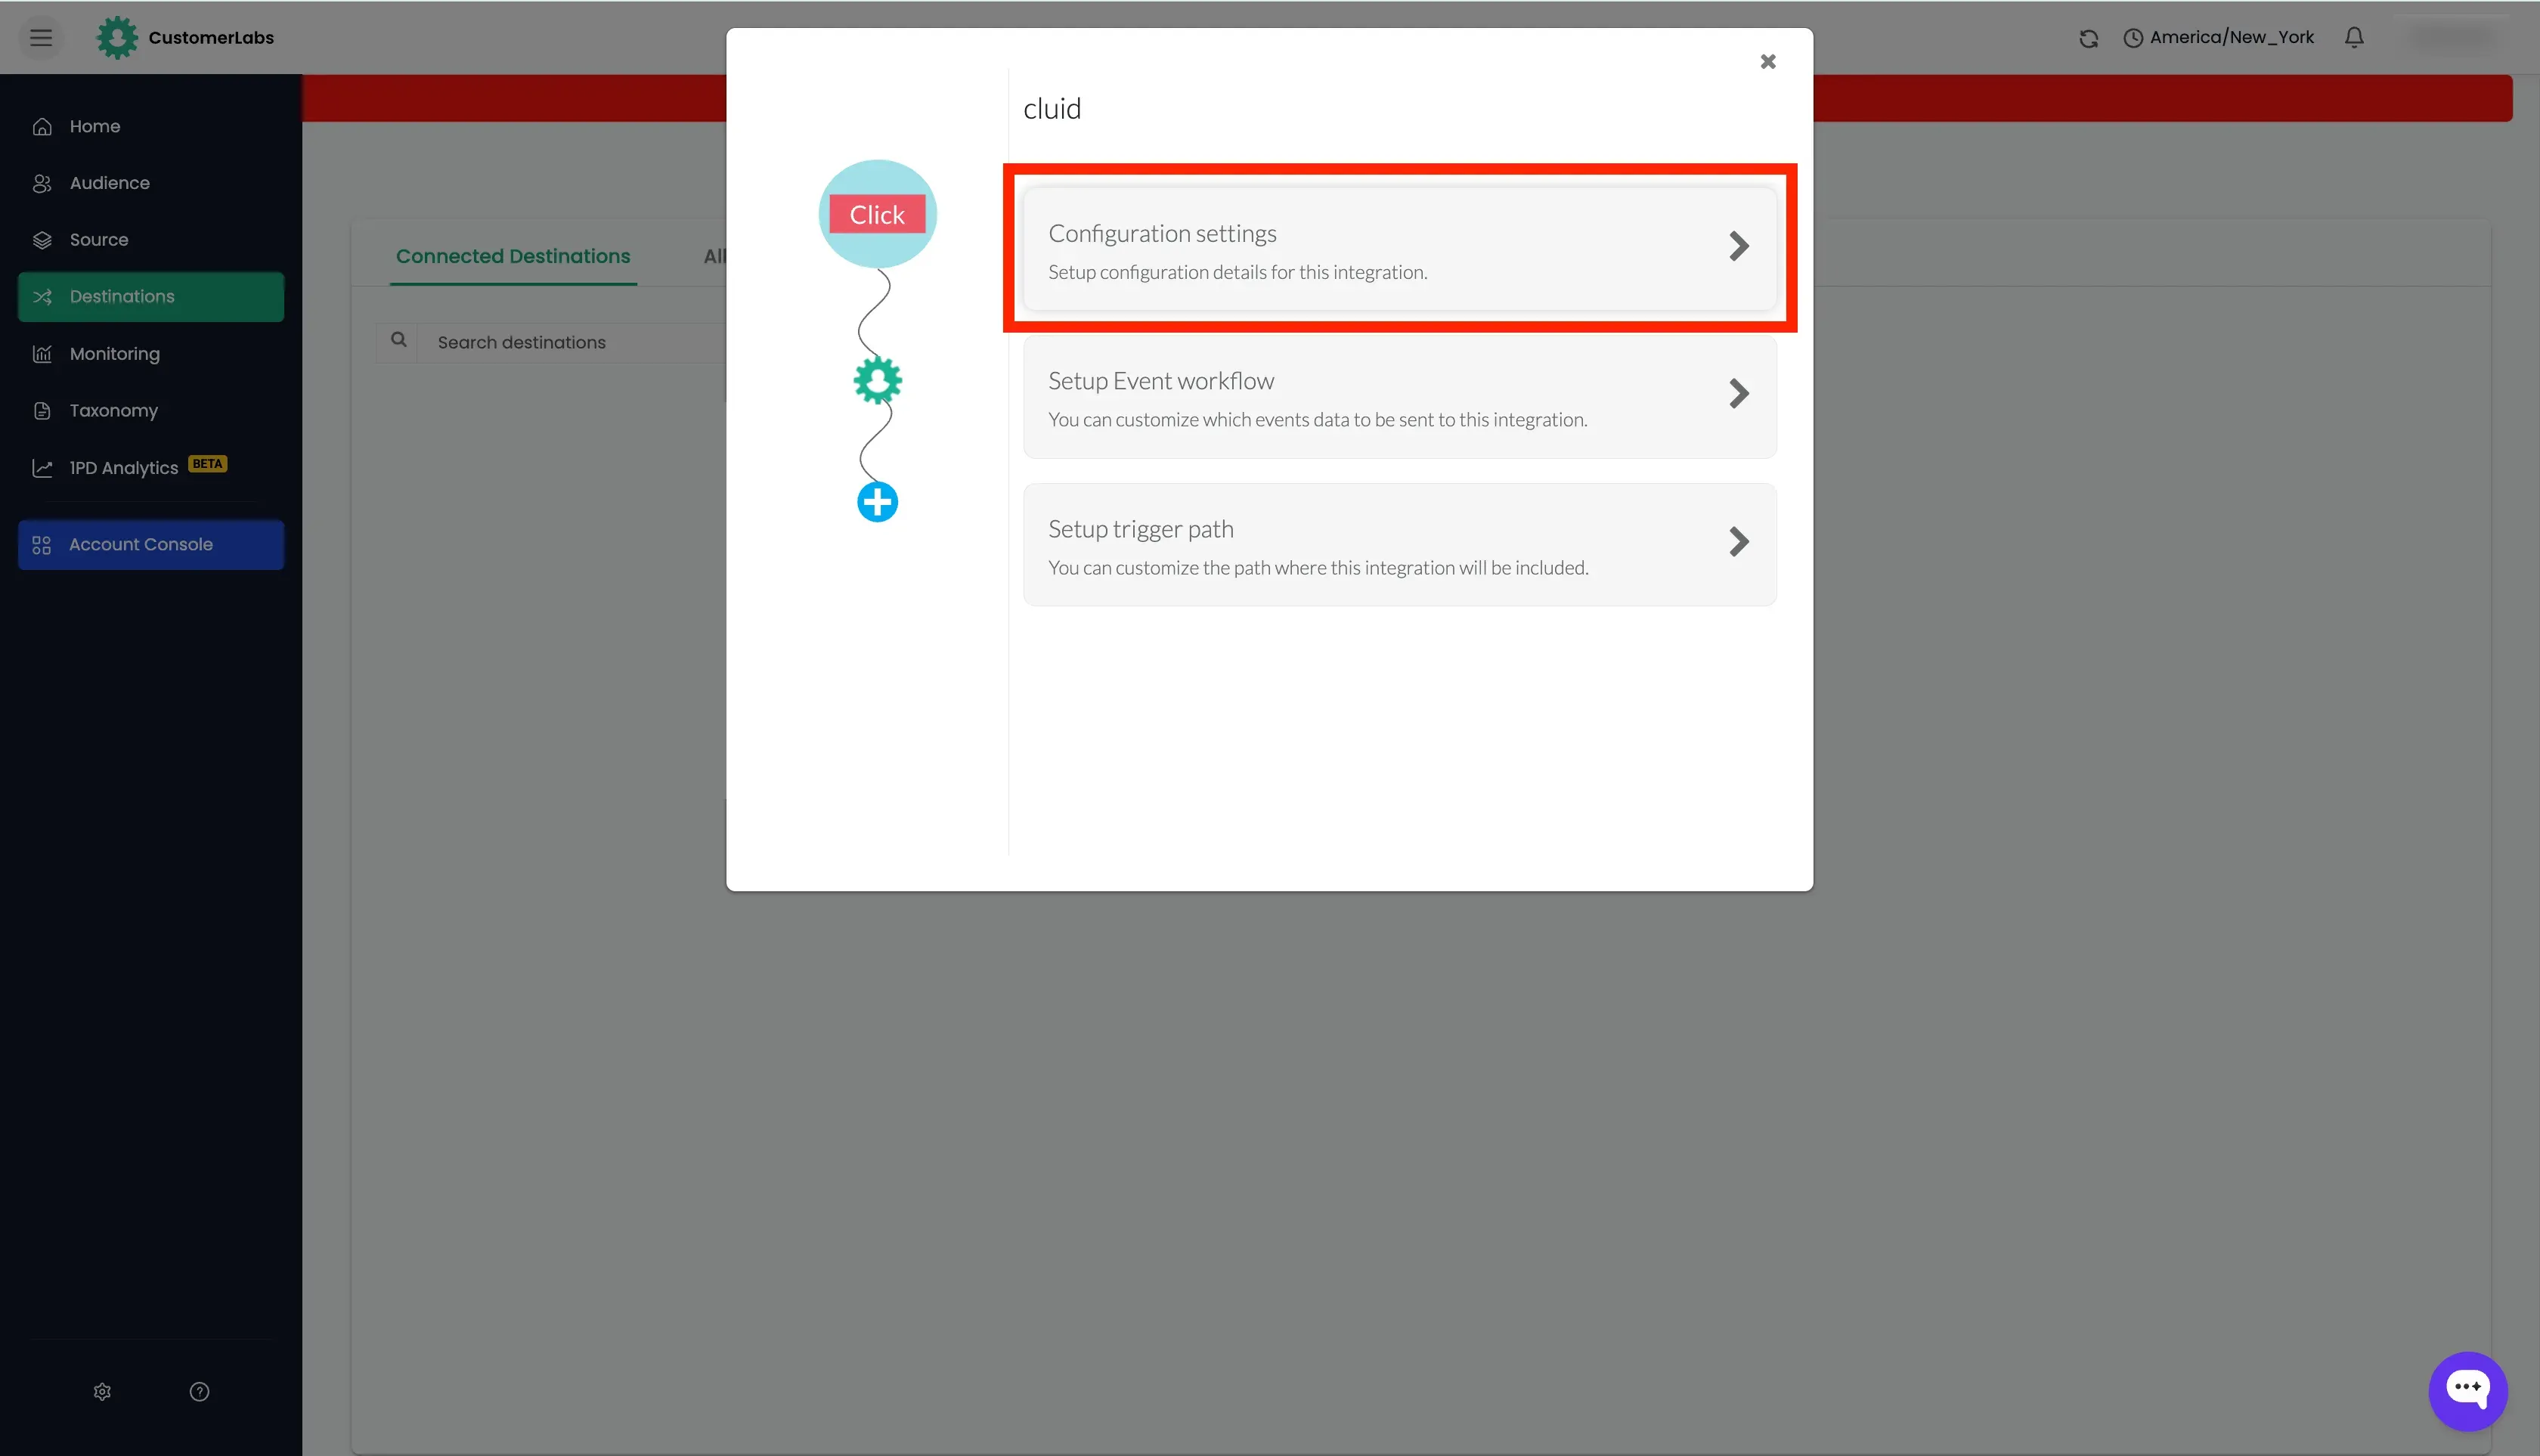
- Click on “Configuration Settings”.
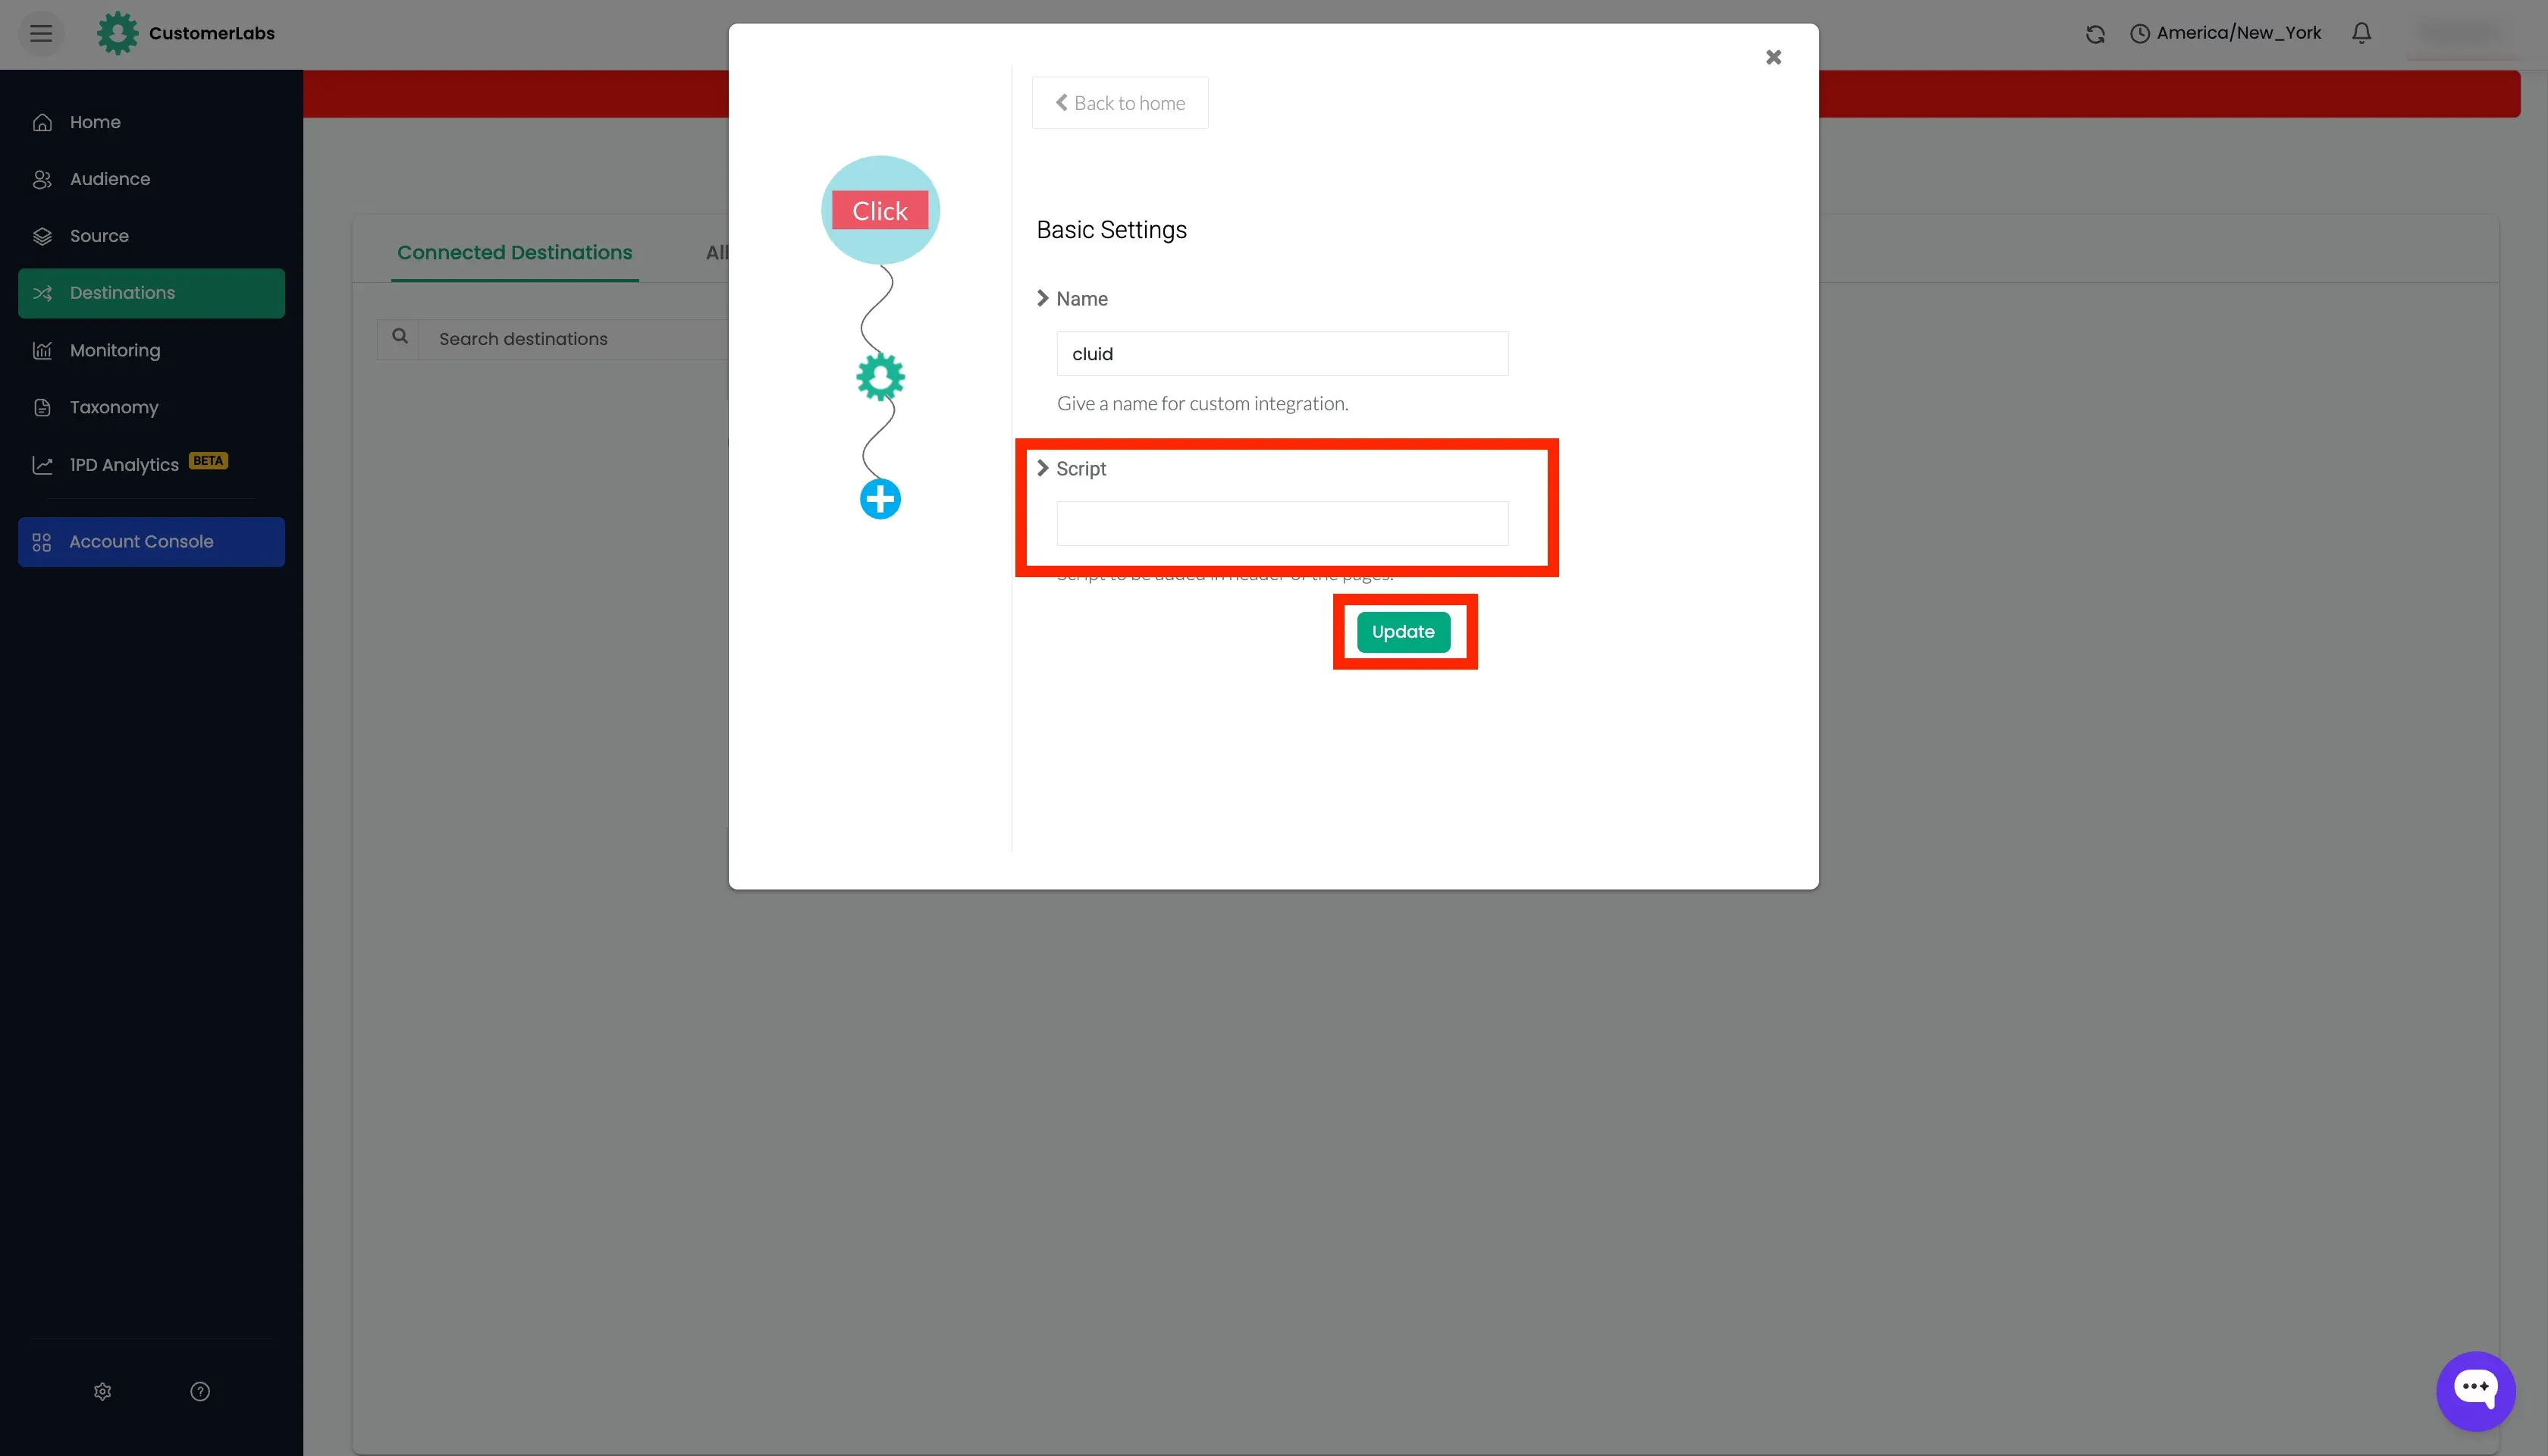
- Under the script section, paste the following script based on the setup you have in GHL and click Save.
Scenario 1 : Single page form
This code is to be pasted only if you are using single page form in GHL.
(function() { if (["/", "/<path-name>"].includes(window.location.pathname) && window.location.host == "<your-domain.com>") { var cluid = window.CLabsgbVar.generalProps.uid; var queryParams = new URLSearchParams(window.location.search); if (!queryParams.has('cluid')) { queryParams.append('cluid', cluid); //the hidden field name in GHL should match the parameter window.location.search = queryParams.toString(); } }})()Scenario 2 : Multi-page form
If your form is present in multiple pages please use the below code
(function() { if (["/", "/<path-name>"].includes(window.location.pathname) && window.location.host == "<your-domain.com>") { var cluid = window.CLabsgbVar.generalProps.uid; var queryParams = new URLSearchParams(window.location.search); if (!queryParams.has('cluid')) { queryParams.append('cluid', cluid); //the hidden field name in GHL should match the parameter window.location.search = queryParams.toString(); } }})()- This code appends the
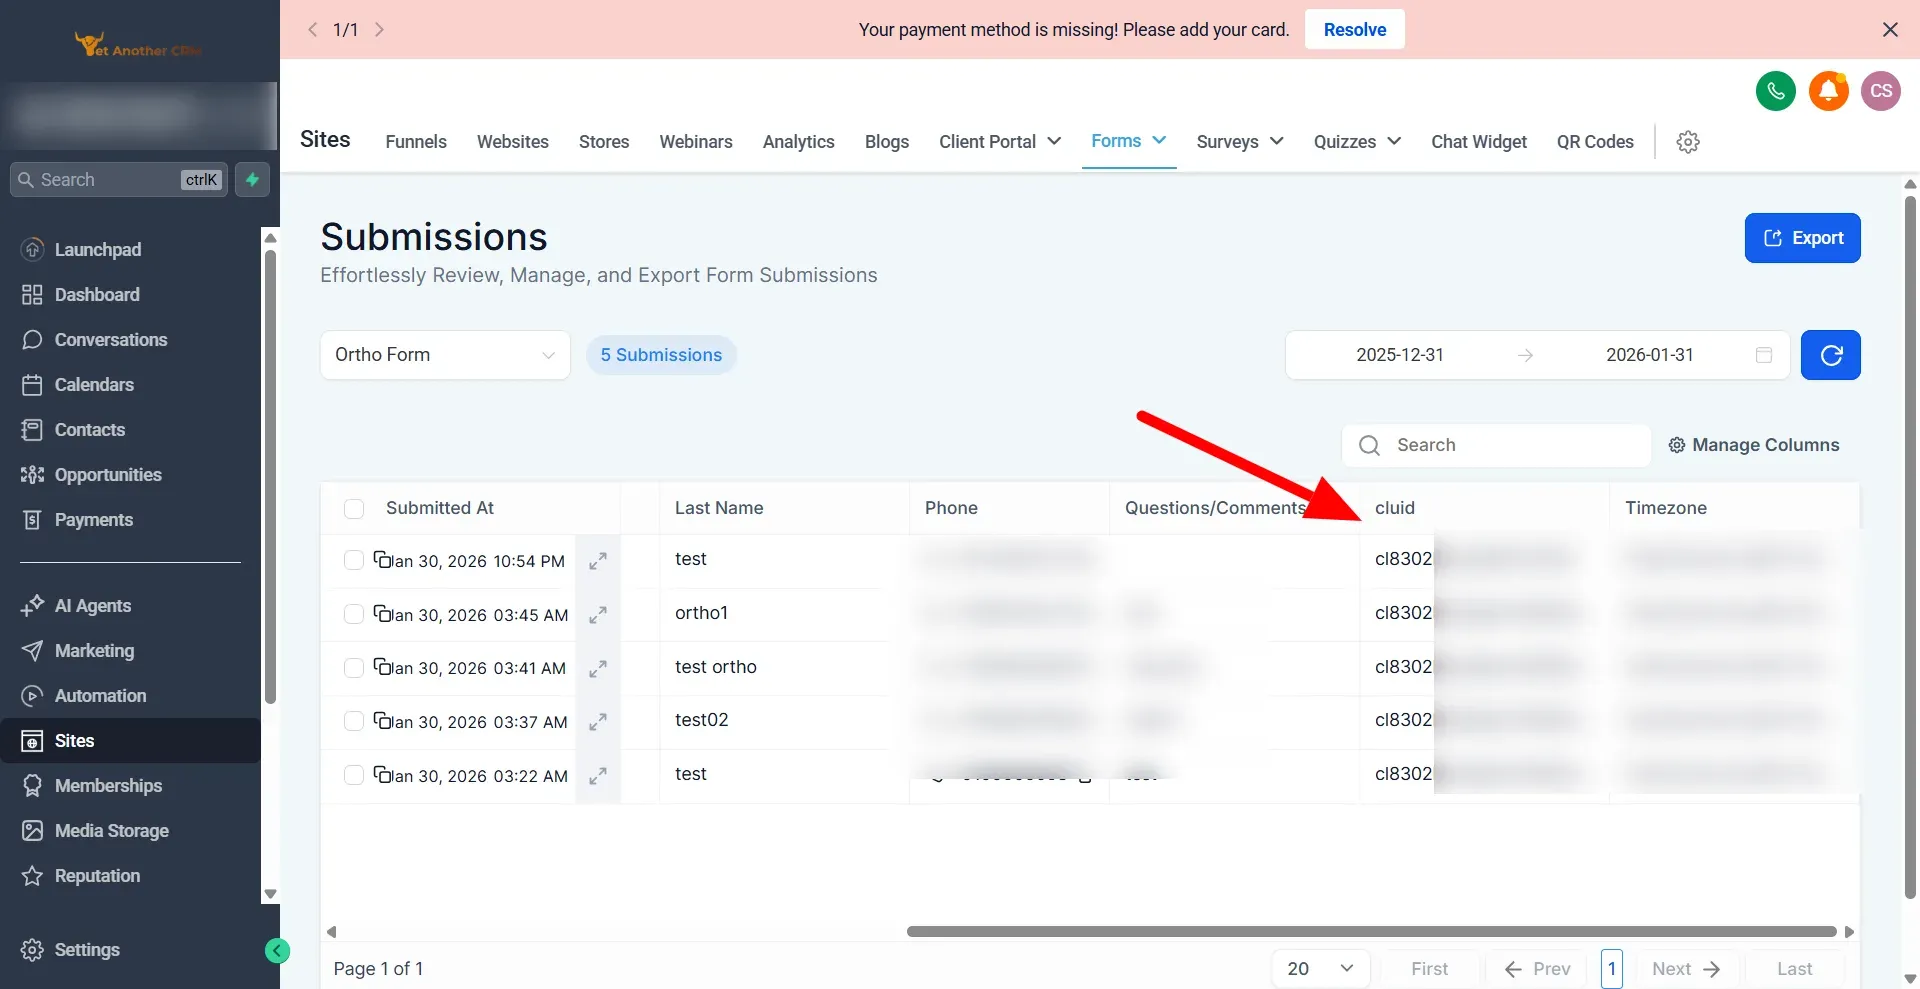
cluidas a URL query parameter to the URL. This will be used to prefill the hidden field in the form when submitted. - You can confirm this by checking if
customerlabs_user_idis present in the form submission data undercluid.
Send form data from GHL to CustomerLabs
Section titled “Send form data from GHL to CustomerLabs”Generating the webhook URL in CustomerLabs
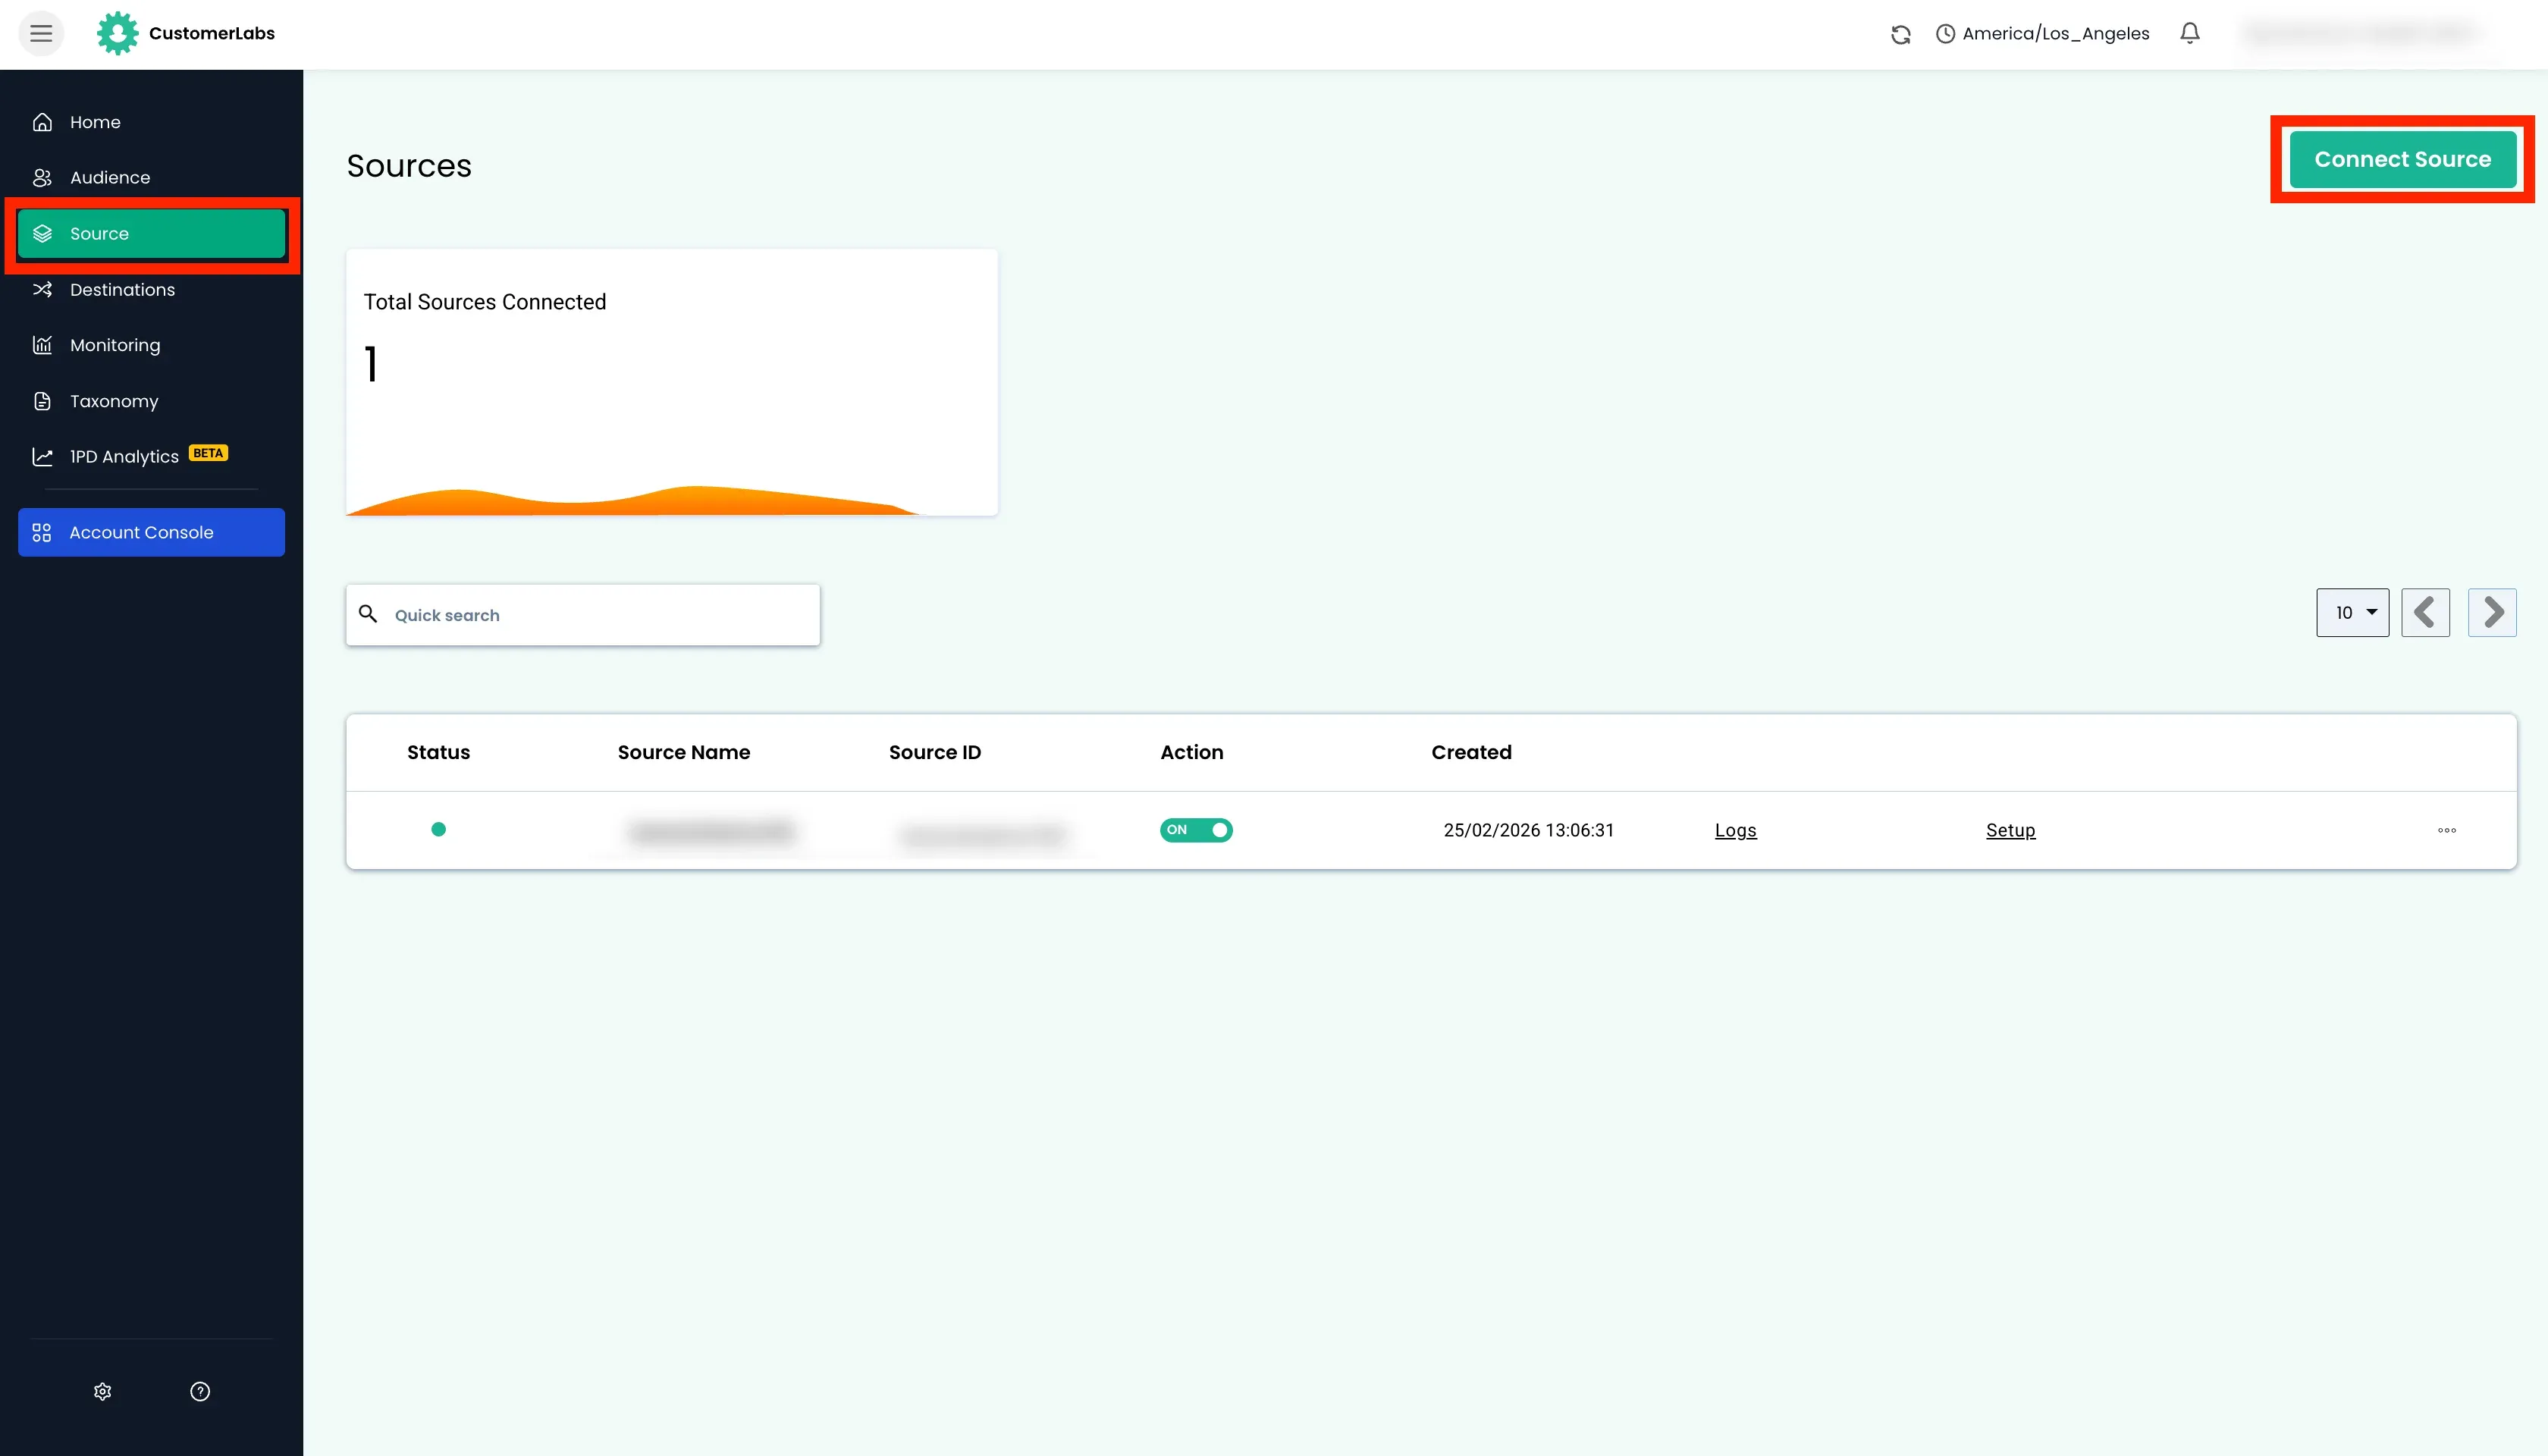
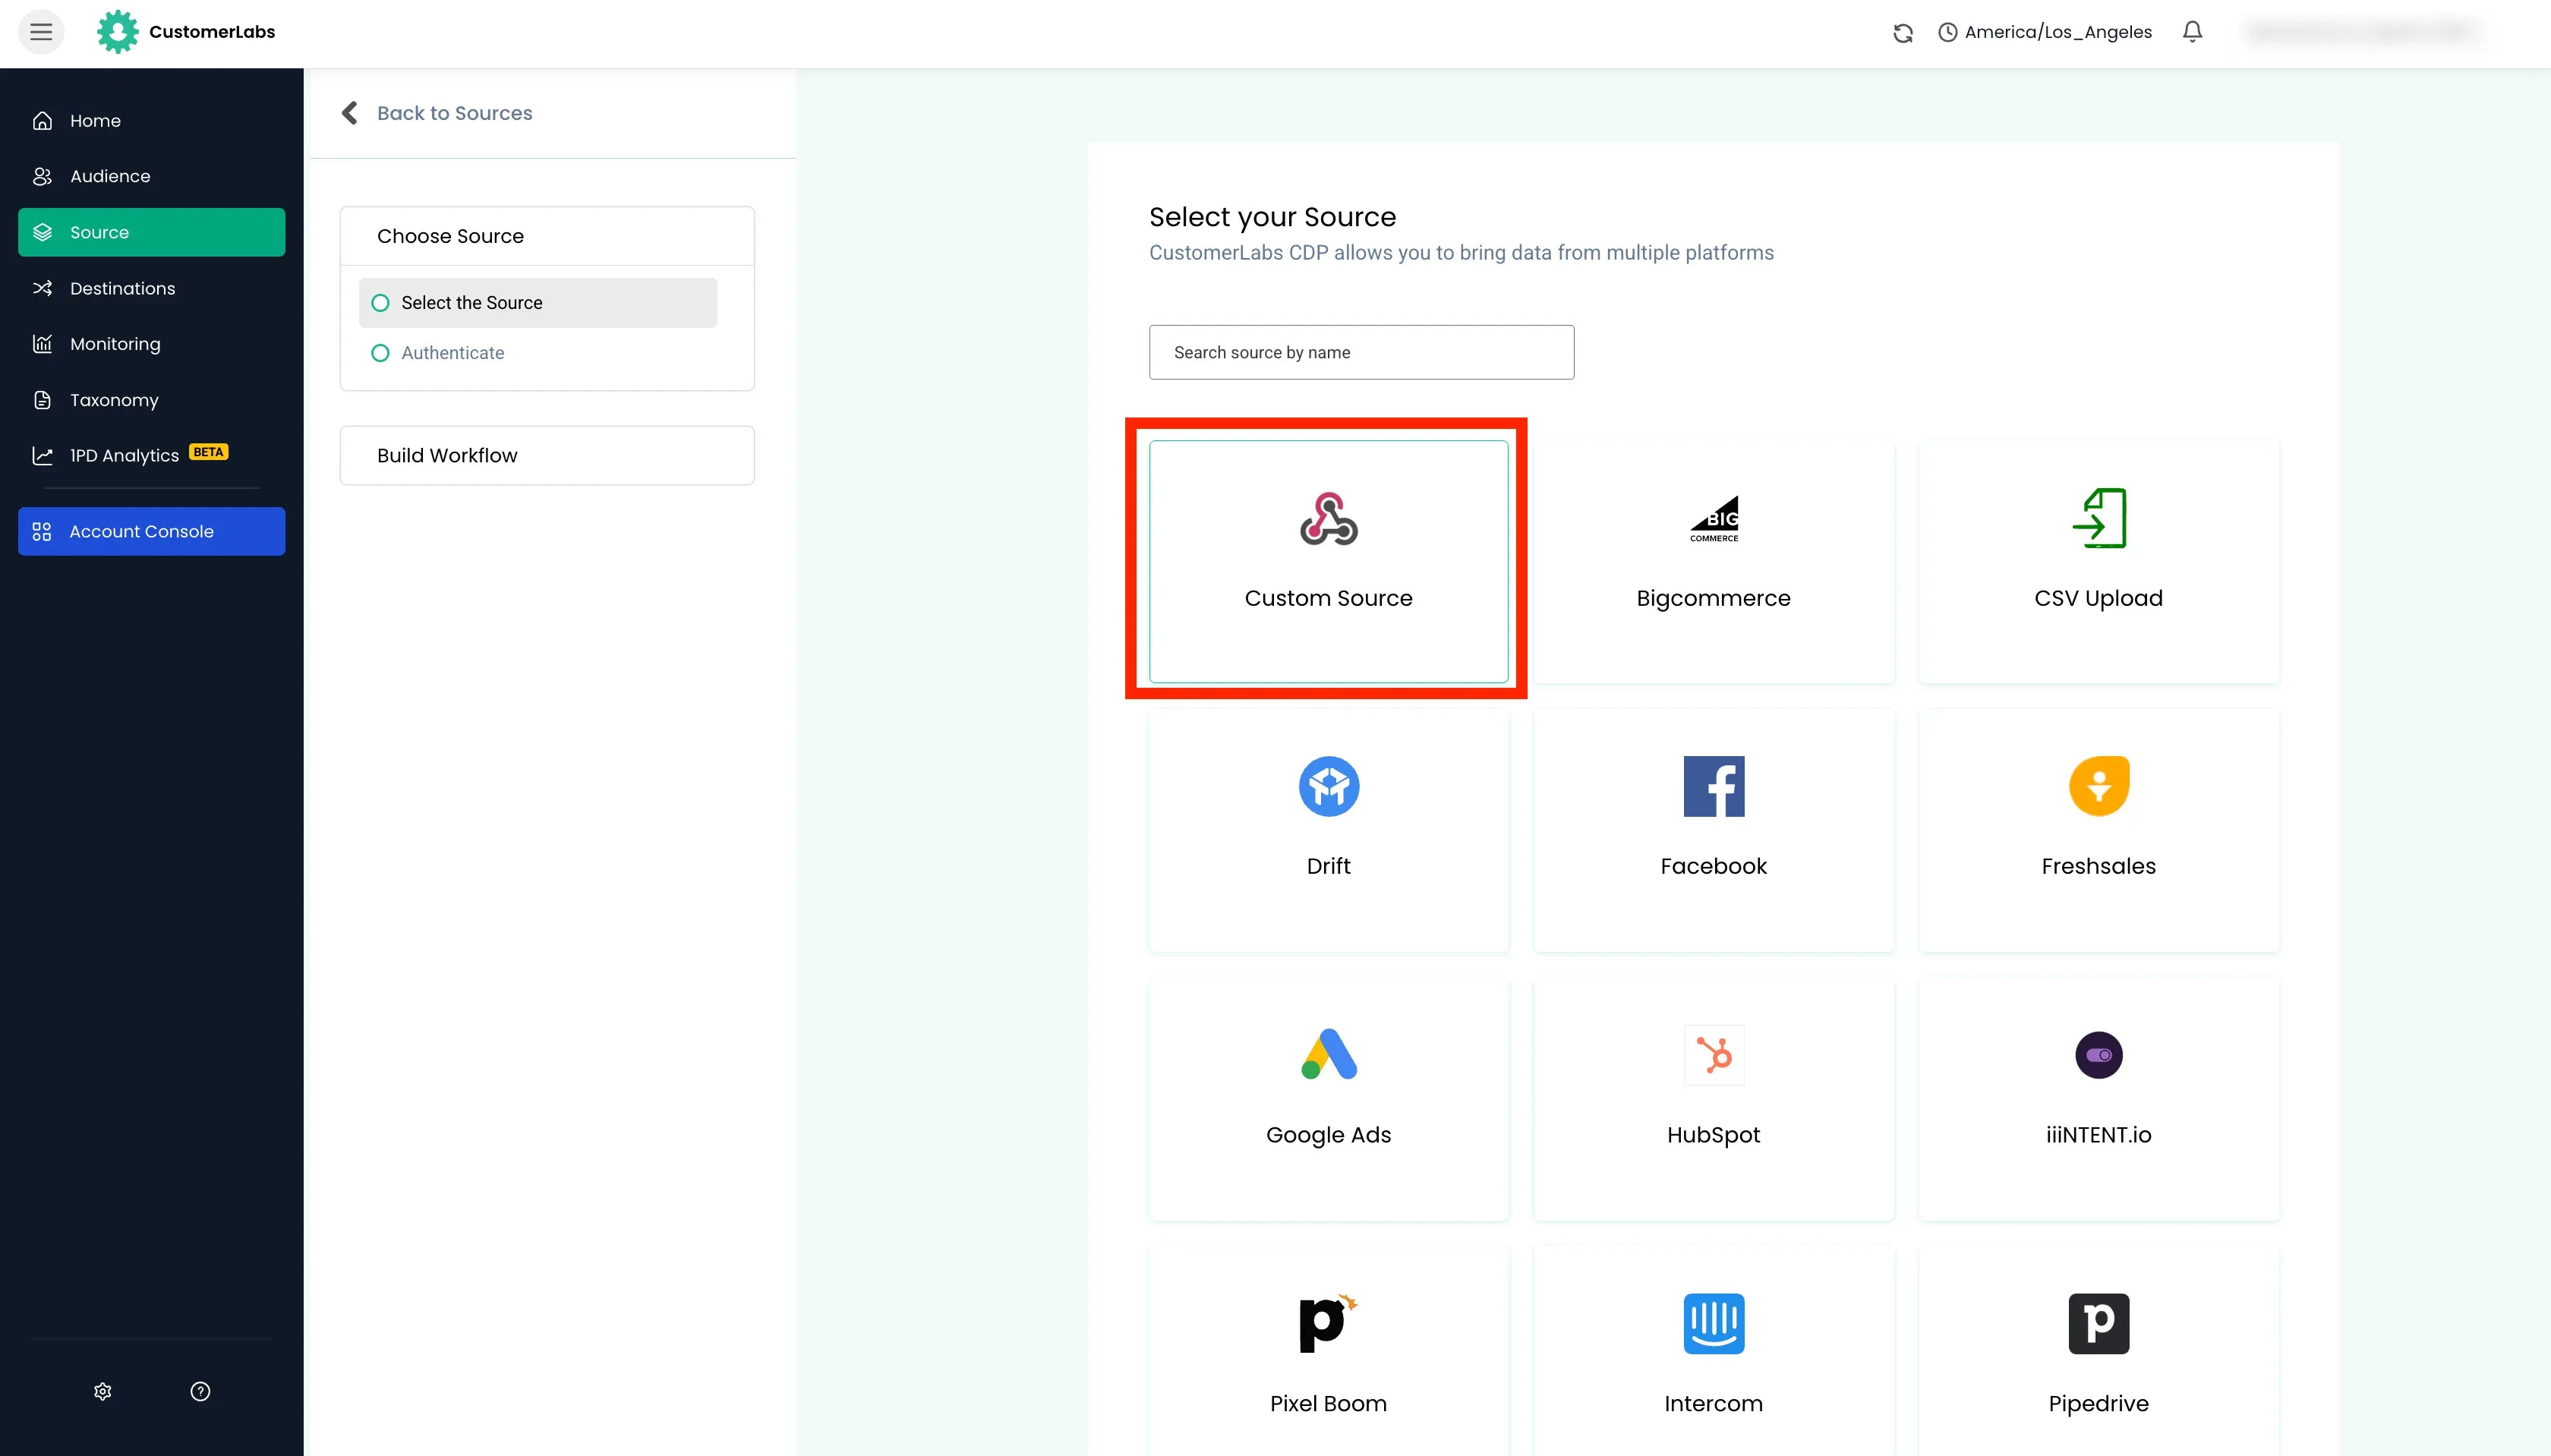
Section titled “Generating the webhook URL in CustomerLabs”- Login to CustomerLabs Account → Click Sources in left sidebar → Click Connect Source button → Choose Custom Source.
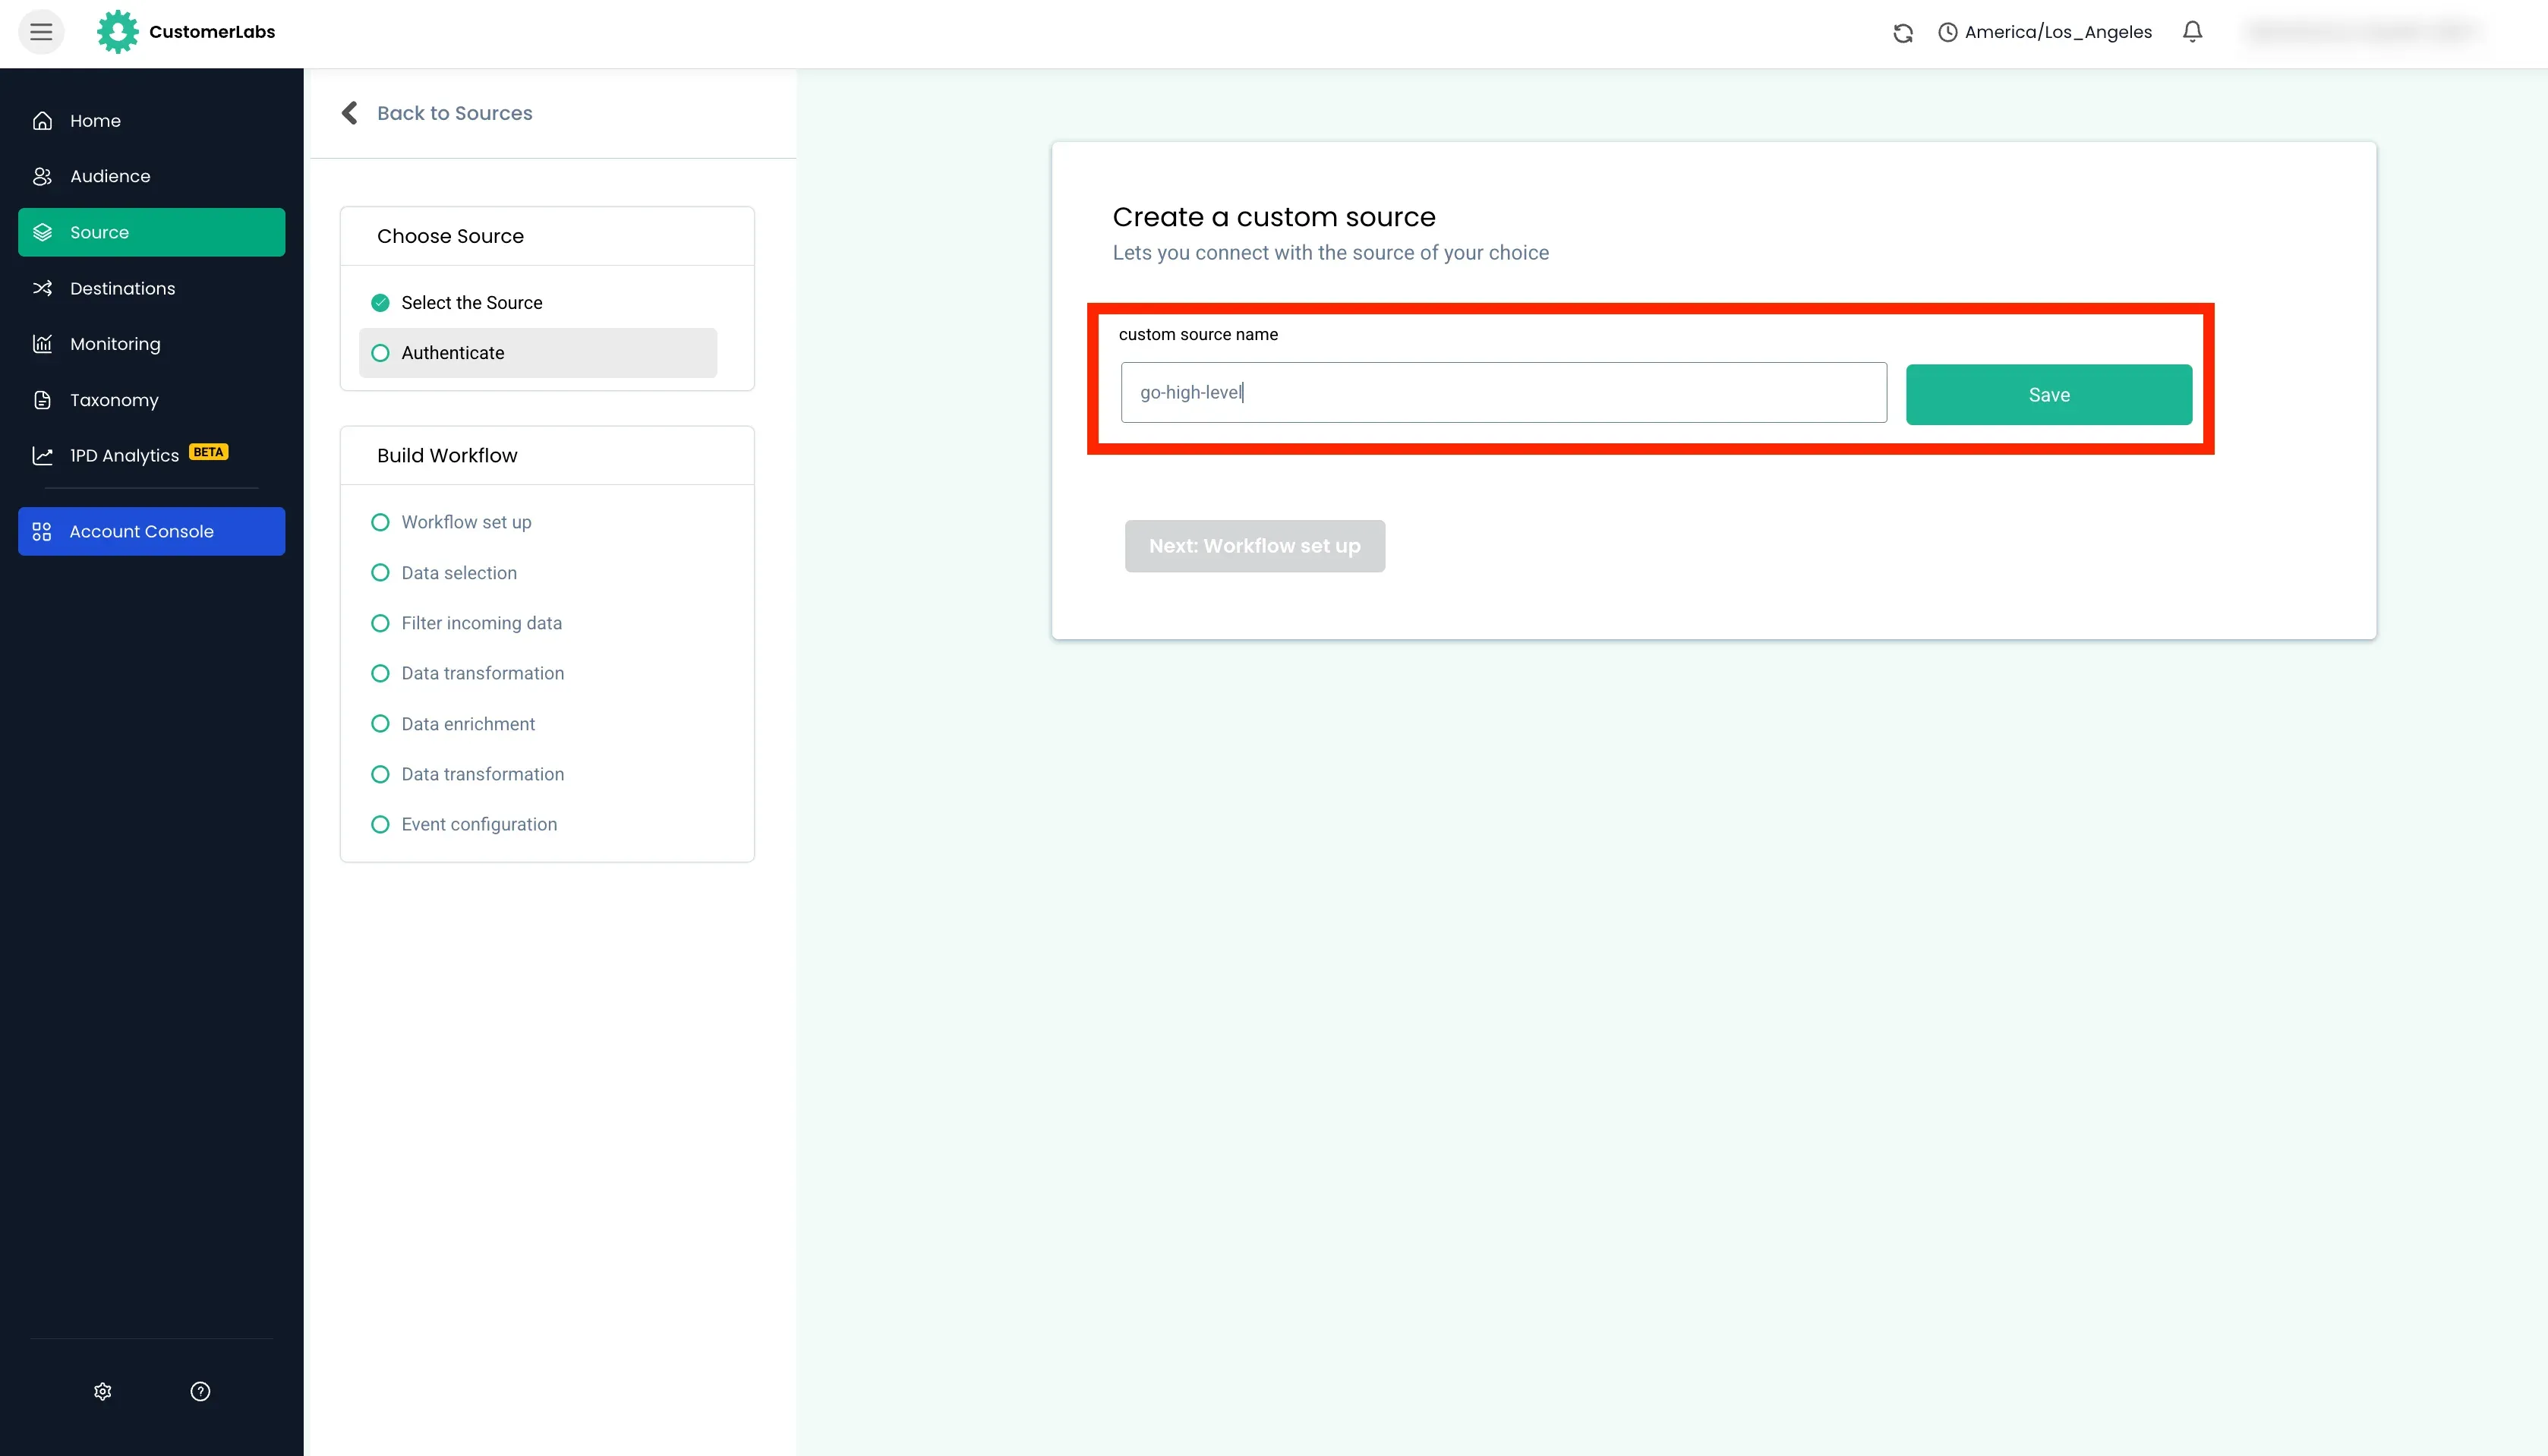
- Enter a name and Save.
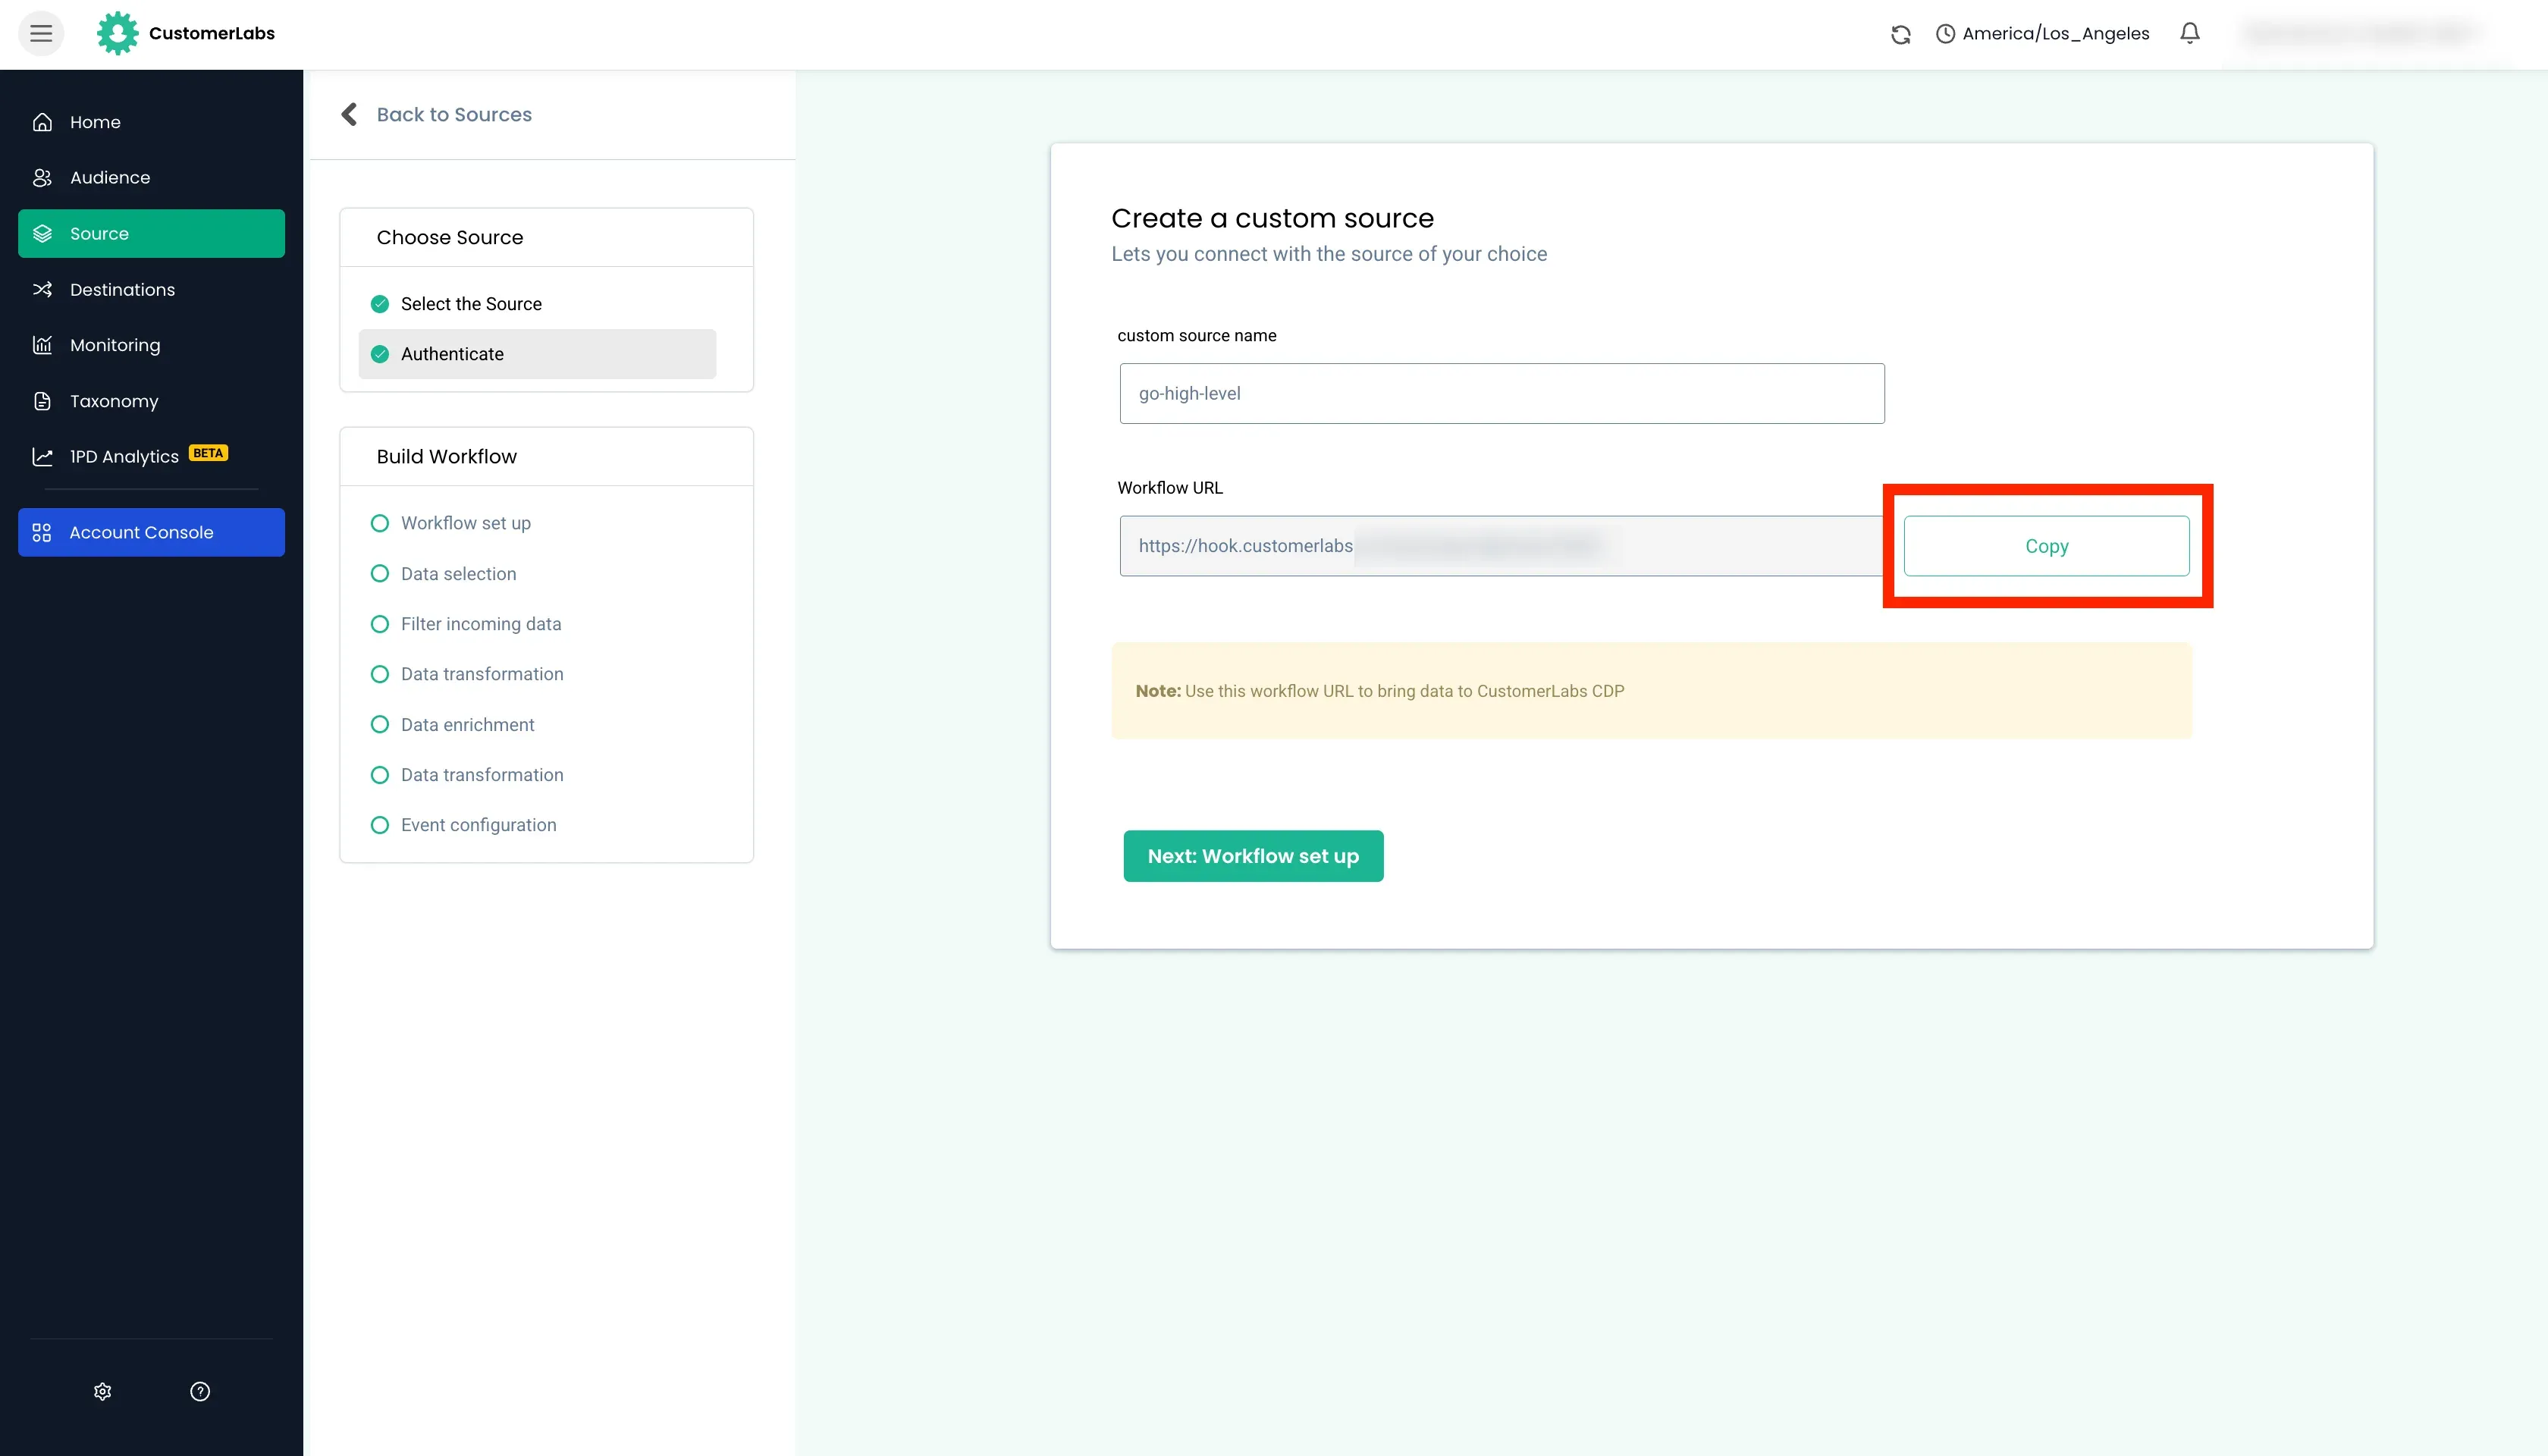
- A webhook URL will be generated. Copy the URL.
Set Up Automation in Go High Level
Section titled “Set Up Automation in Go High Level”- Go to Automation → Create Workflow → Start from Scratch. Name the workflow on top.
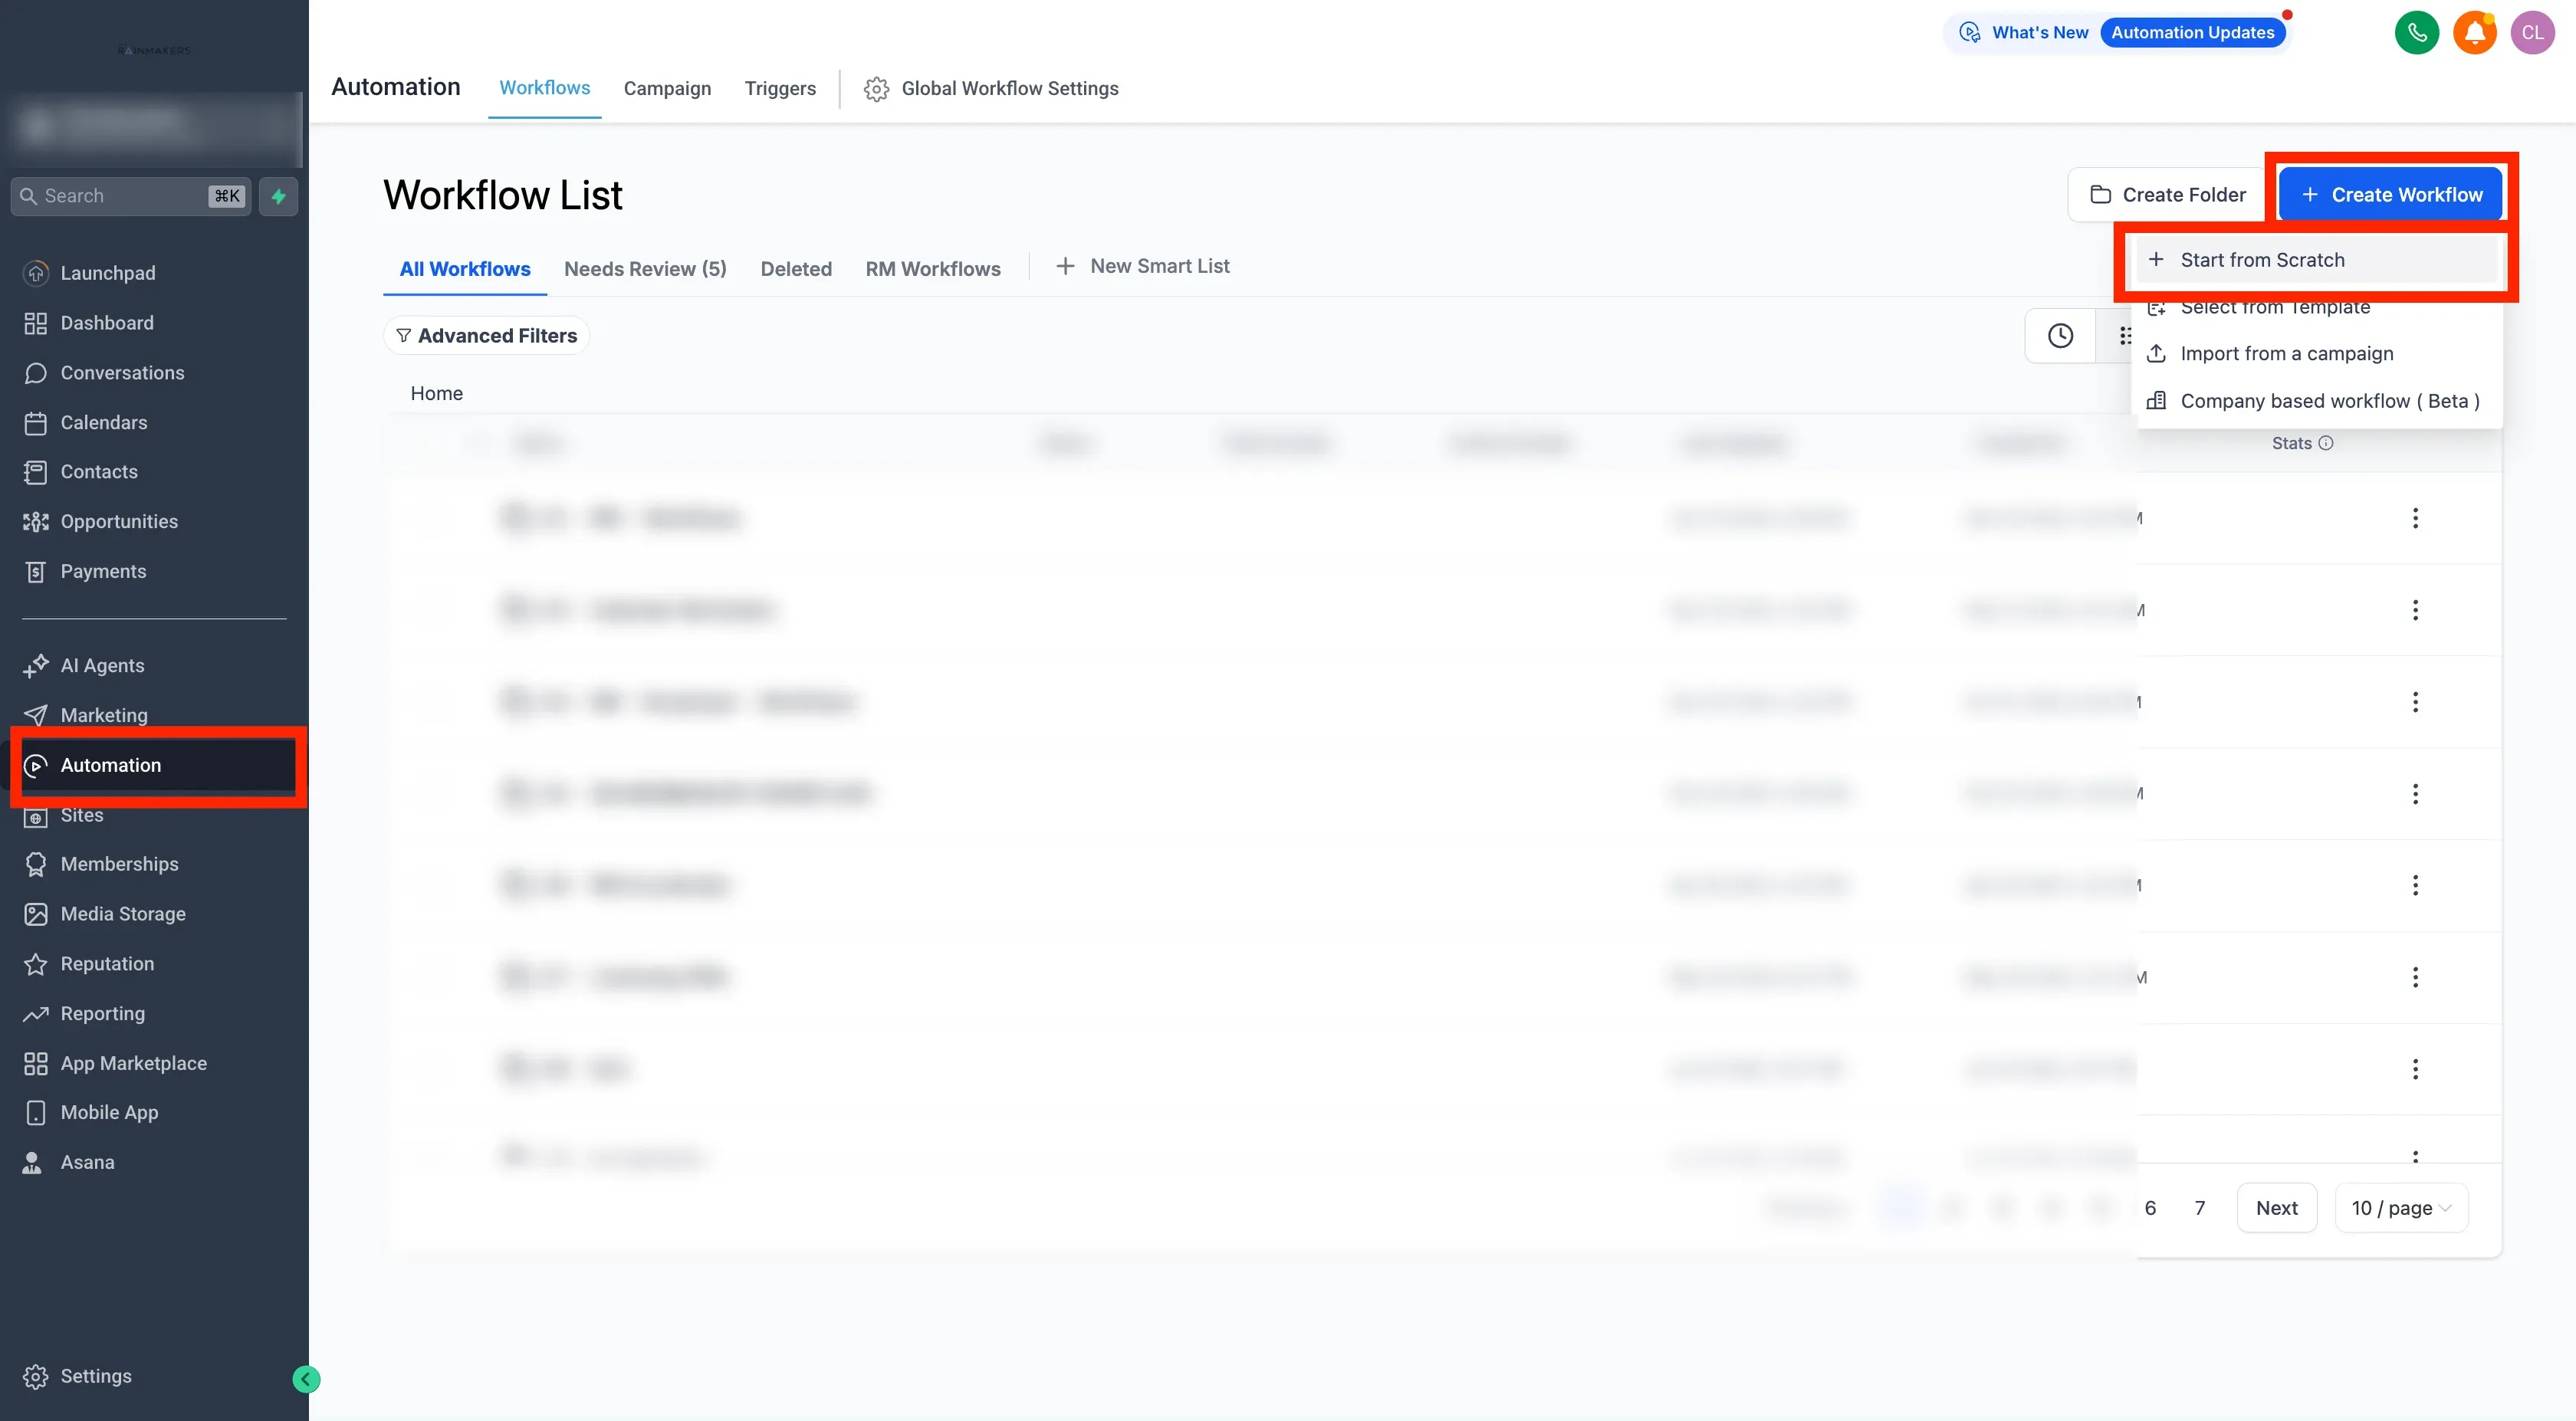
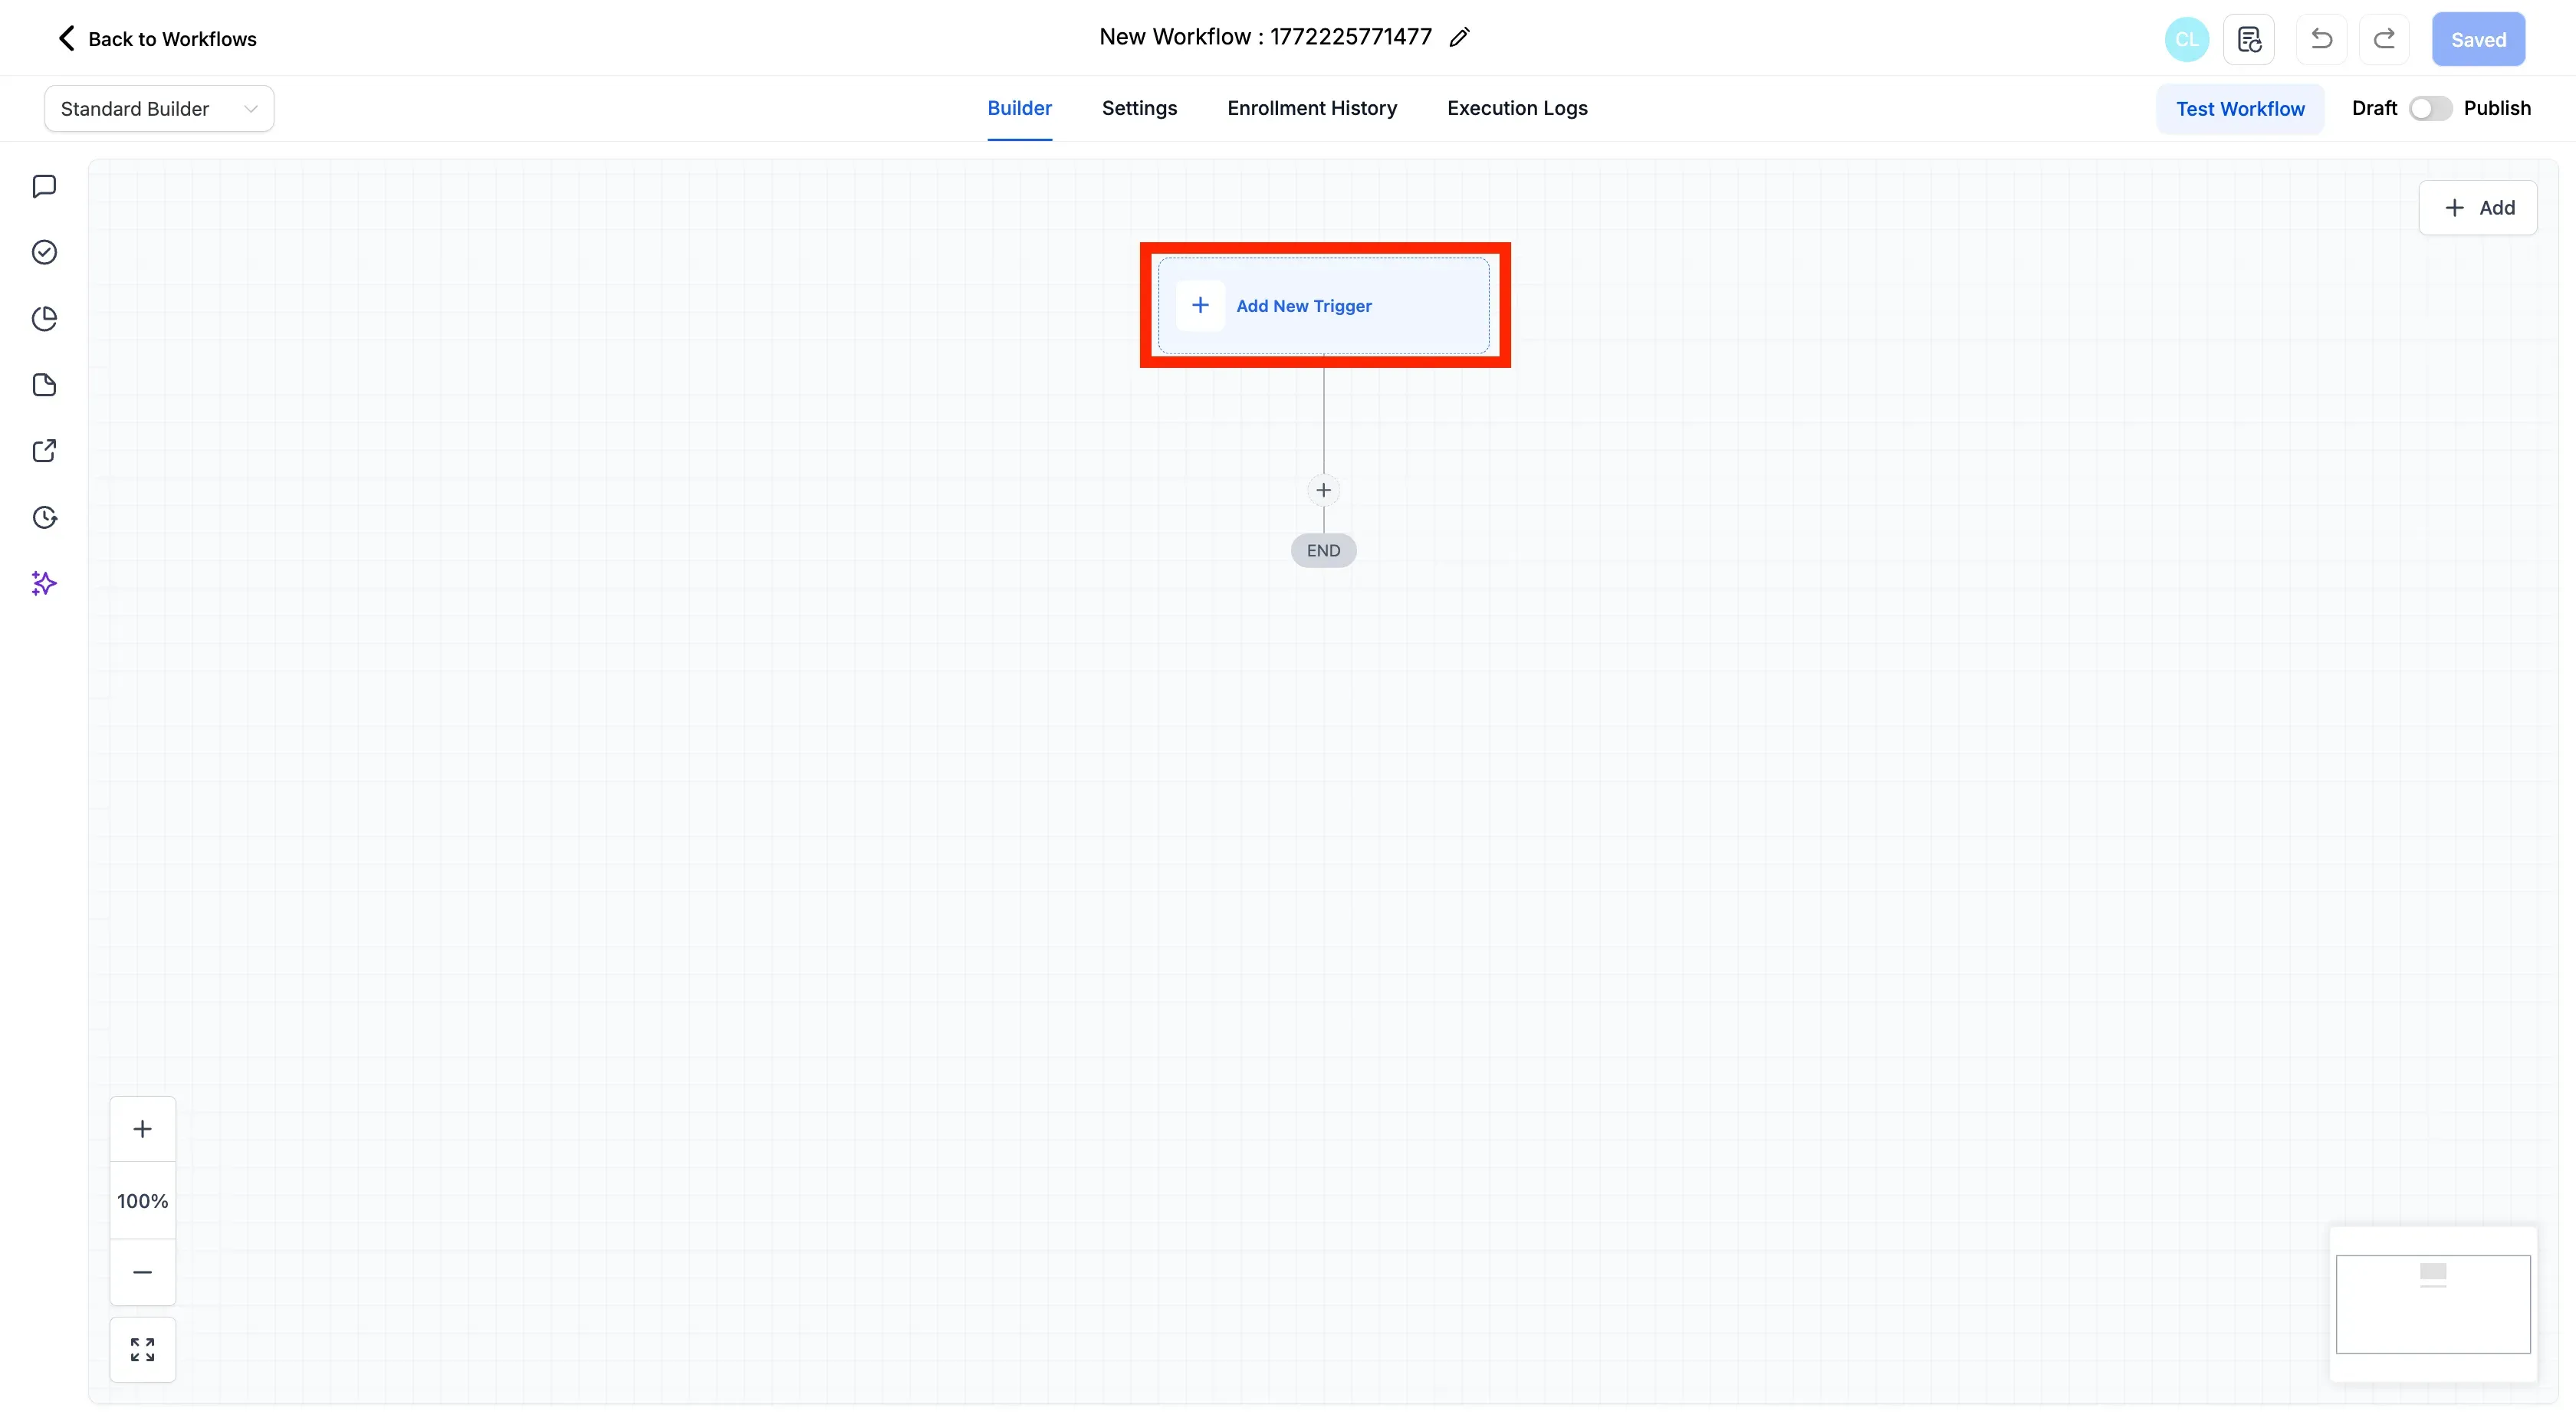
- Click “Add New Trigger” button.
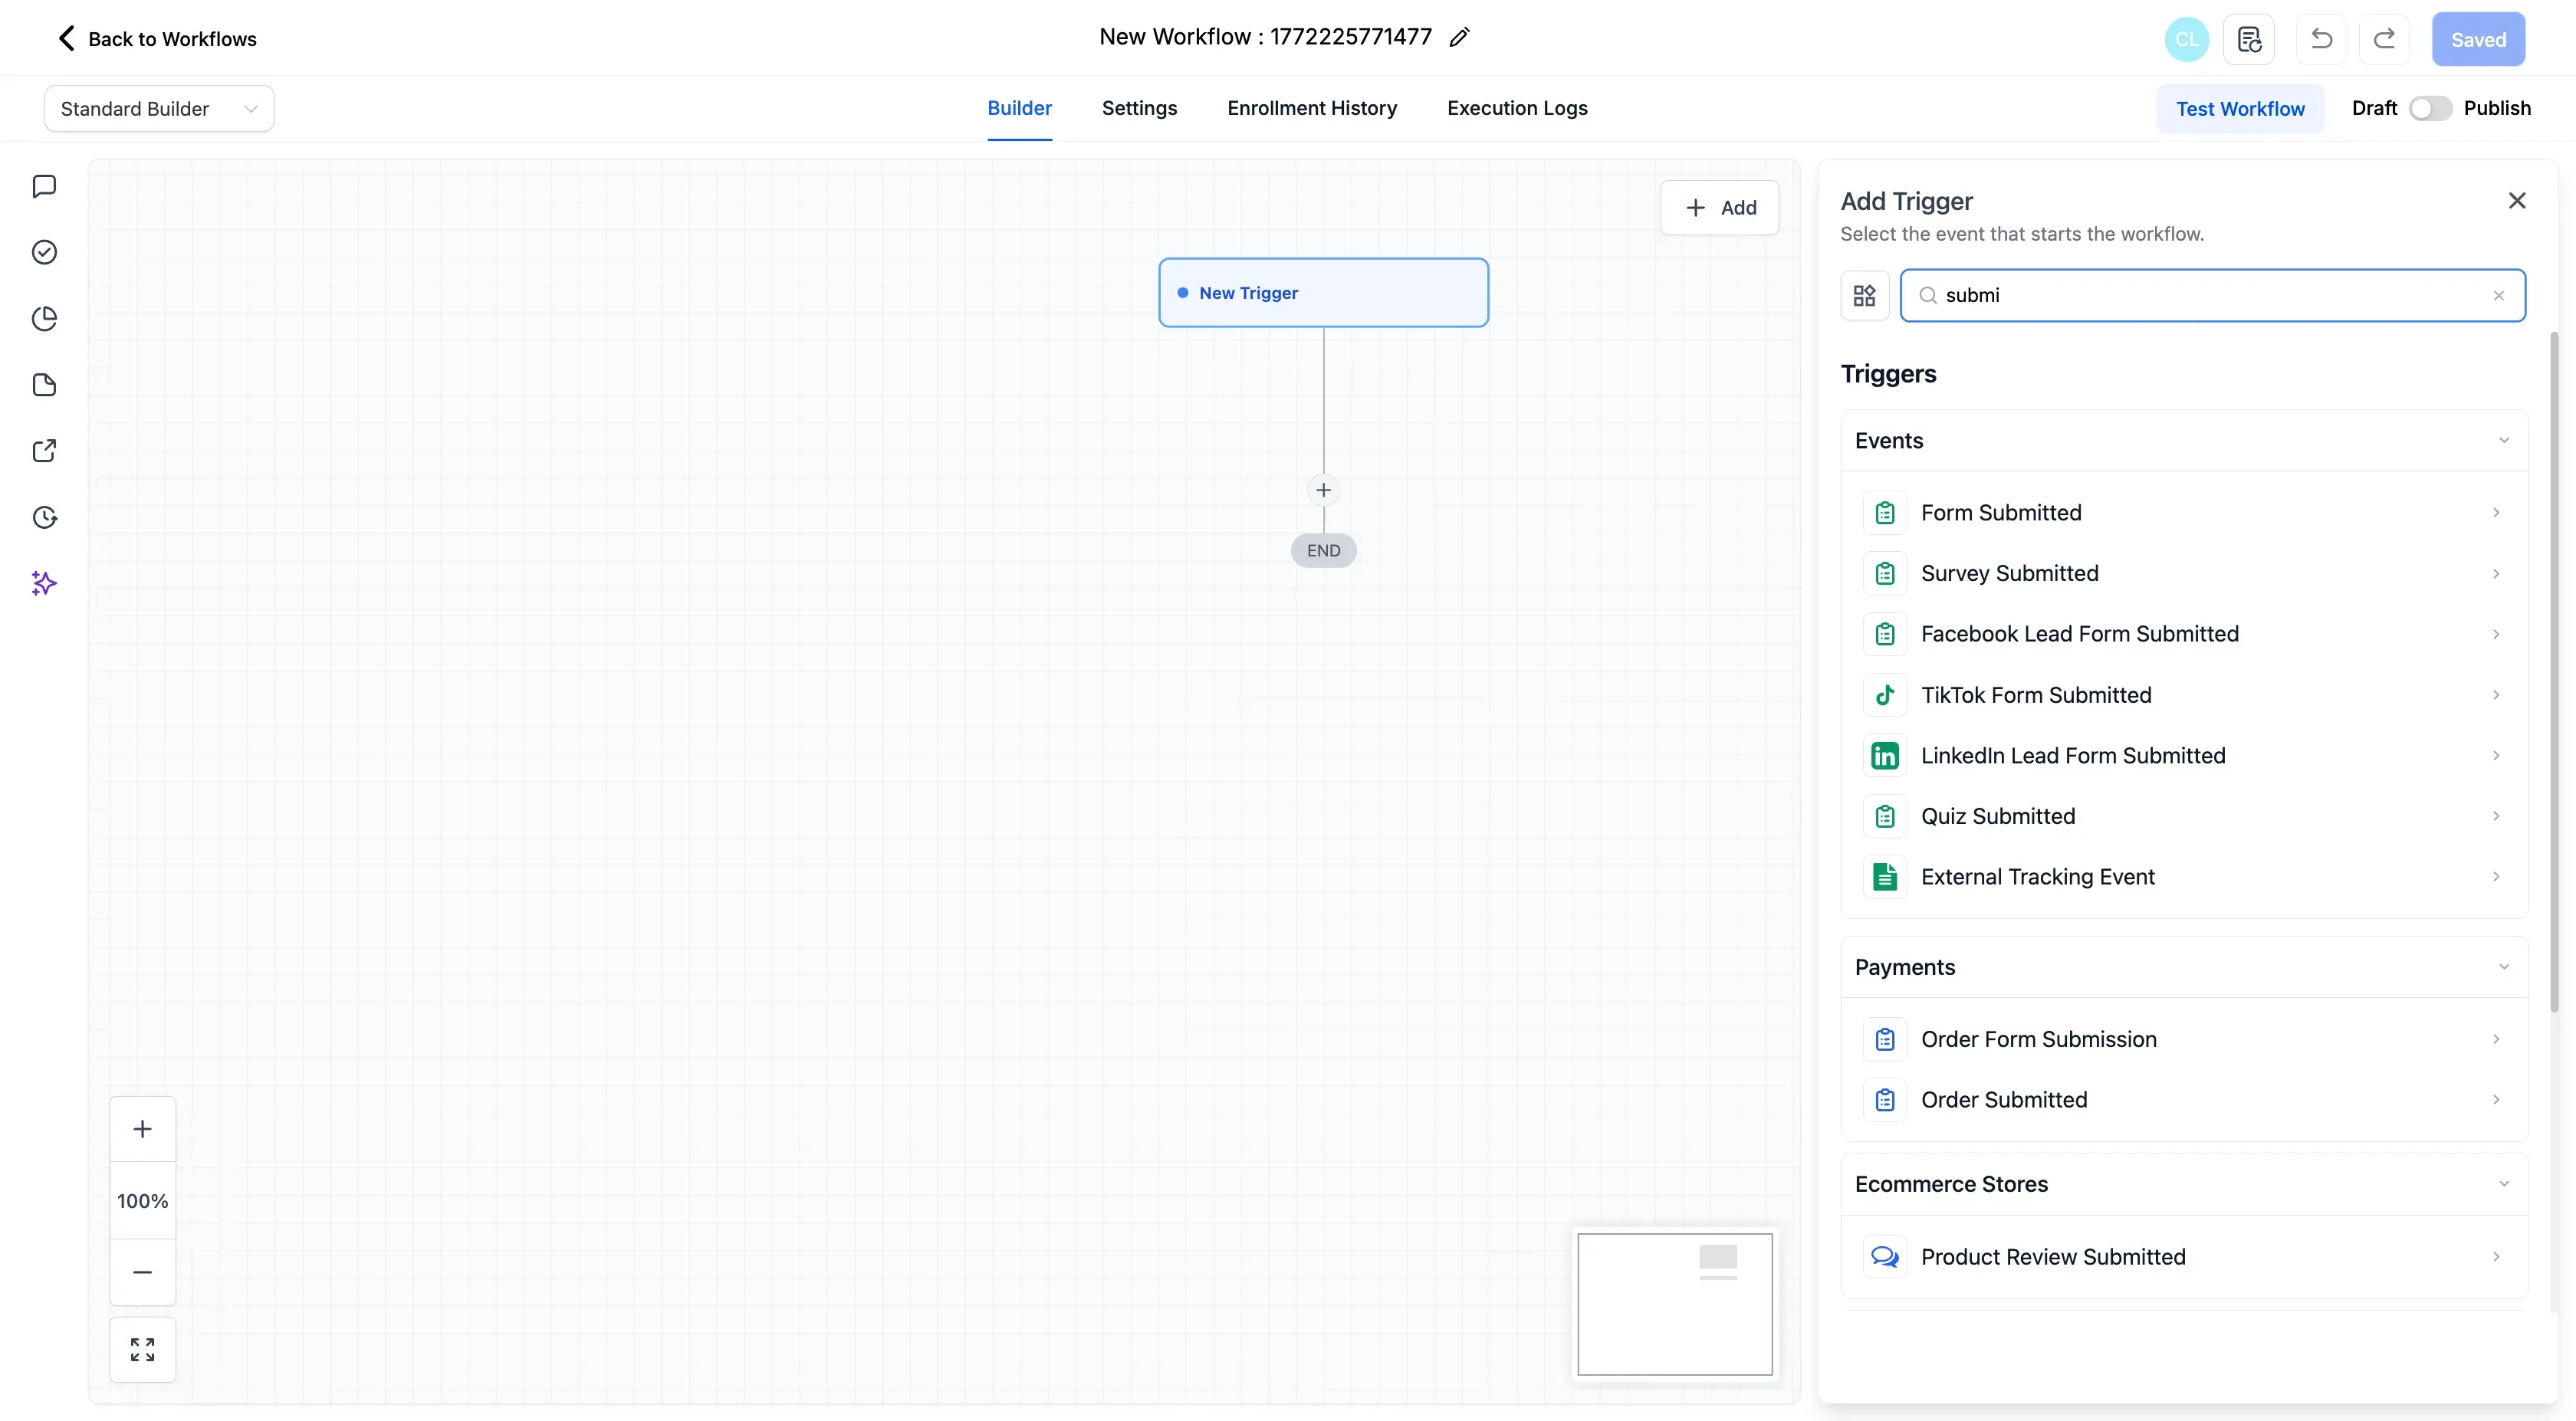
- Choose the trigger as per the form –
Form Submitted(Single Page) orSurvey Submitted(Multi-page).
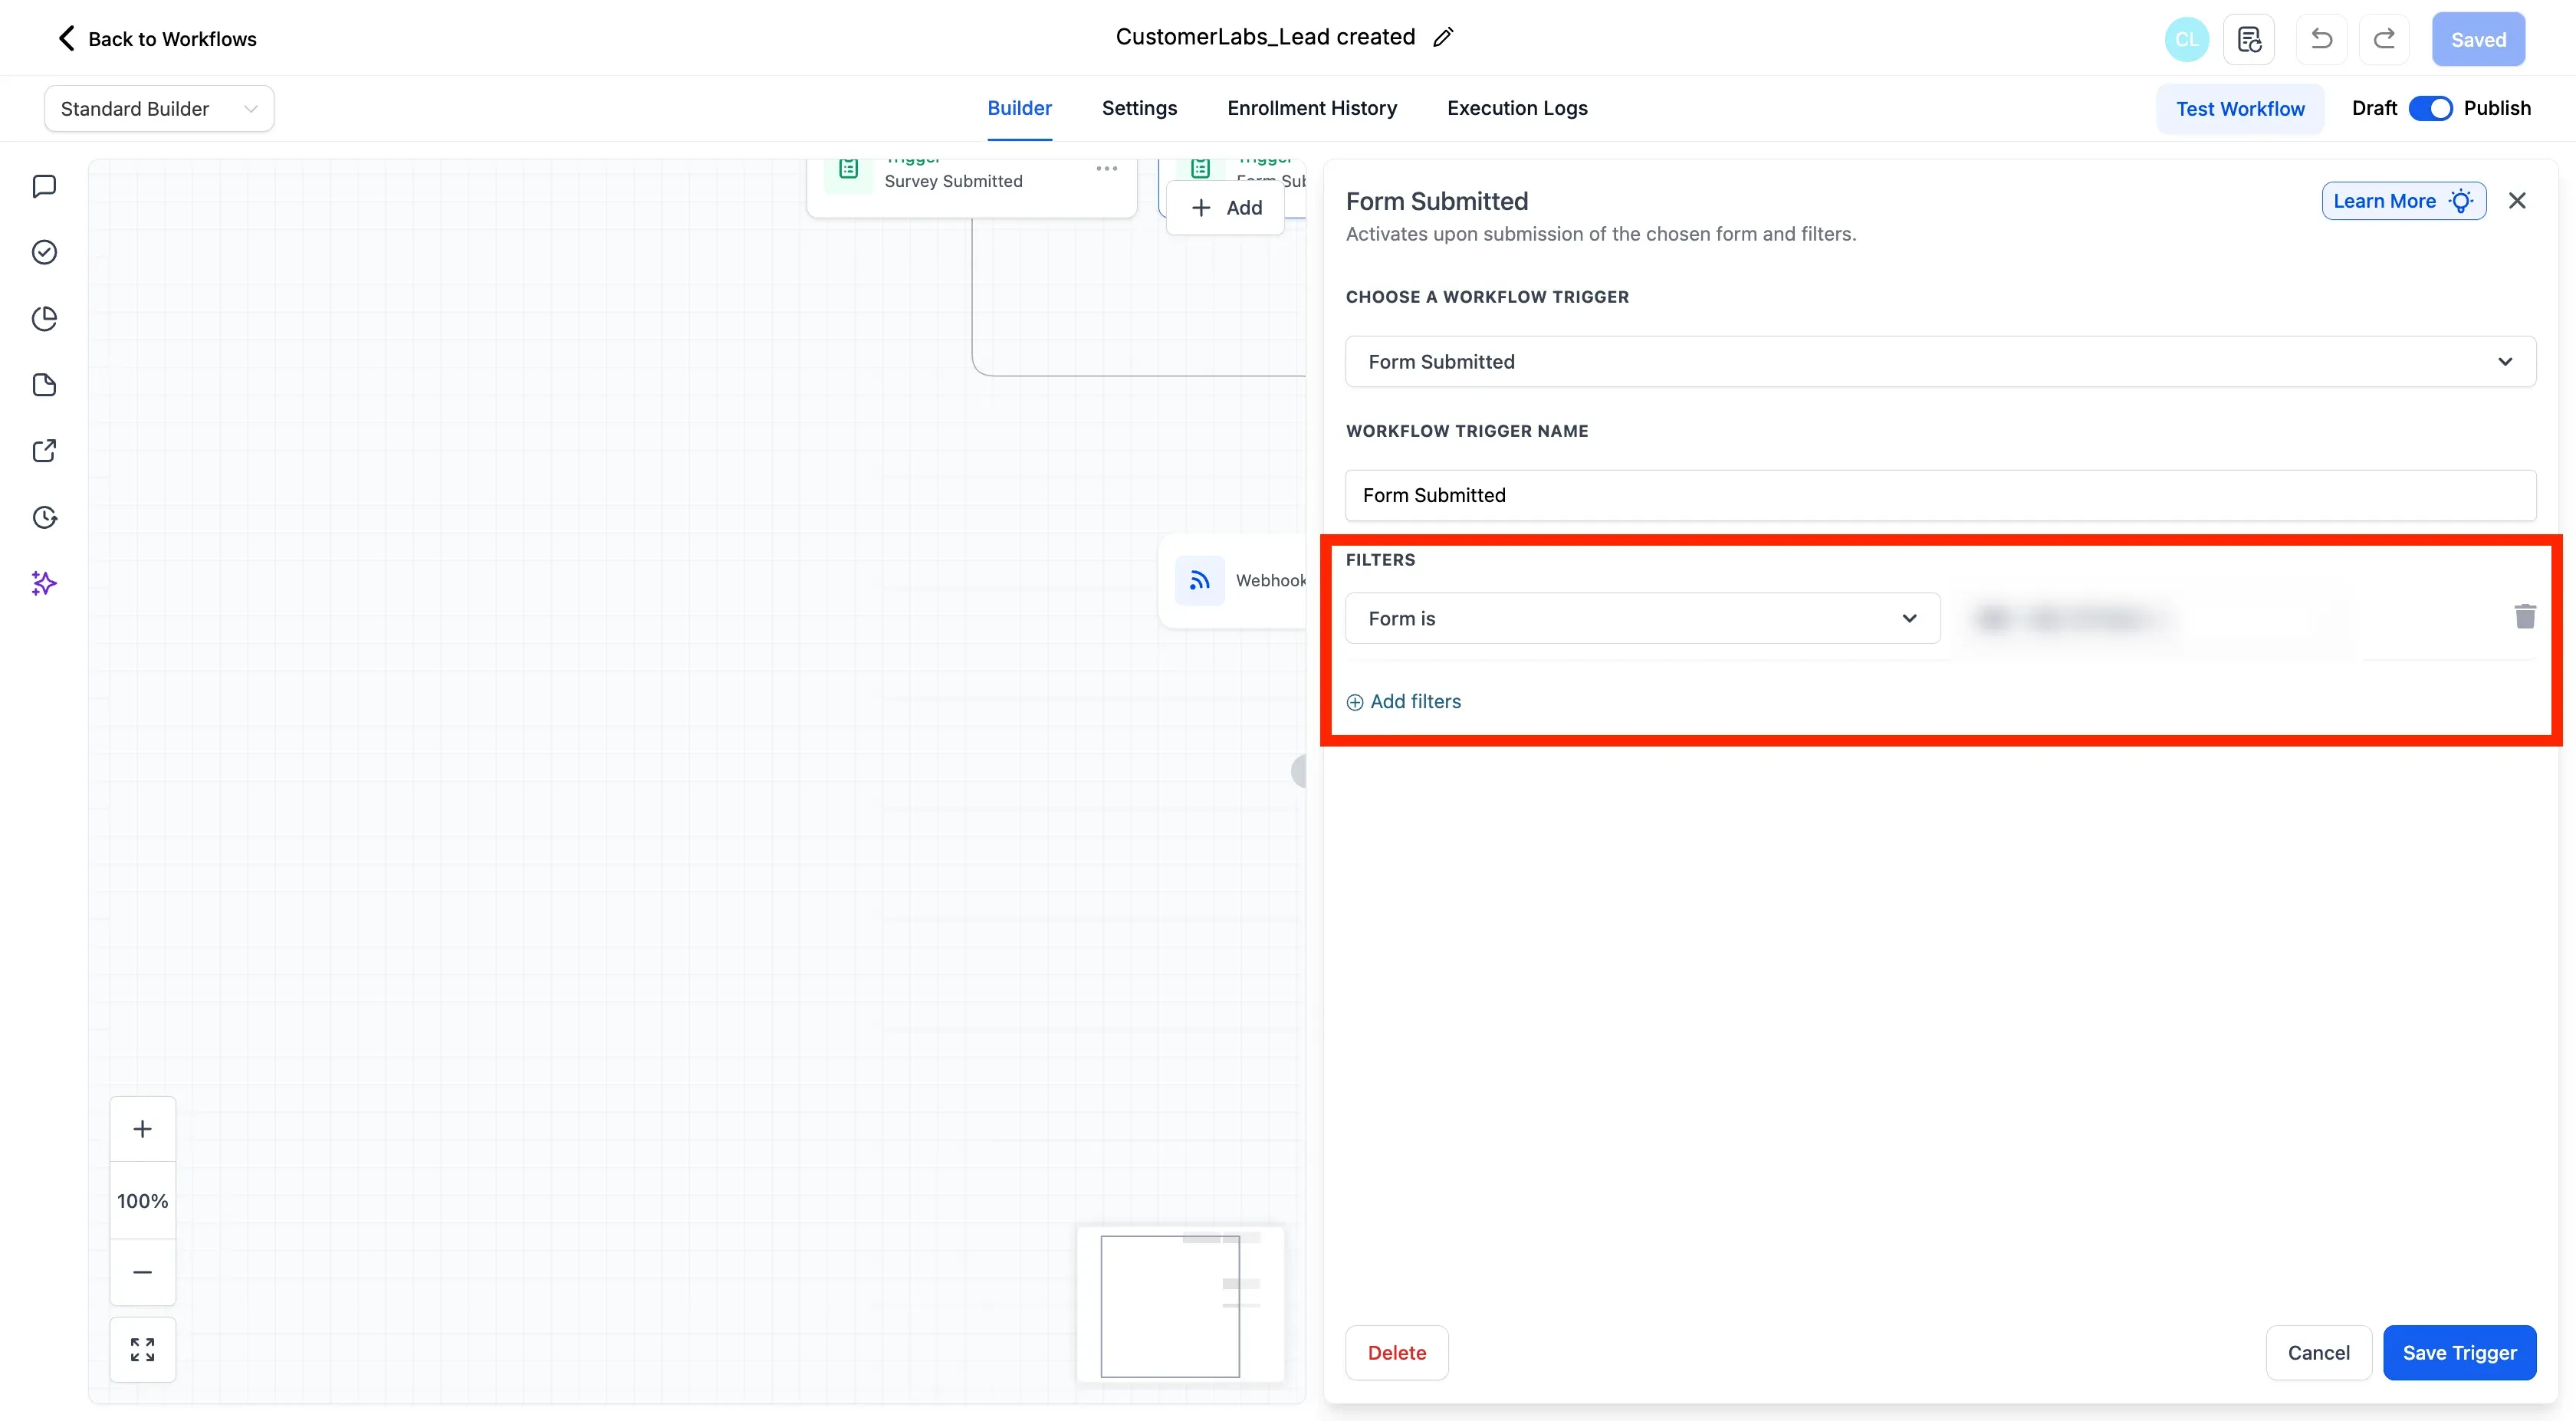
- If you wanted to trigger only particular forms, choose the forms from the filter action and click “Save Trigger”.
- Click the + symbol and add a Webhook action.
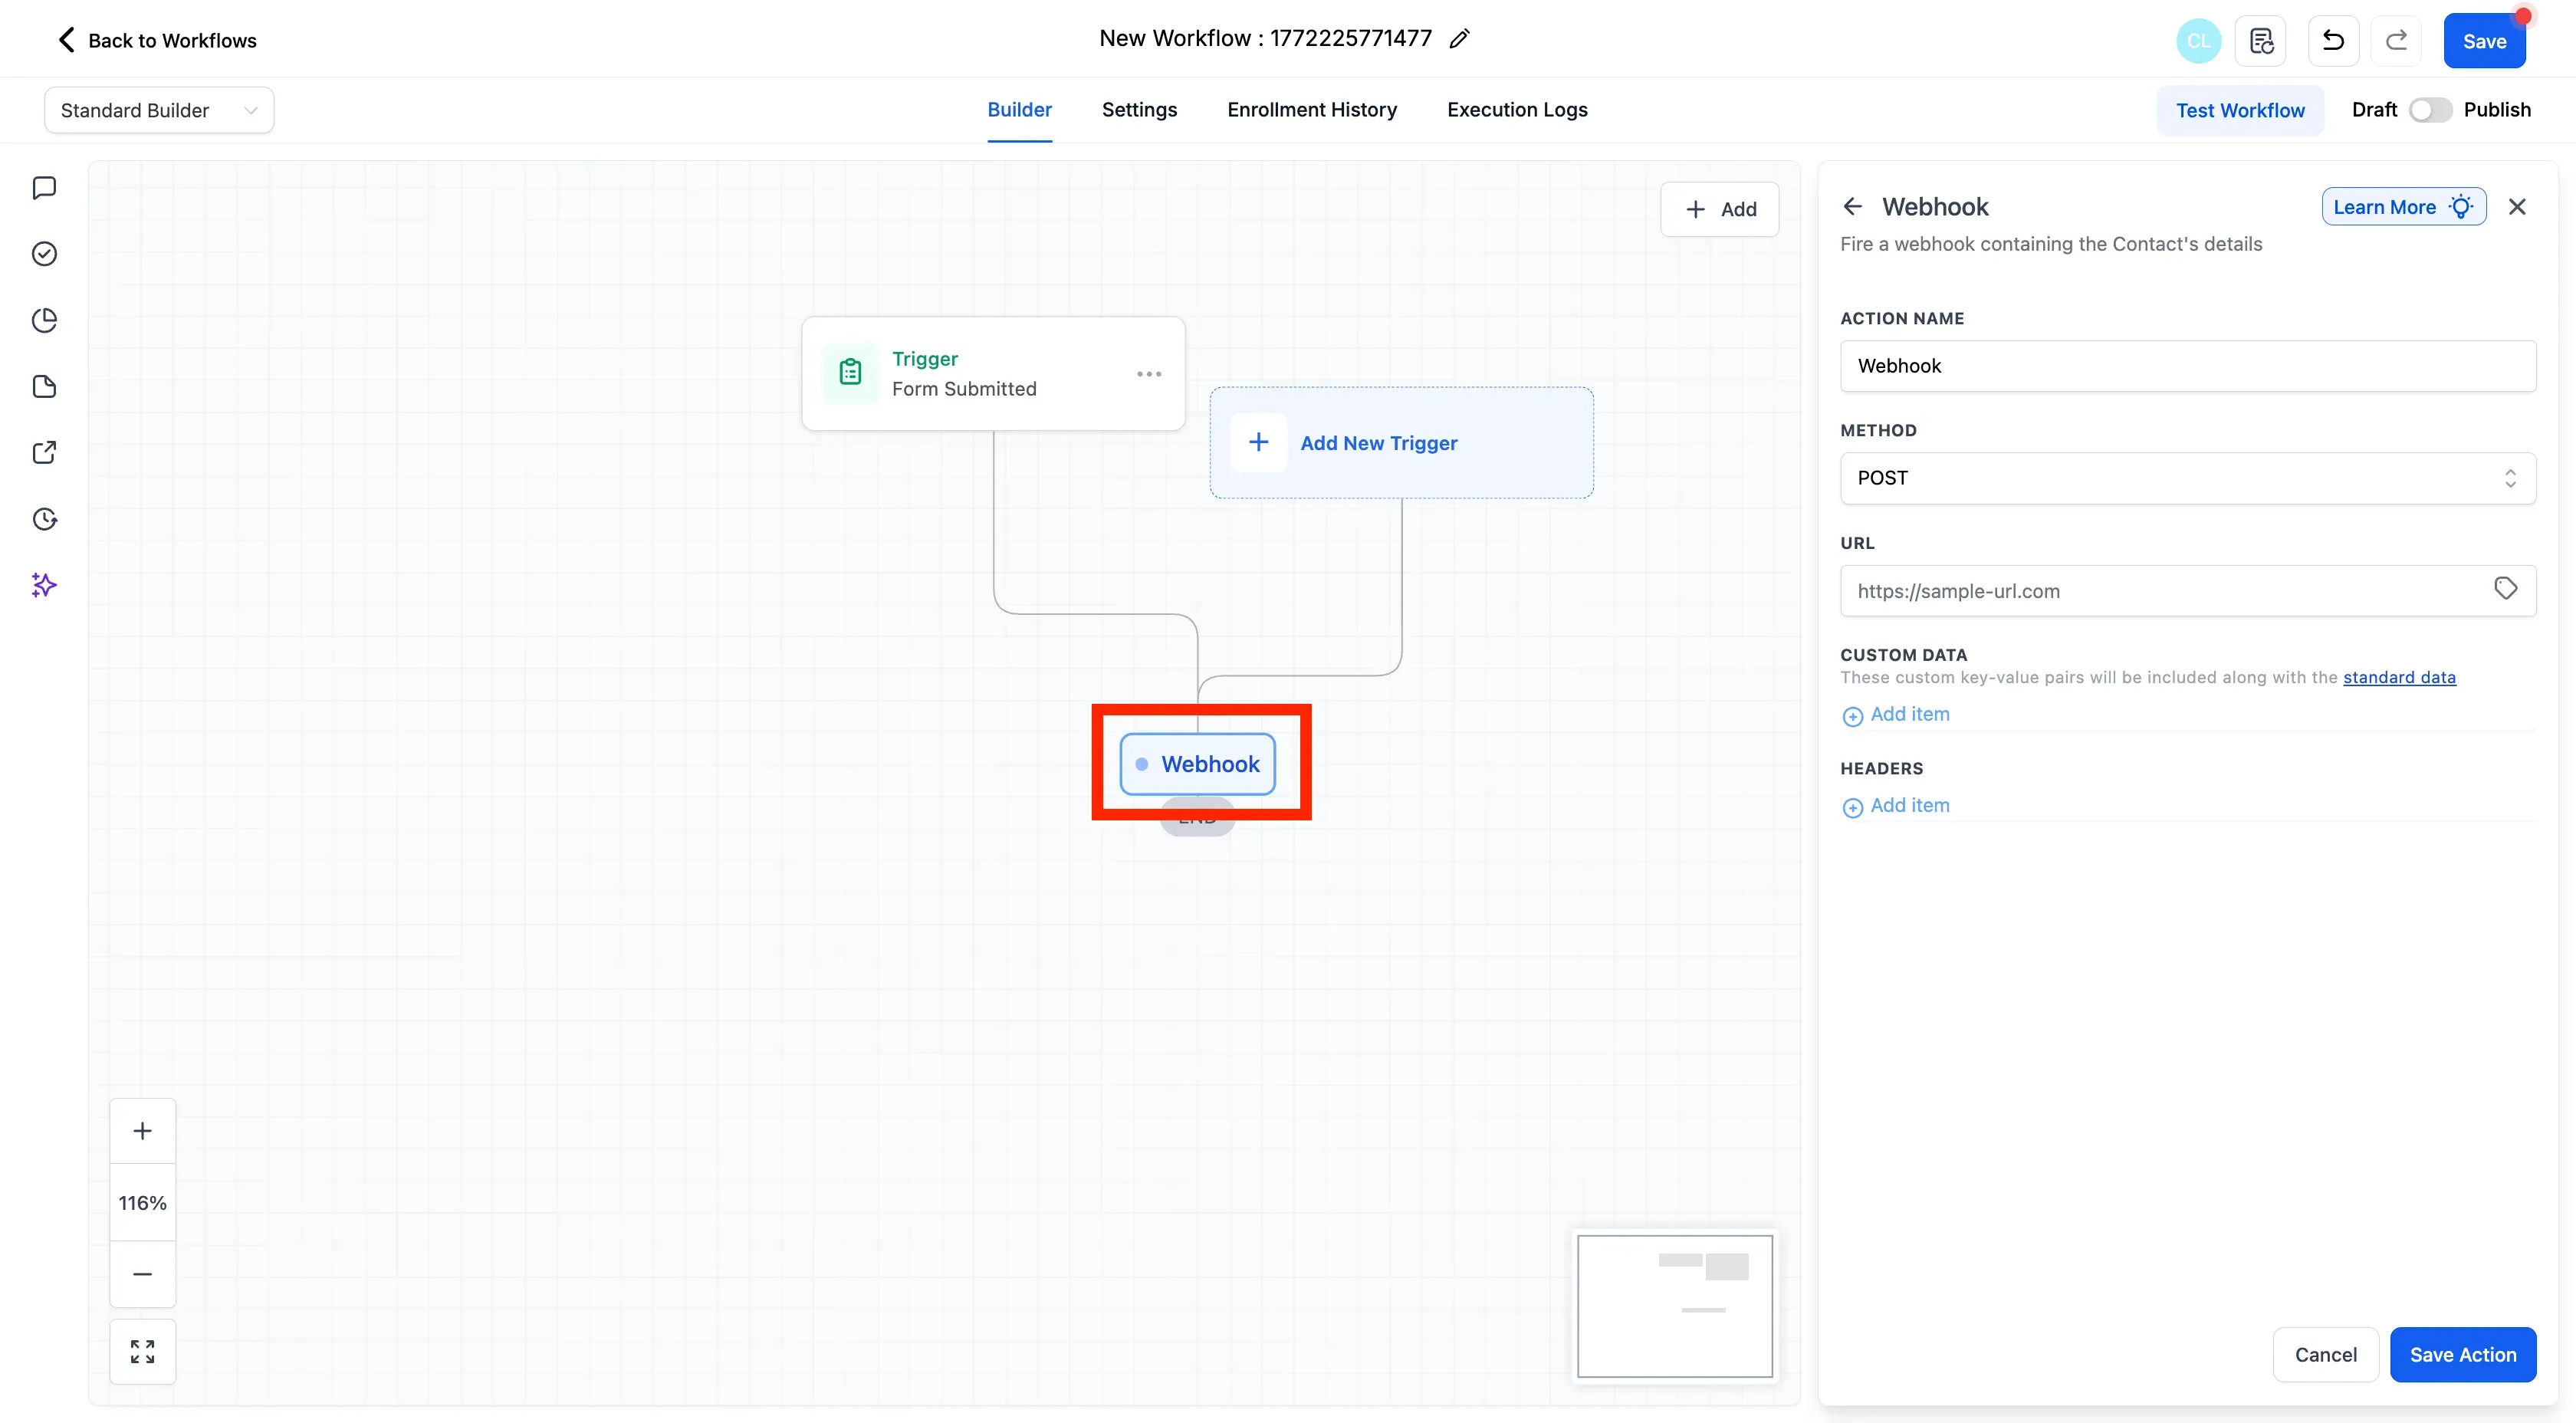
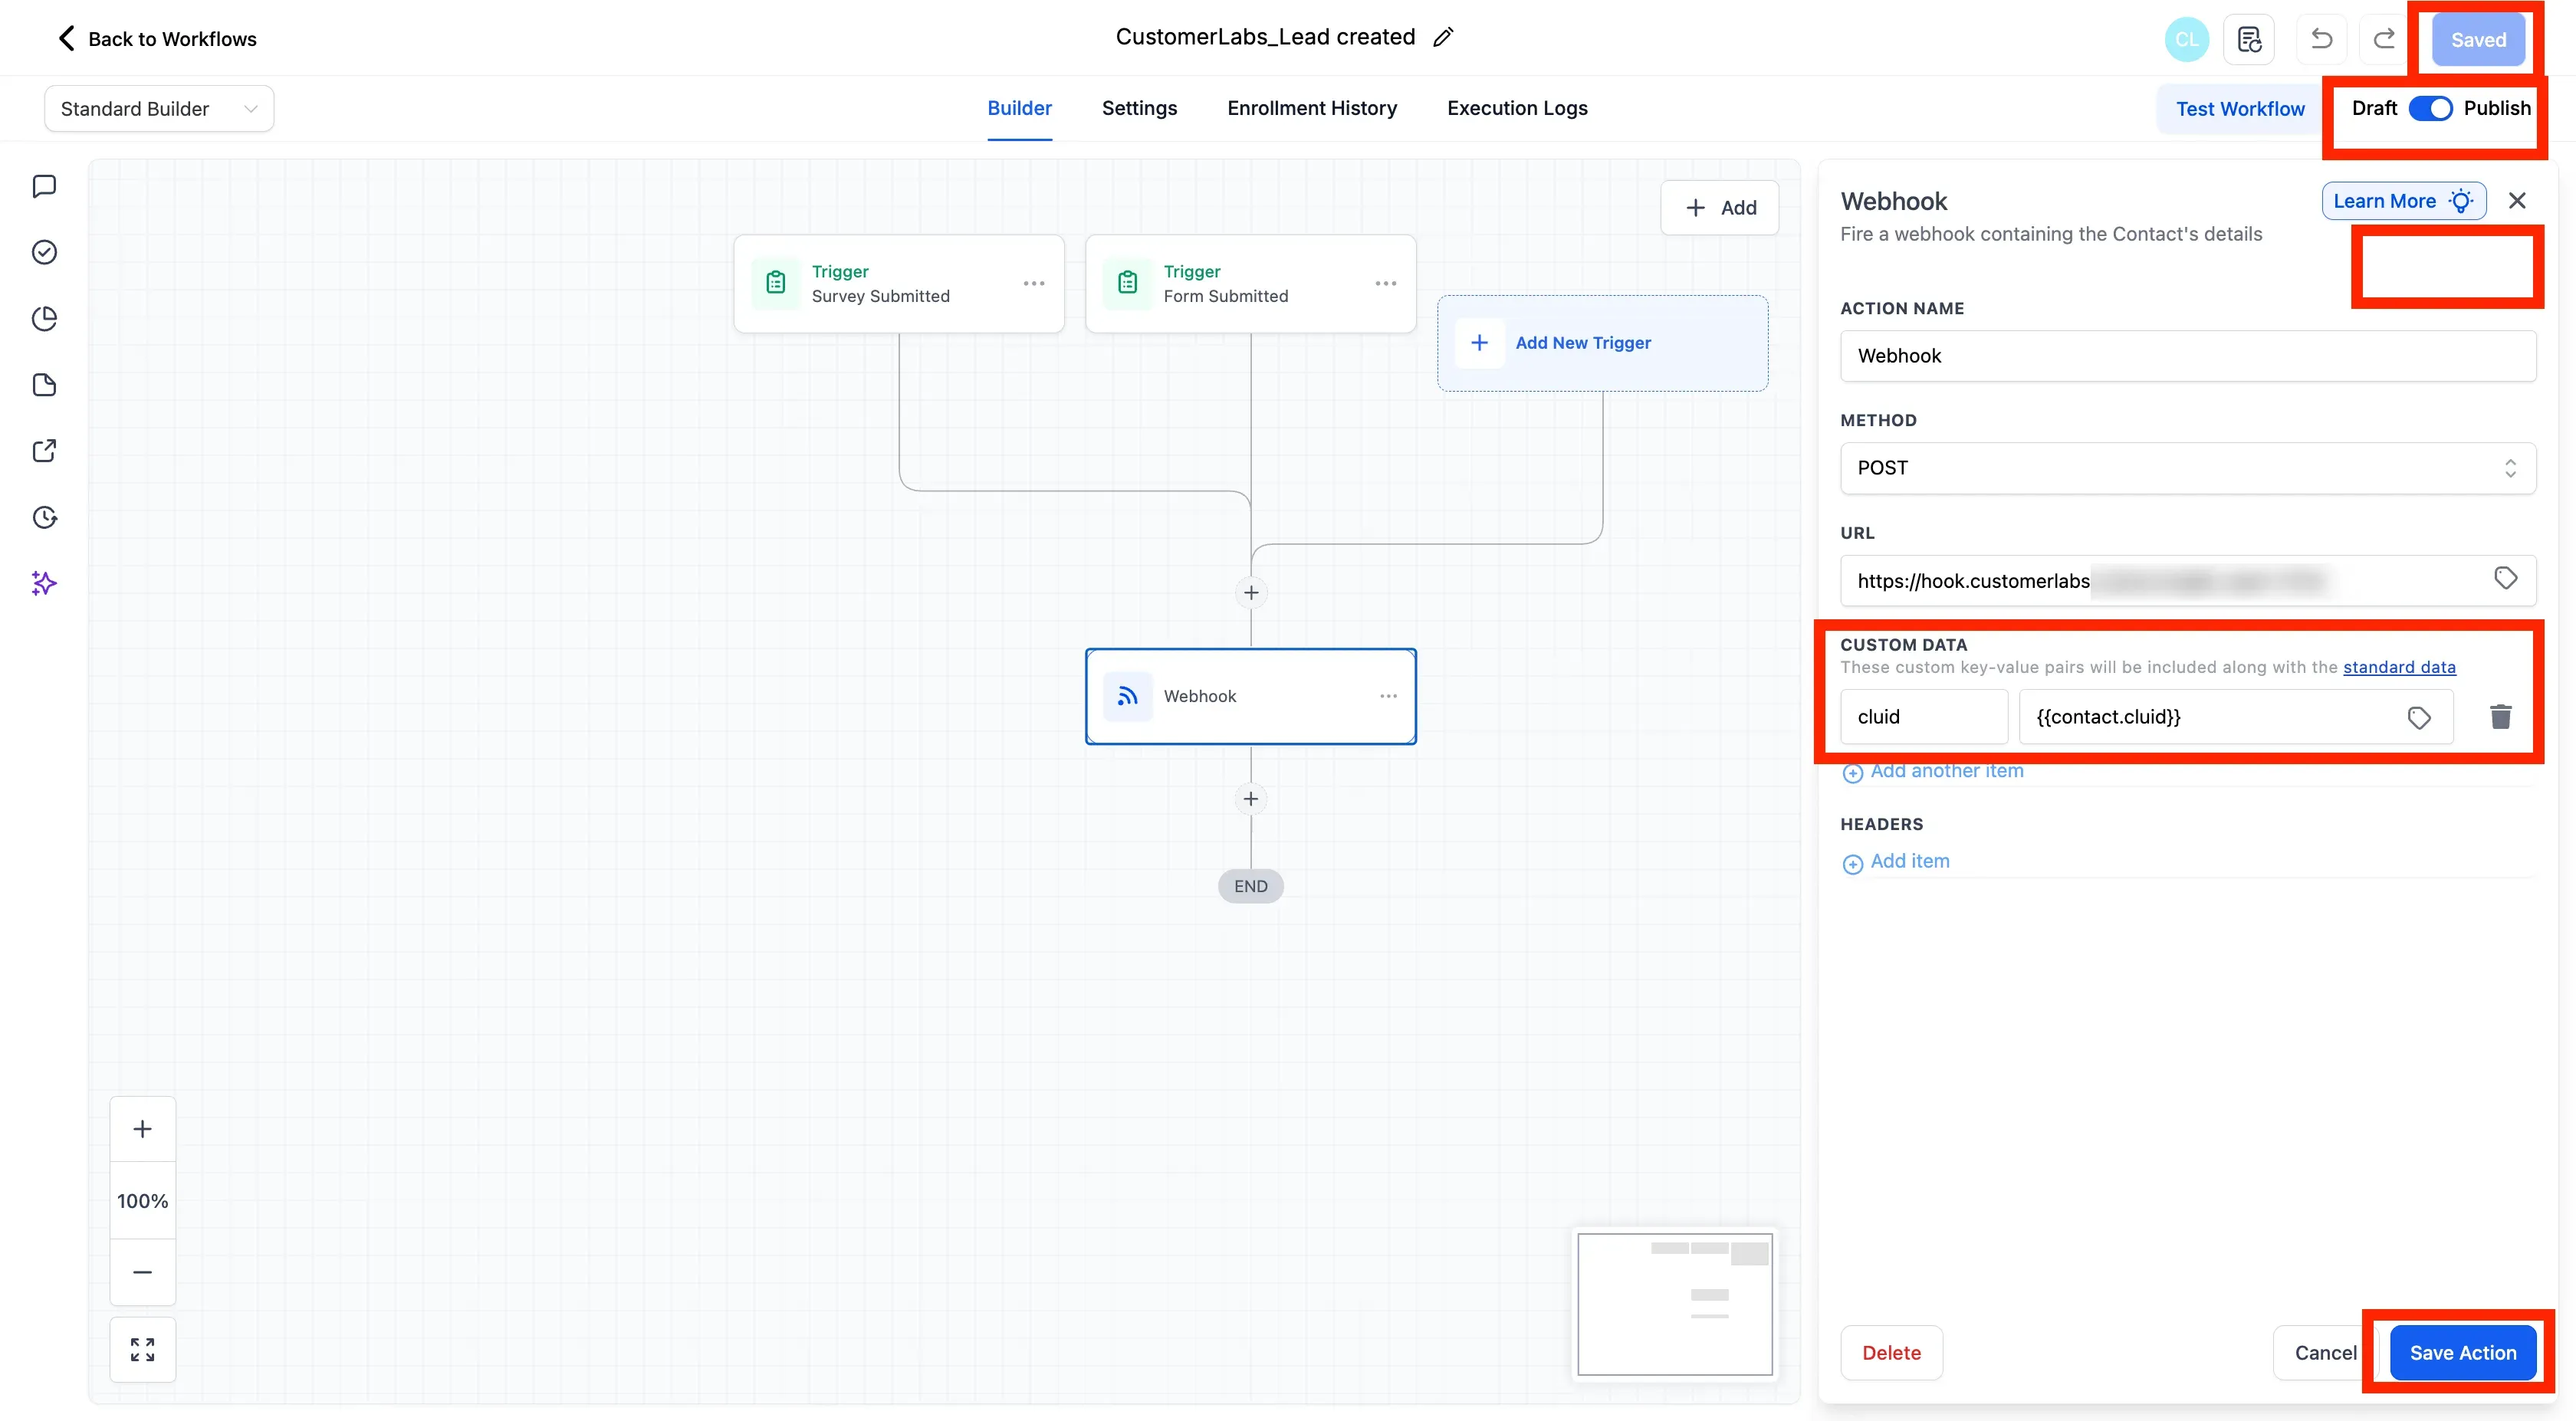
- In the settings, select Action Name
Webhook, method asPOSTand paste the webhook URL copied from CustomerLabs. - In the custom data section, include
cluidas key and choose the cluid field created earlier as value. - Click “Save Action” and “Publish Workflow”.
Configuring the Source Workflow
Section titled “Configuring the Source Workflow”Workflows allow you to create custom events from the source as per requirements. For example, Here we can trigger an event called GHL Lead when the form is submitted.
You can setup multiple workflows to trigger multiple custom events from the source. For example, based on the form submitted, you can trigger different events.
To set up a workflow, visit the document on setting up the workflow →