Setting up woocommerce event tracking can be extremely complicated. And imagine doing it without a developer; it would become an endless journey.
Trust me, it will be a nightmare, with writing codes, placing them and everything.
To make your job easy, I have decided to introduce you to an easy way of implement woocommerce tracking with GA4 and Facebook Pixel.
In this guide, we’ll cover how to set up Google Analytics 4 (GA4) and Meta (Facebook) Pixel for WooCommerce easily, step by step. Plus, we’ll show you how 1PD Ops makes the whole process faster, easier, and (dare we say?) painless.
Setting up WooCommerce Event Tracking in GA4 and Facebook Pixel
Step 1: Create Your CustomerLabs Account
Start by creating an account on CustomerLabs.
-
Go to the Sign Up page.
-
Choose to register with either your Gmail account or your work email address.
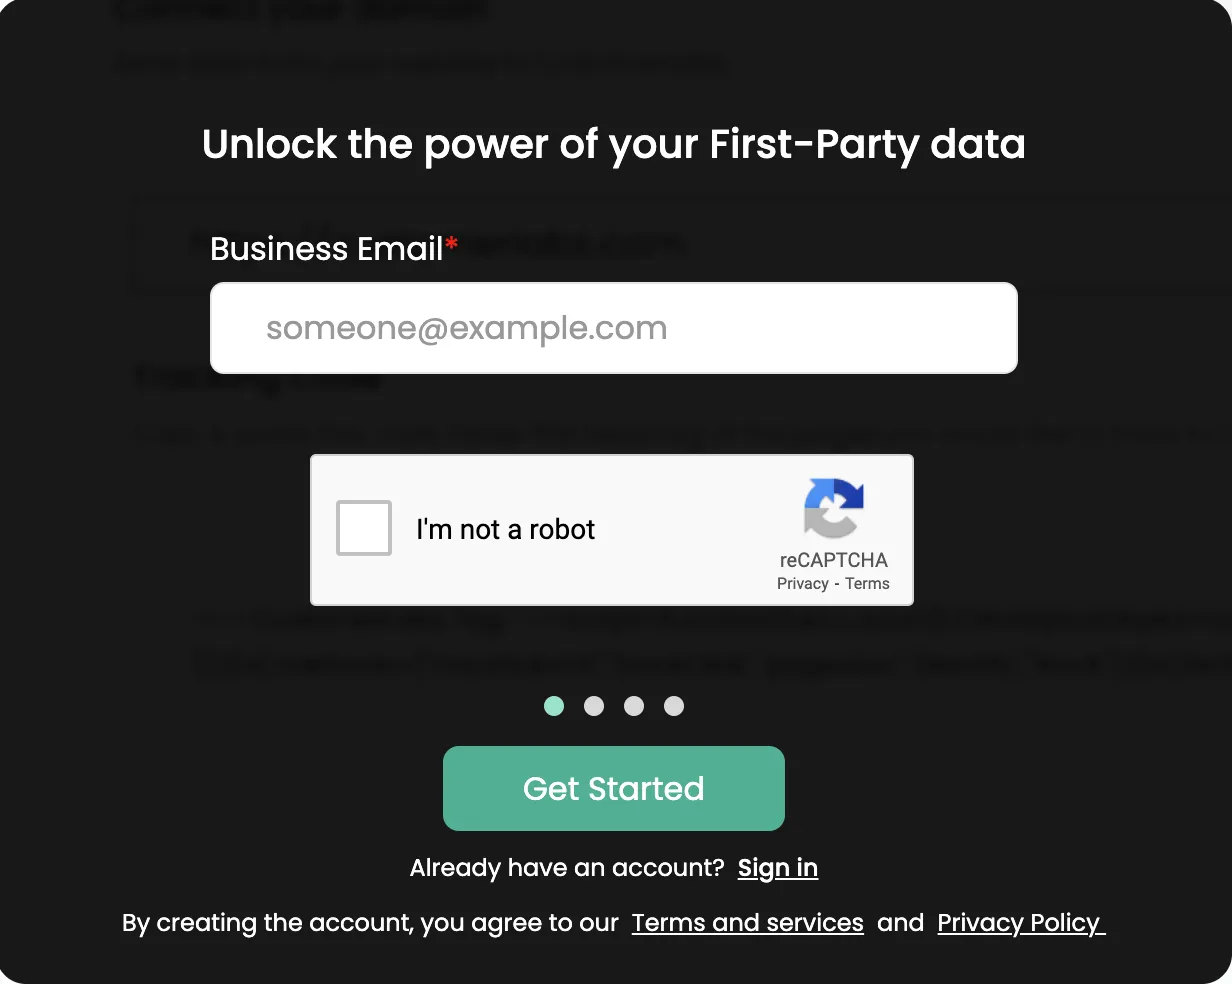
- Enter the required personal details when prompted.
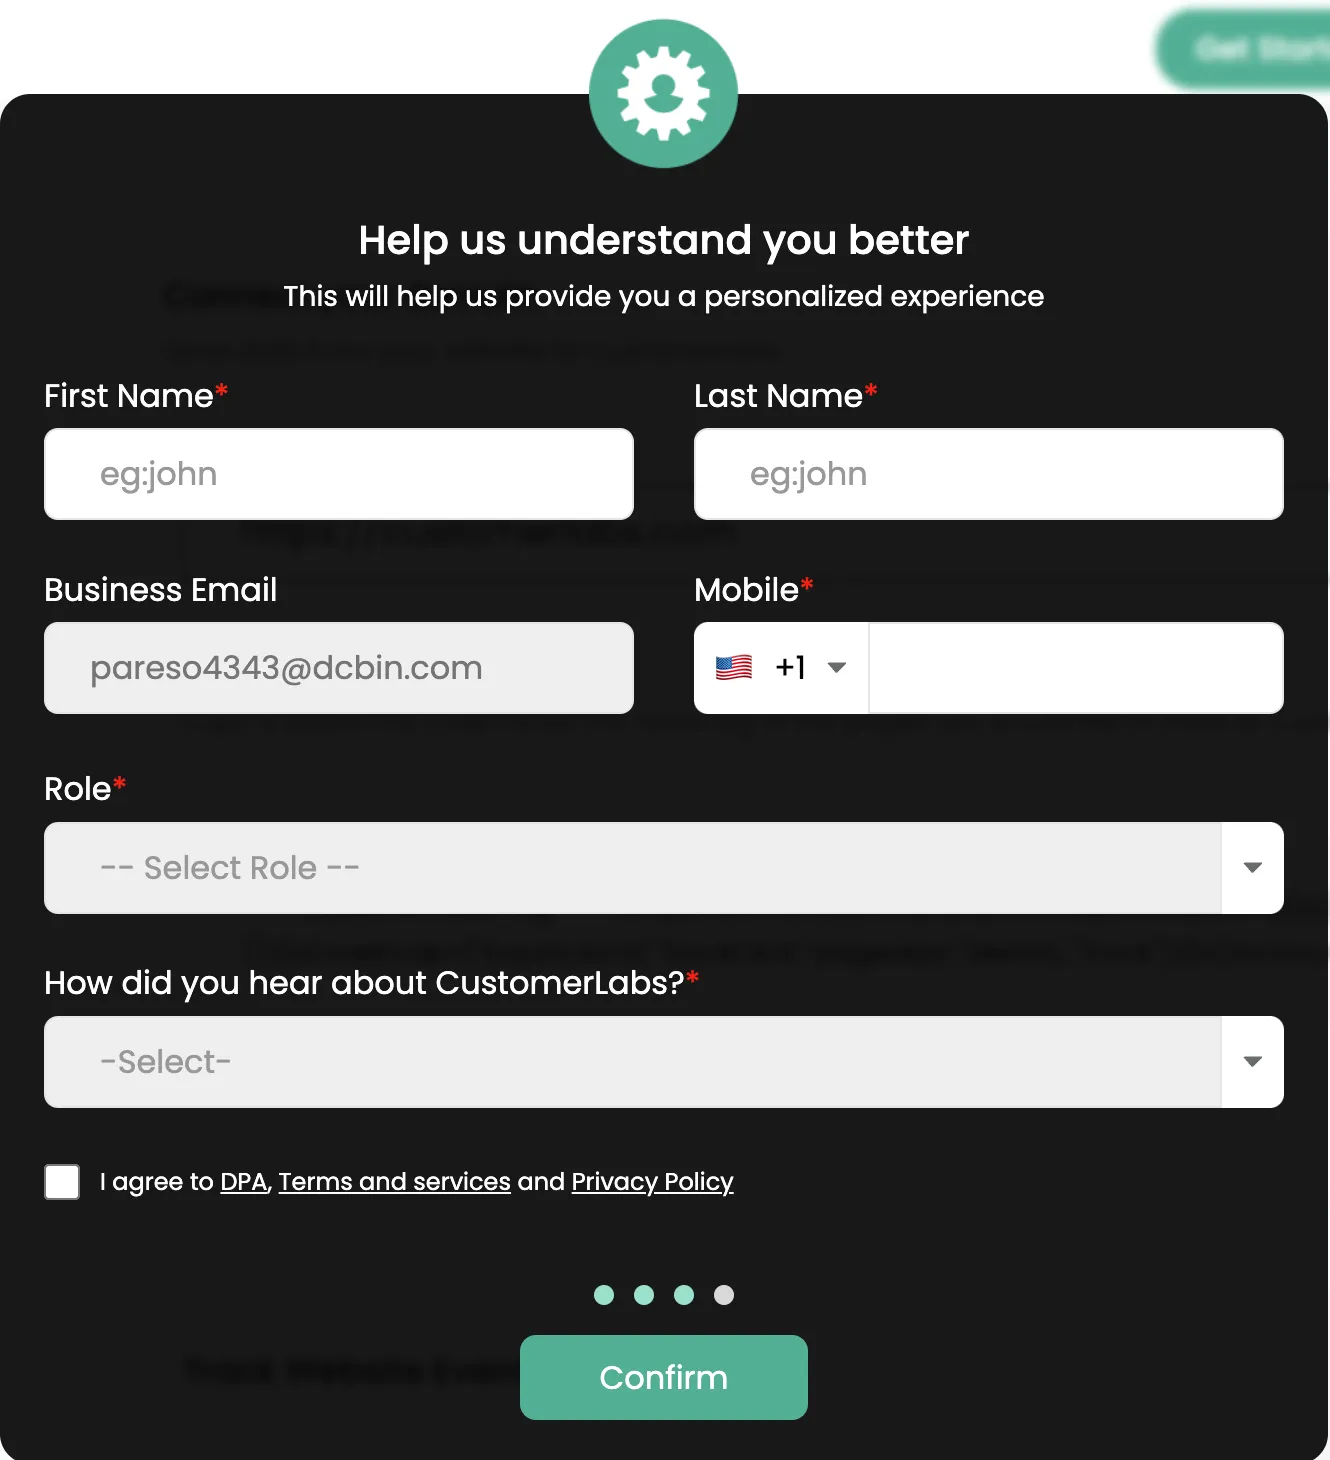
- Provide your company information in the next step.

After submitting the details, you’ll be taken directly to the product’s home page.
Step 2: Install the CustomerLabs Tracking Code
Once your account is created, you’ll need to install the tracking code on your website.
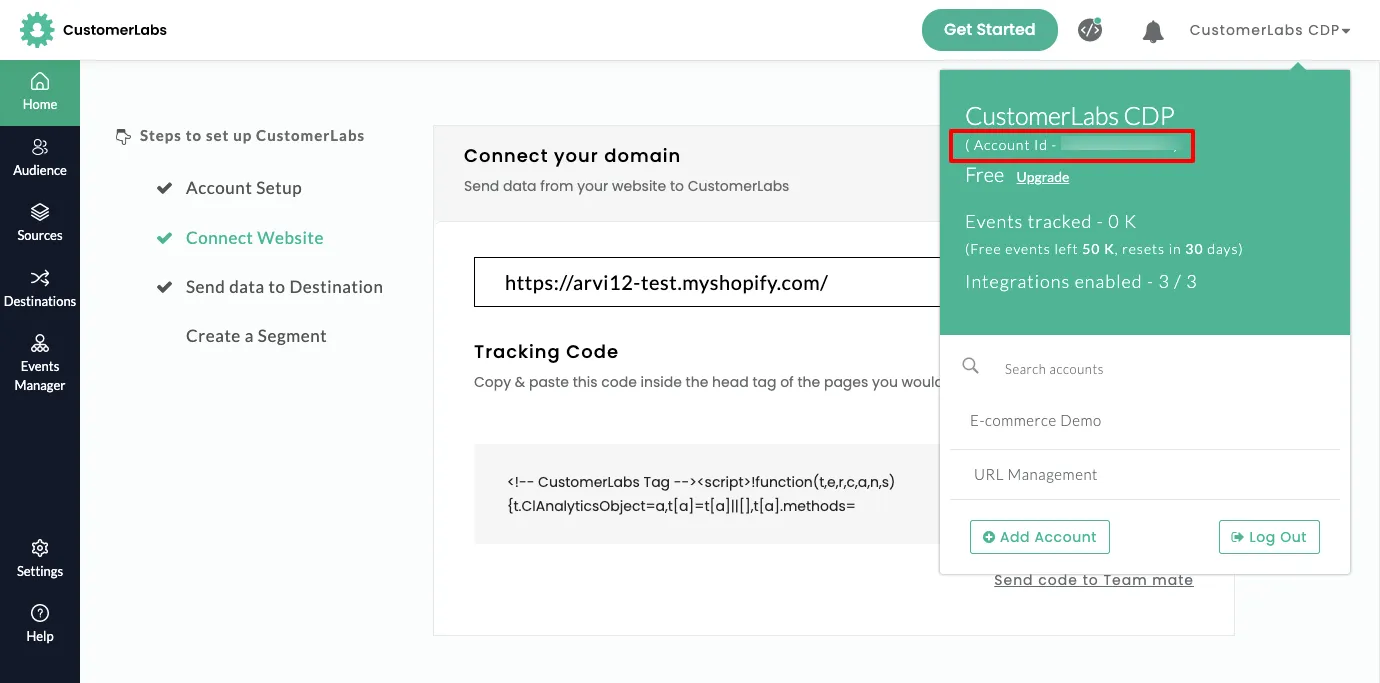
- After your account is created, you’ll land on the Home page, where your website URL will appear inside a box. Click Save to confirm your domain.
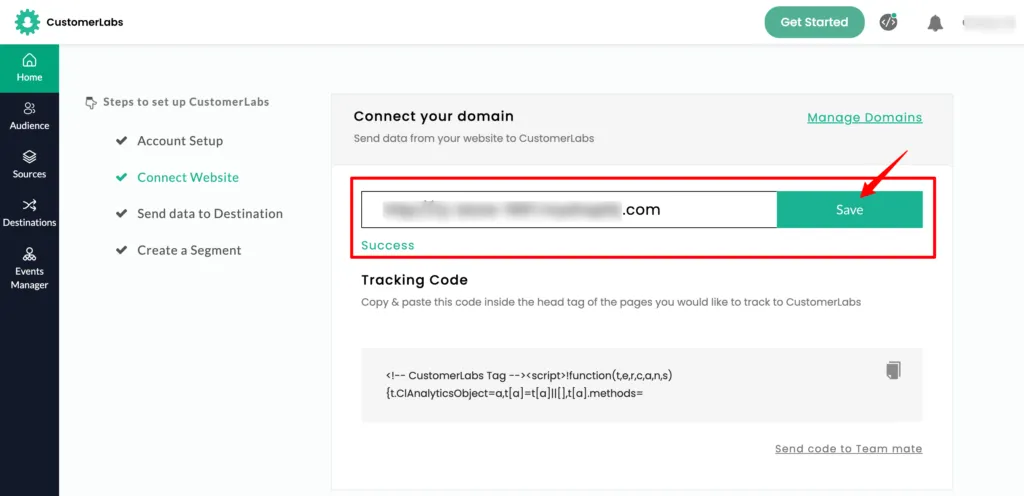
- Once the domain is saved, copy the tracking code provided and insert it inside the <head> tag of every page you want to monitor.
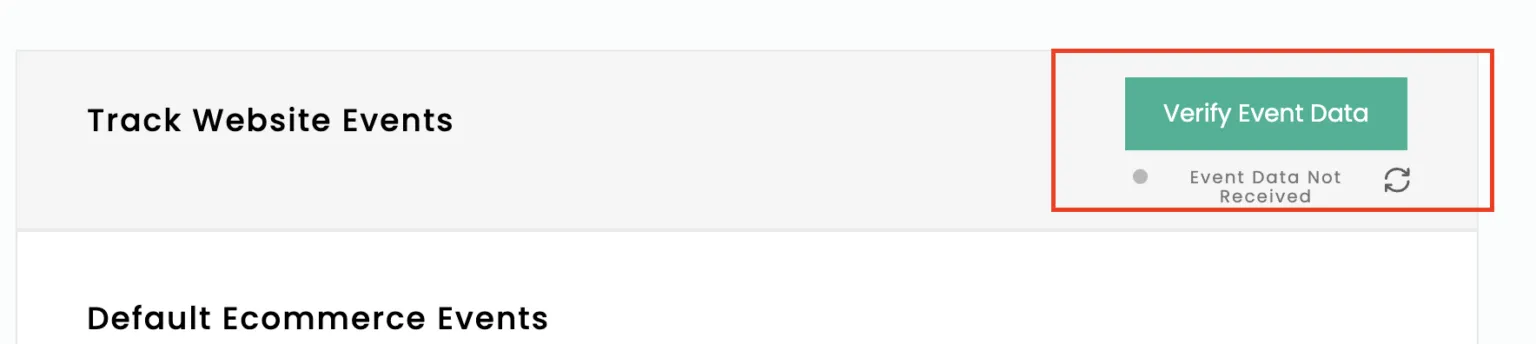
Verifying Tracking Code Installation
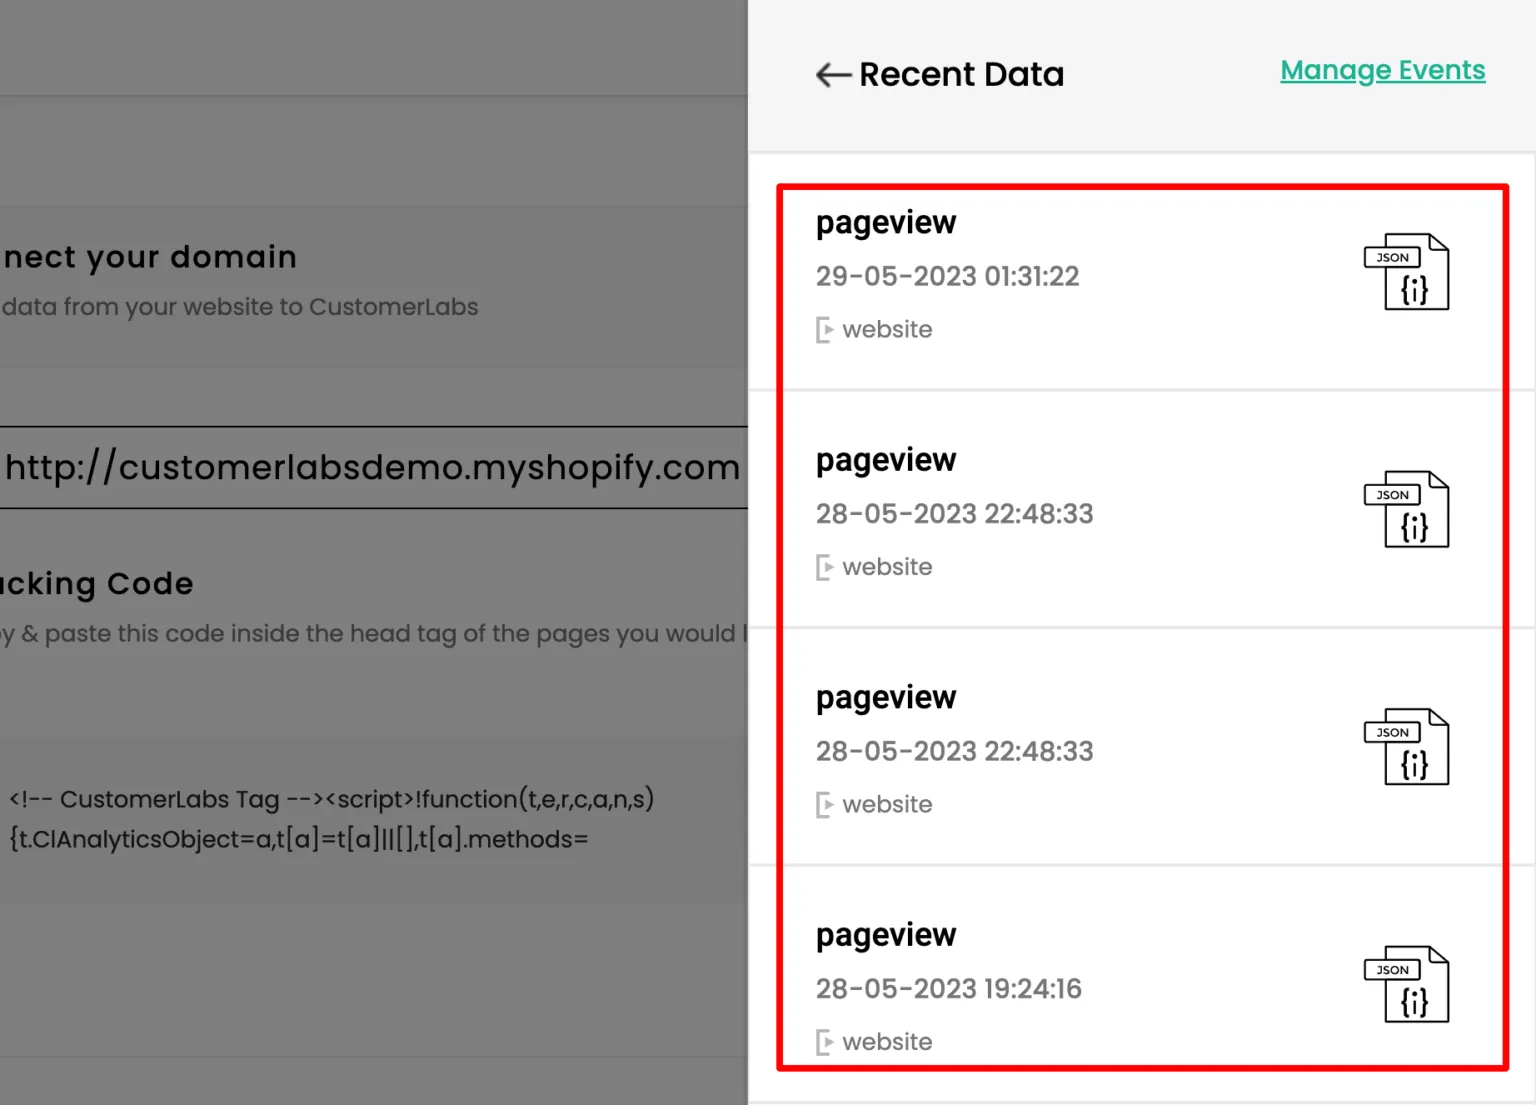
1. If the tracking code is correctly installed, you’ll begin receiving the default pageview event. You can confirm this on the Home page by clicking Verify Event Data.
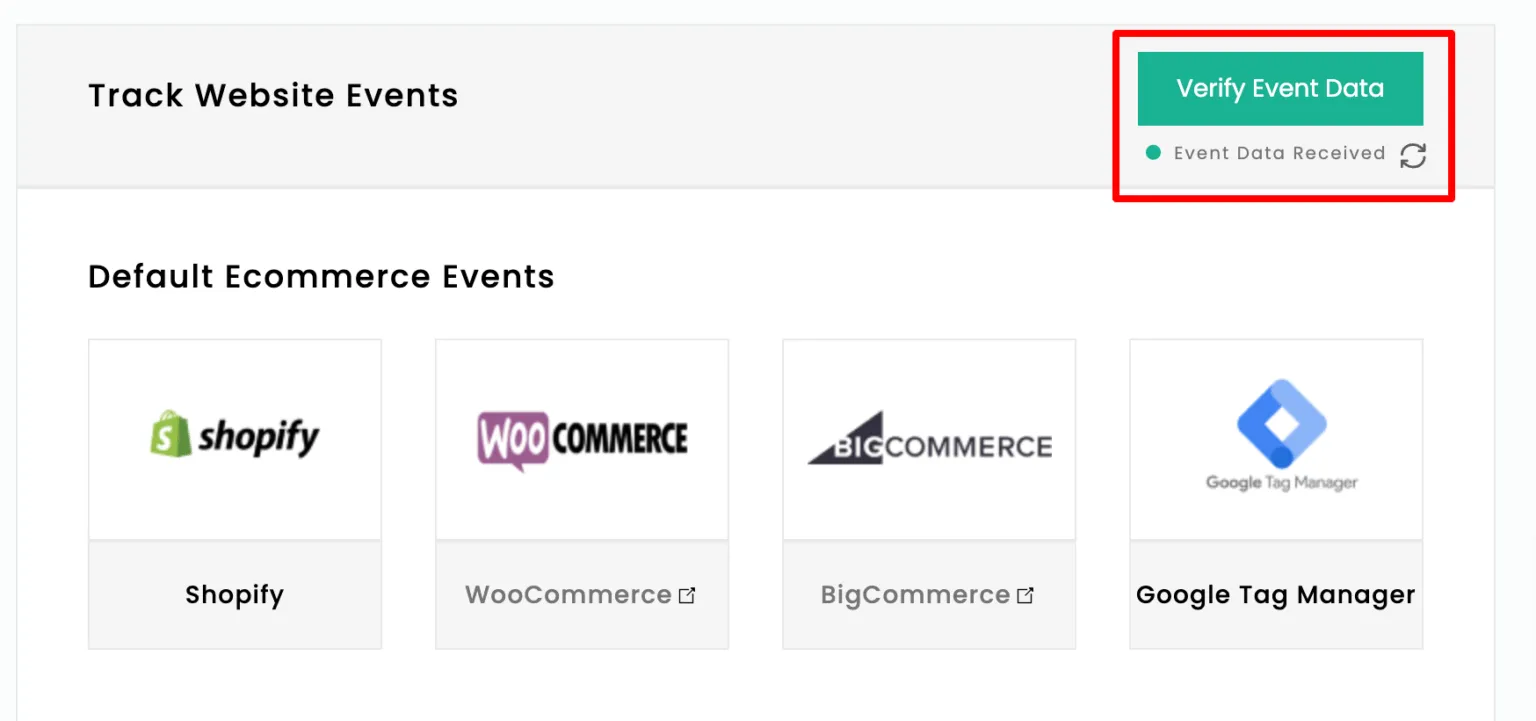
You should see pageview events appearing.
2. If the code wasn’t added properly, no event data will show up.
3. For troubleshooting, open the website you want to track → Right-click anywhere on the page → Select Inspect → Navigate to the Sources tab at the top.
4. If you find the highlighted tracking script in the Sources panel, the installation is successful.
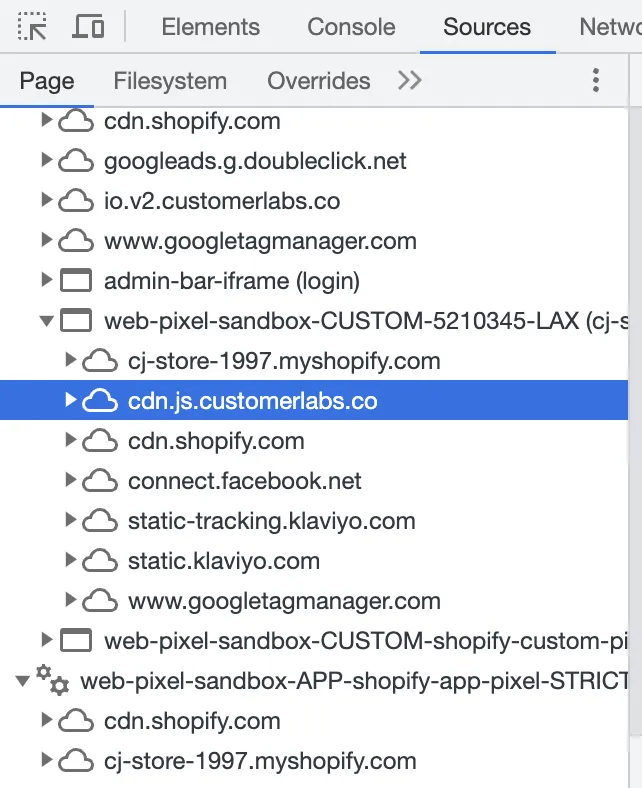
5. From here, you can begin tracking additional events using the No-Code Event Tracker.
(If you’re on a direct e-commerce platform, follow the respective integration guide linked above.)
This step ensures that CustomerLabs starts receiving default website events like page views.
Read on how to improve your woocommerce store retargeting using 1PD (First-party data)
![]()
Step 3: Integrate WooCommerce with CustomerLabs
CustomerLabs provides a WooCommerce plugin to make things simple.
1. Sign in to your WordPress admin dashboard.
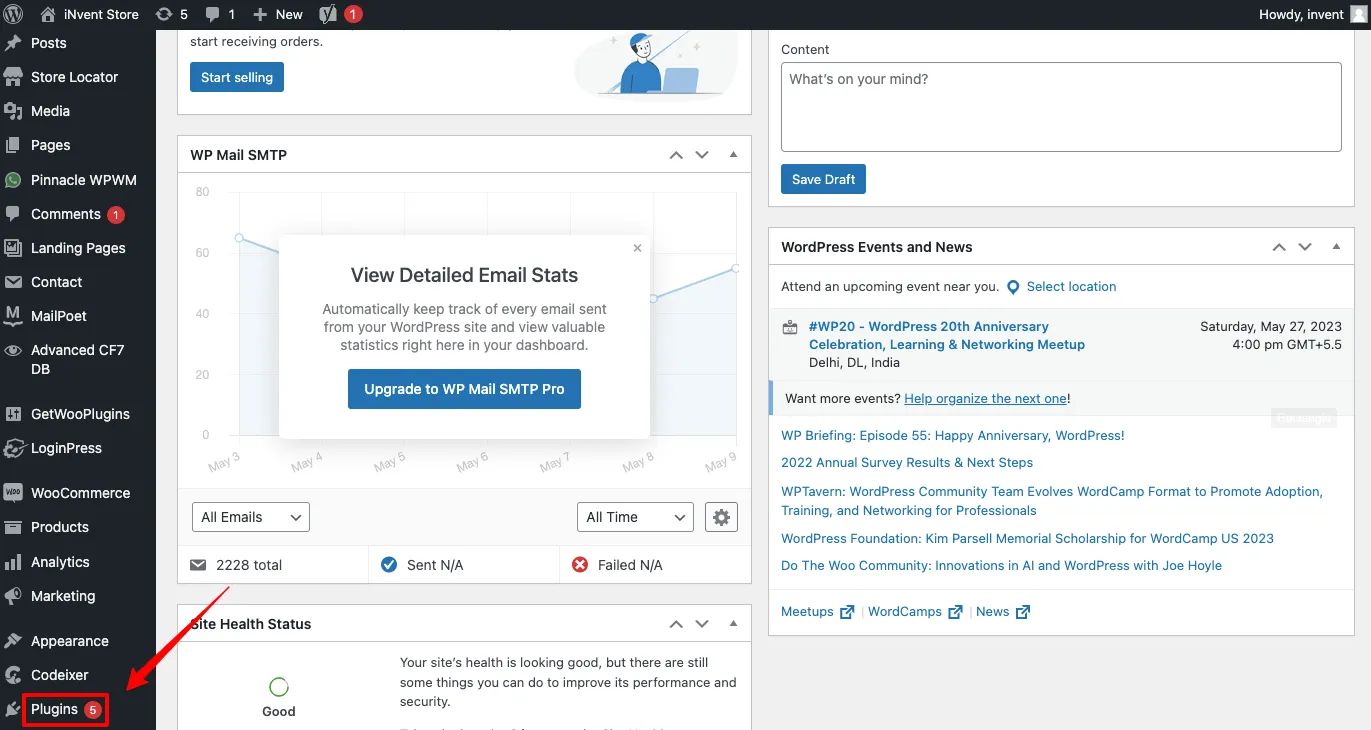
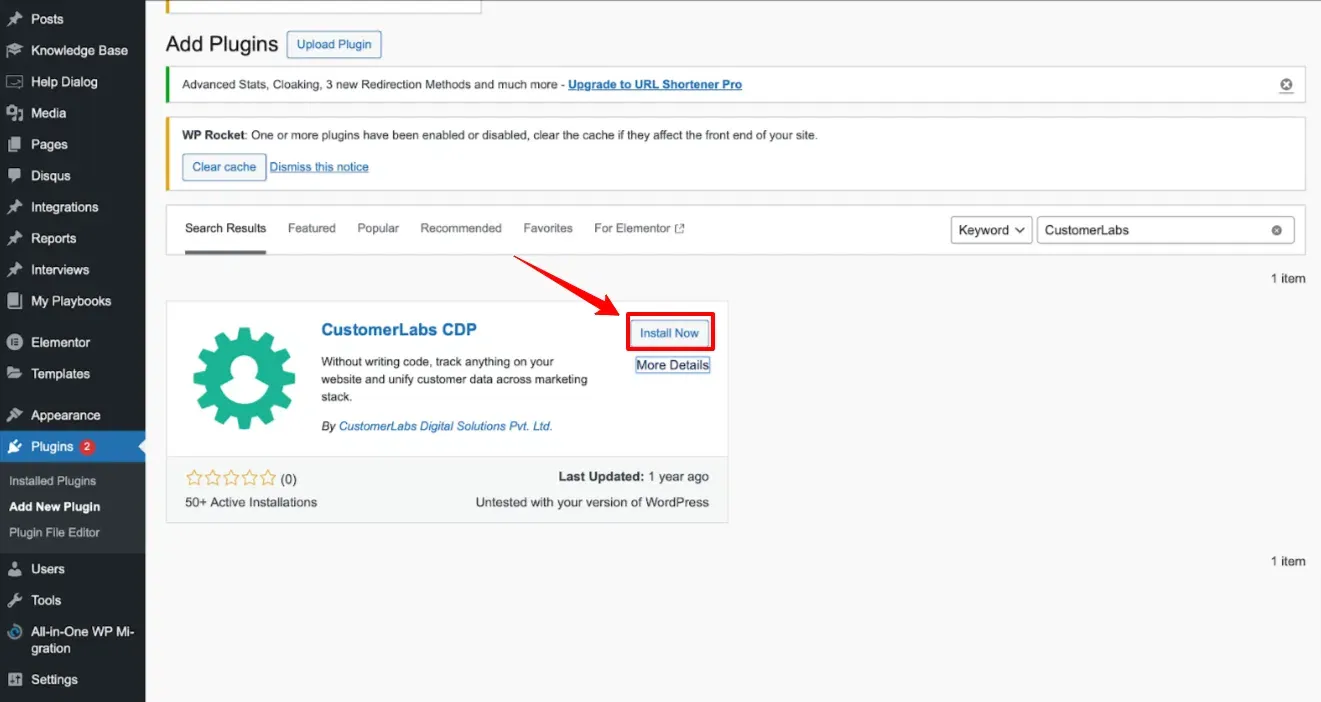
2. Search for the CustomerLabs WooCommerce plugin and install it.
3. In your CustomerLabs account, locate your App ID (also referred to as Account ID).
4. Go to the plugin settings in WordPress and paste the CustomerLabs App ID into the required field.
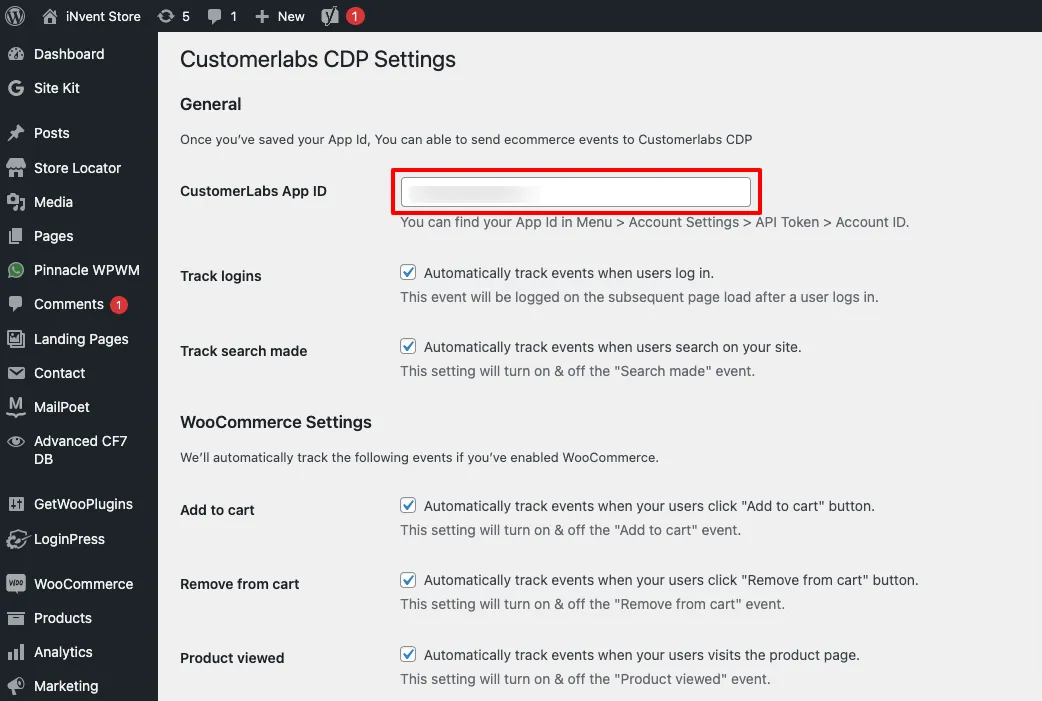
This plugin will automatically capture eCommerce events such as:
-
Product Viewed
-
Add to Cart
-
Remove from Cart
-
Checkout Started
-
Purchase
Step 4: Select the Events You Want to Track
Inside the WooCommerce plugin settings, you’ll see a list of events.
-
Tick the boxes for the events you want to capture.
-
Click Save Changes.
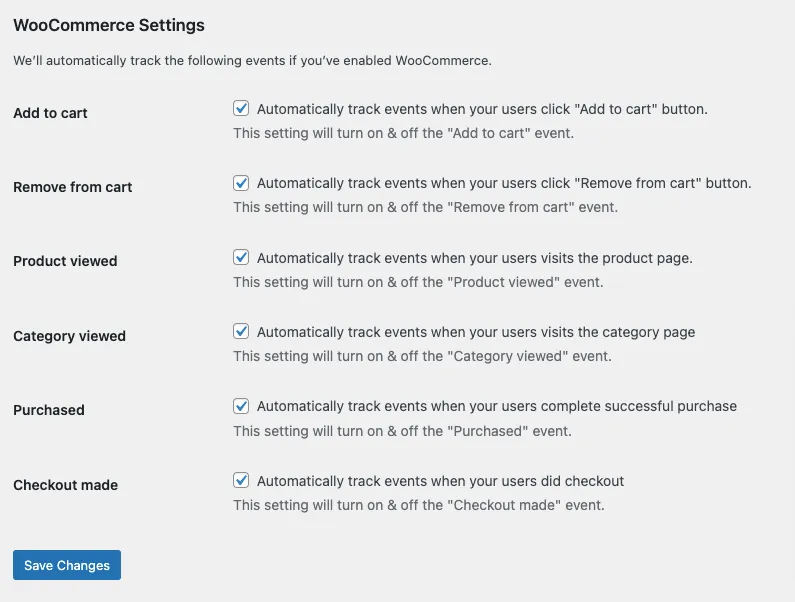
This allows you to focus on meaningful actions without cluttering your data.
Step 5: Verify Events in CustomerLabs
After setup, test your WooCommerce store by performing actions (like adding a product to the cart).
-
Go to CustomerLabs → Events Manager in your dashboard.
-
Check if those events appear in real time.
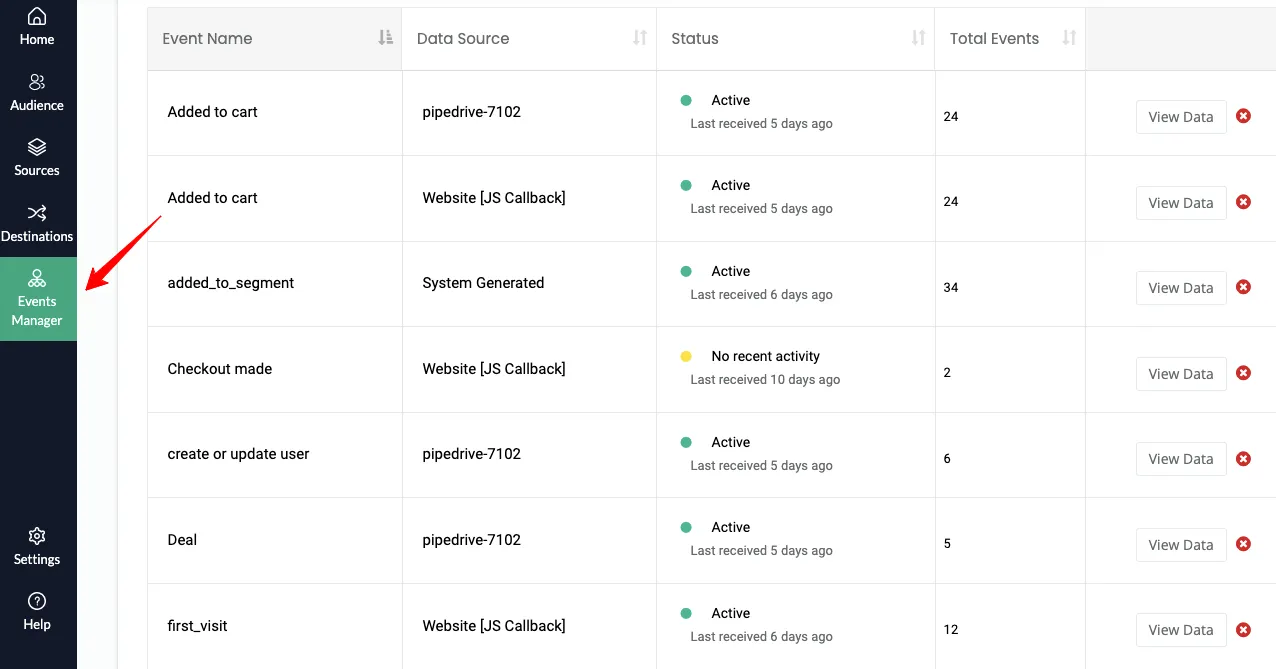
If they do, your integration is working correctly.
Step 6: Send Events to Google Analytics (GA4)
Now that CustomerLabs is collecting events, you can send them to GA4
-
Sign in to your Google Analytics account.
-
Choose the account you want to connect.
-
Go to Admin and create a new Property in GA4.
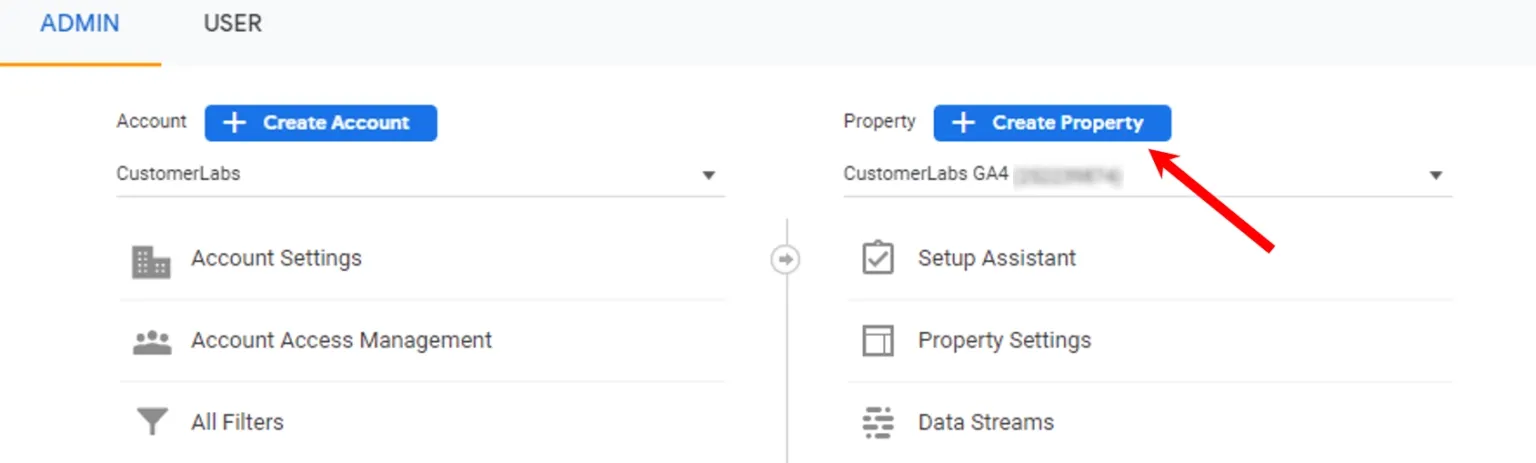
-
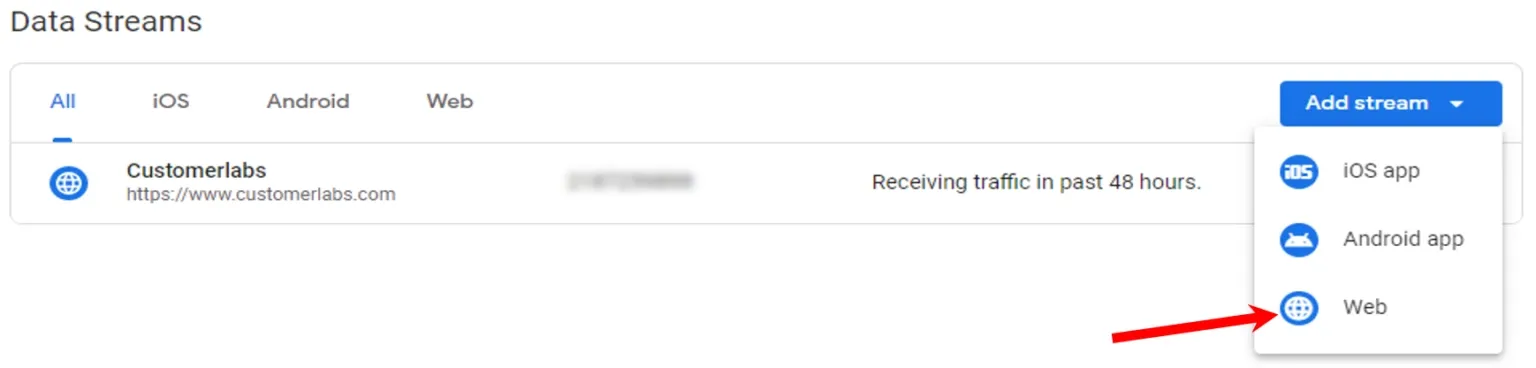
Once the property is created, click on Data Streams.
-
Select Add Stream → choose Web.
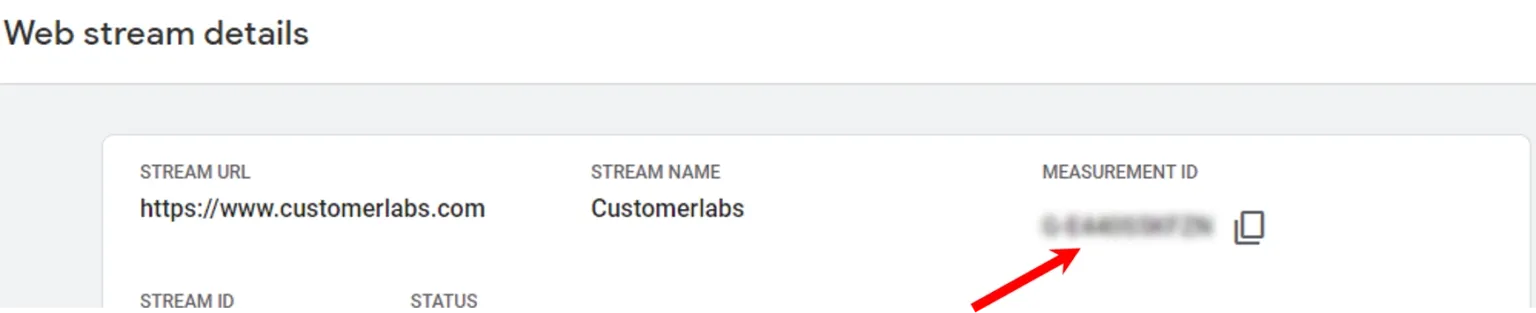
- Open the newly created data stream and copy the Measurement ID.
-
Log in to your CustomerLabs account.
-
From the menu, go to the Destinations section.
-
Search for and select Google Analytics gtag.
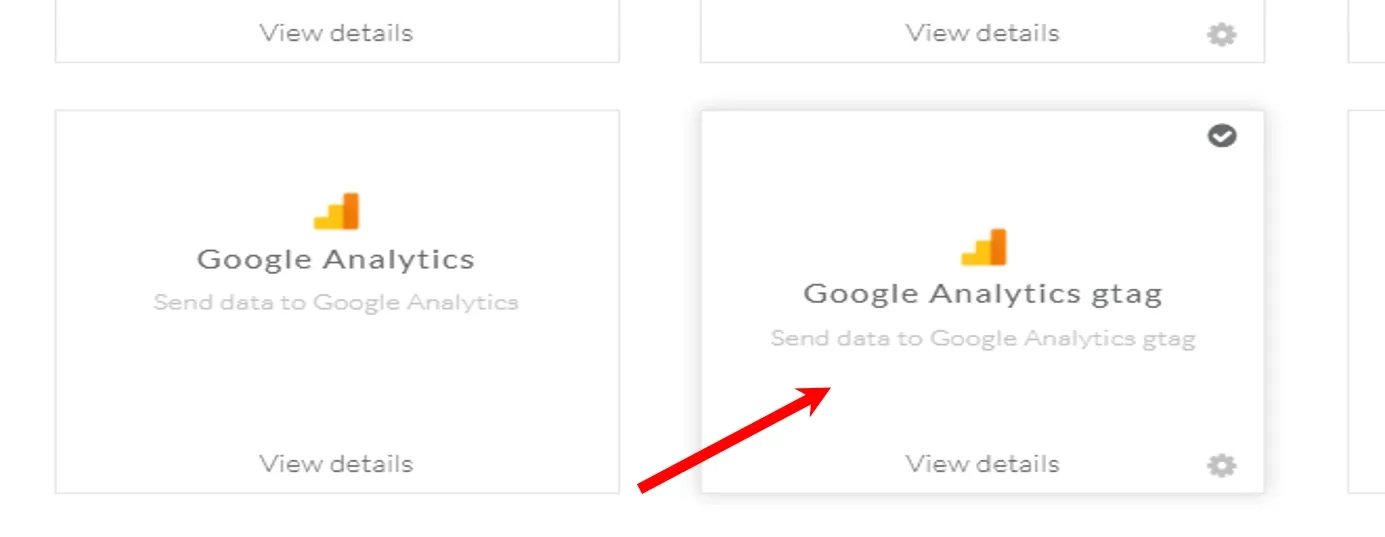
-
Click Subscribe, then open Configuration Settings.
-
Paste the copied Measurement ID into the Website Tracking ID field.
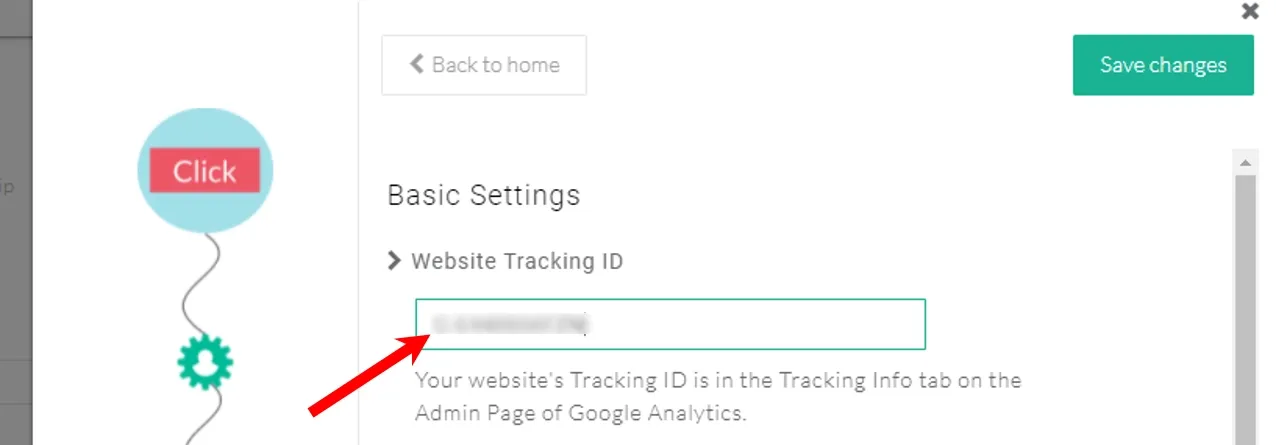
This ensures GA4 receives both browser and server-side events for more accurate attribution.
![]()
Step 7: Send Events to Facebook Pixel & CAPI
-
Log in to your CustomerLabs account.
-
Go to the Destinations tab and choose Facebook.
(Here you’ll see a list of available destinations such as Meta Ads, BigQuery, Audience Lab, Convert Fox, Customer.io, Drip, Emblue, and other custom integrations.)
-
Copy your Facebook Pixel ID, here’s how to create Meta Tracking Pixel if you do not have one:
- Go to Meta Business Manager and select your business.
- Navigate to Data Sources > Pixels > Click ‘Add’ near the search bar.
- Name your Pixel, enter your website URL, and click ‘Continue’ to generate the Pixel ID.
-
Then proceed with the Facebook option, which will redirect you to your Facebook account.
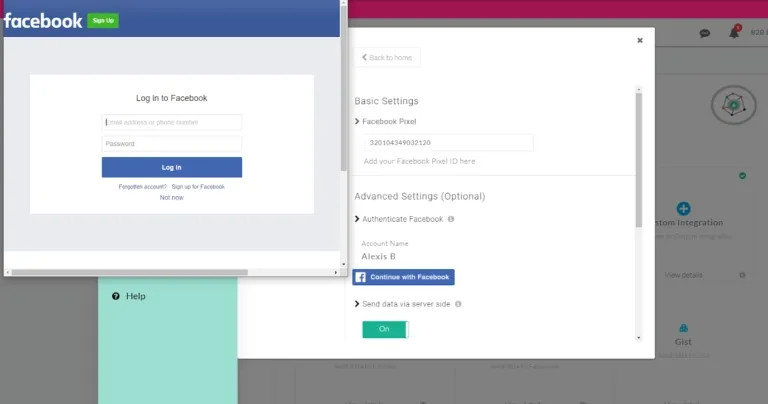
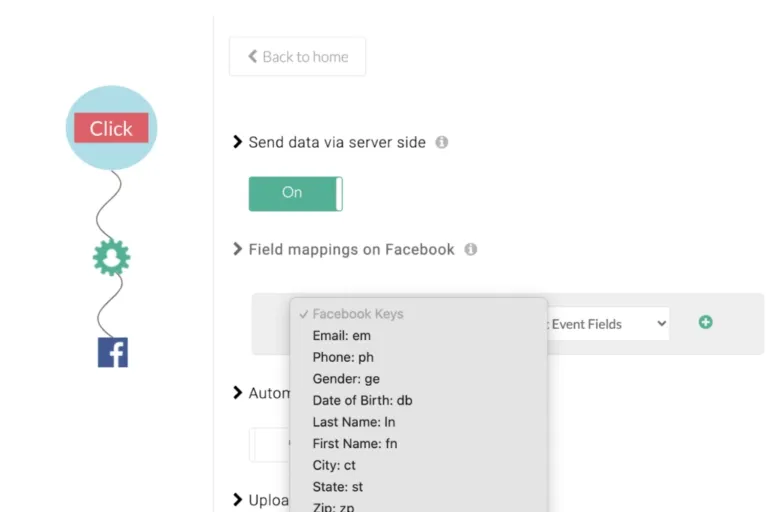
- Authenticate your Facebook account and enable the option to send data via server-side.
- Click on ‘Click Here’ next to ‘Not Recommended Authentication’.
- You’ll be redirected to Meta. Choose the account you want to use for running ads through CustomerLabs.
- Select the Meta Page associated with your business.
- Choose ‘Select All’ (recommended) and ensure all necessary permissions are granted.
- Once permissions are confirmed, you’ll be redirected back to CustomerLabs.
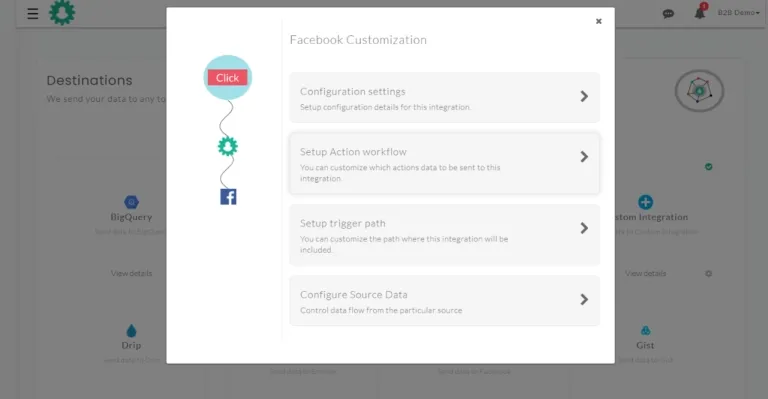
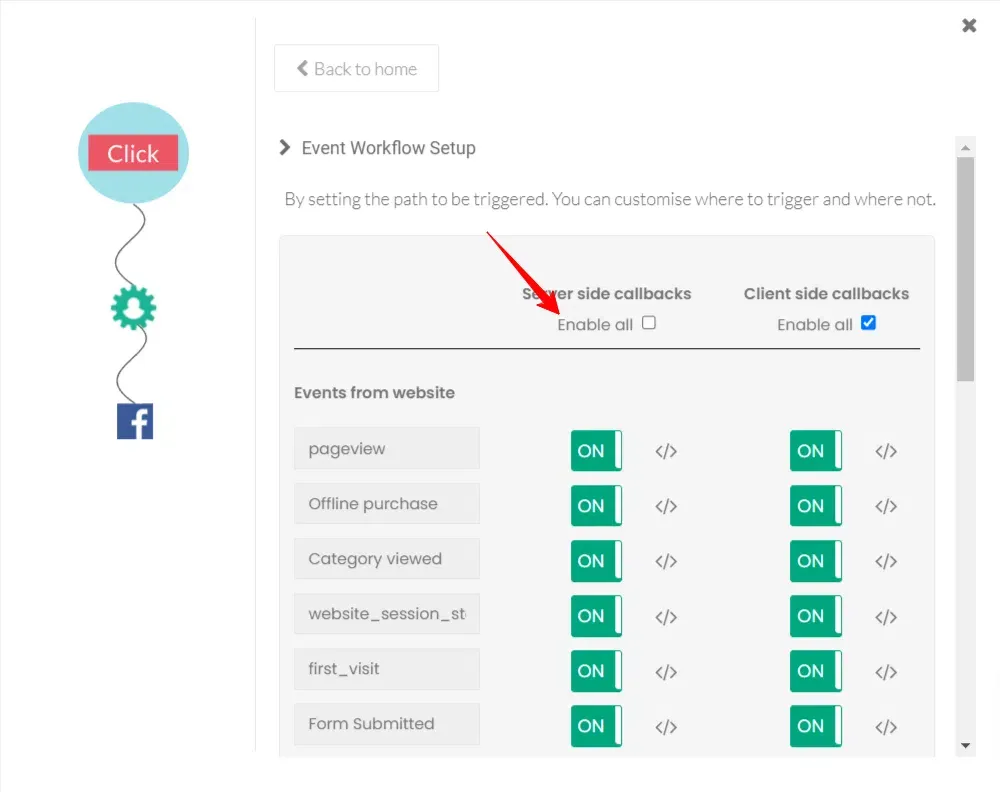
- To configure workflows, go to Setup Action Workflow.
-
Click on ‘Submit’ to save your configurations.
-
Toggle the ‘Send data via server-side’ button to ON to activate Meta Conversions API for your WooCommerce store.
Important: If your WooCommerce store is directly connected to Facebook through a plugin, disconnect that integration before proceeding.
Also read on the benefits of effective event tracking.
if you want to know how to add conversion tracking code to WooCommerce Thank You Page
Your CustomerLabs integration with Meta Pixel and CAPI is now complete. You can now send all the events from both the browser and server-side to Meta Ads and boost your EMQ score.
Now, Facebook will receive your key WooCommerce events for retargeting and ad optimization.
Conclusion
Implementing effective event tracking is essential for optimizing the performance of your WooCommerce store. This not only provides insights into customer behavior but also enhances ad campaign performance across platforms like Google Analytics 4 and Meta Ads.
With CustomerLabs 1PD Ops, setting up advanced event tracking for your WooCommerce store becomes a straightforward journey—tracking a variety of user interactions from product views to purchases.
You can also seamlessly integrate your WooCommerce store with GA4 and Meta Ads through CustomerLabs to understand the audience behavior on Google Analytics and send the event data to boost ad campaigns on Meta.
Here’s the highlight—you achieve all this without the need for any complex coding.
Want to implement this setup for free?
Start your free trial or book a consultation call with our experts to track WooCommerce events in GA4 & Meta with zero code and 100% accuracy.